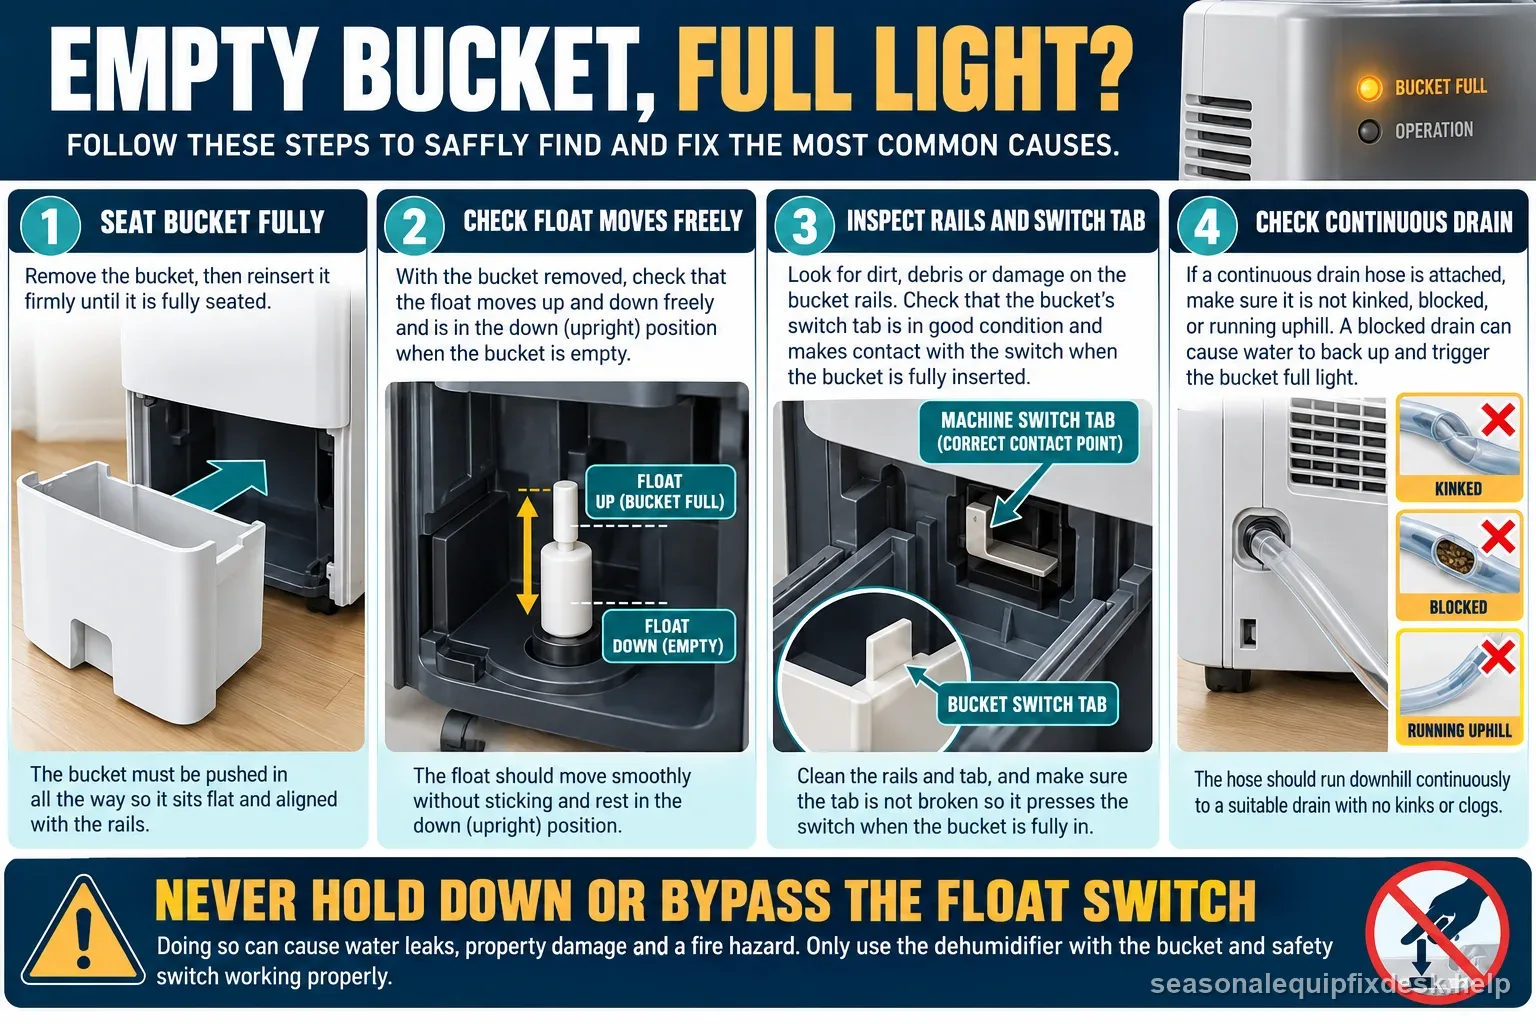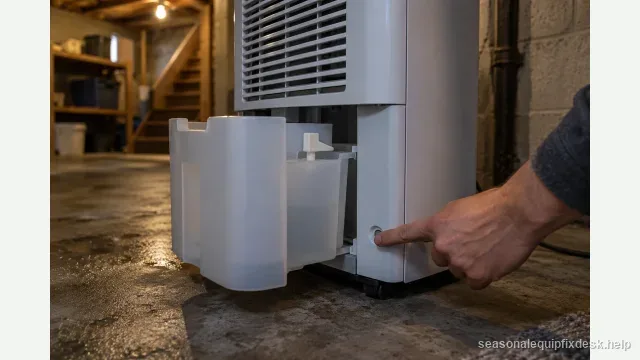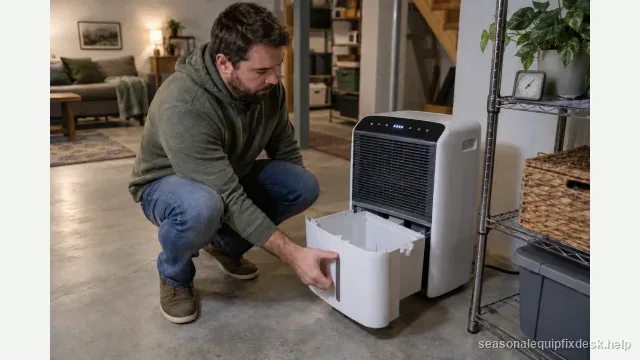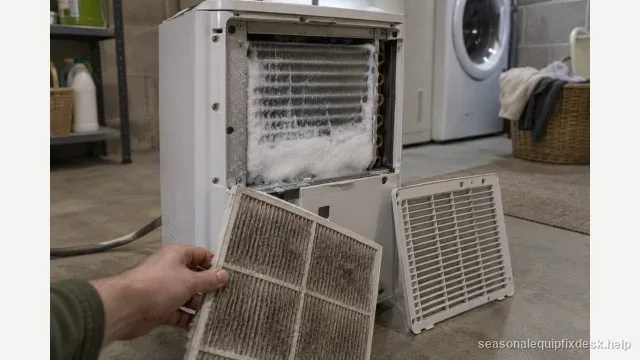
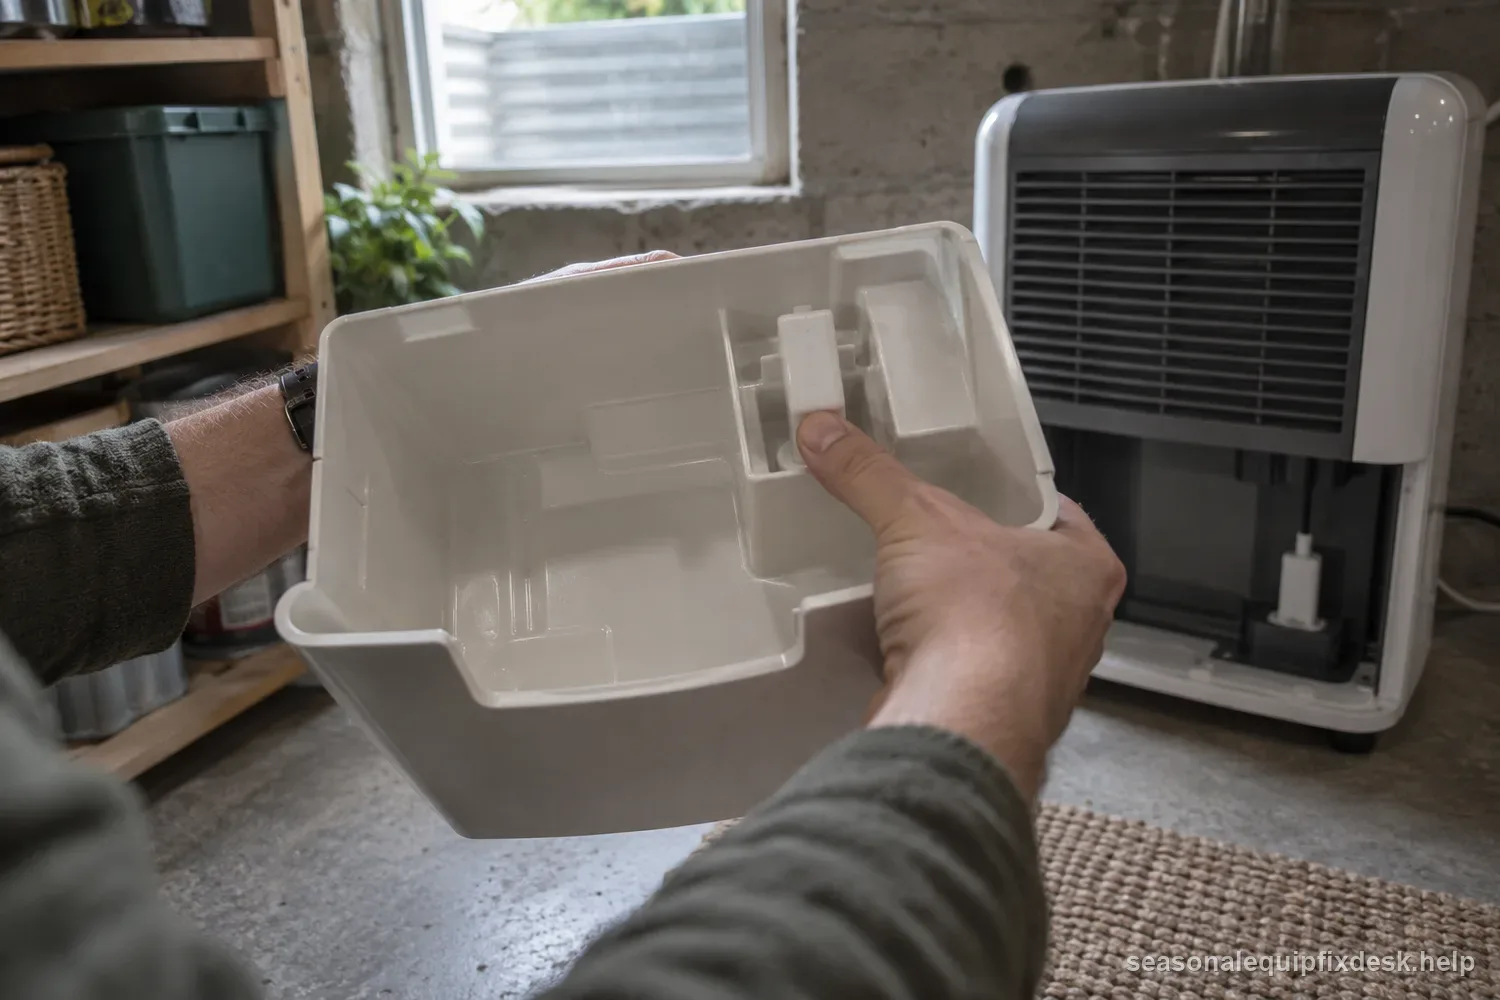
Quick answer: The “bucket full” circuit usually cares about position, not how much water you can see. An empty bucket can still trigger the warning if the bucket is not fully seated, the float is stuck in the raised position, a magnet or actuator is misaligned, or the switch remains engaged. Unplug the unit and prove those mechanical inputs before considering a control-board fault.
When the dehumidifier remains completely unresponsive, the no-power guide separates outlet, bucket interlock, and delayed compressor restart clues.
Check whether the hose is carrying water away before treating an empty collection bucket as a failure; the no-water guide lays out a controlled test. See the dehumidifier bucket stays empty guide for the matching checks.
| Observation | Likely branch | Safe next step |
|---|---|---|
| Light clears after reseating | Bucket fit | Use level floor and full insertion |
| Float sticks high | Bucket mechanism | Free only as manual allows |
| Hose model backs up | Drain restriction | Check hose slope and kink |
| Light persists | Switch or sensor | Stop; contact manufacturer |
Bucket missing and bucket full can share the same shutdown logic
Some dehumidifiers intentionally stop the compressor when the bucket is either full or not installed. Current GE product information, for example, describes an alarm when the bucket is full or missing. That means a crooked or partially inserted empty bucket can create the same no-run symptom as a truly full one.
Remove the bucket and inspect how it actuates the machine
With power disconnected, slide the bucket out slowly and look for the float, lever, magnet, tab, or switch interface. Do not force anything. The goal is to understand which part changes position as water rises and which part tells the appliance the bucket is installed.
Clean dirt and scale from the bucket rails and float pivot. A small piece of lint can keep a lightweight float from dropping all the way, especially after the bucket has dried with mineral residue around the hinge.
A float can be installed backward after cleaning
If the float or magnet was removed, compare it with the owner manual before reinstalling. Magnetic floats are especially orientation-sensitive: the plastic piece may move freely while the magnet faces away from the reed sensor. The machine then sees the wrong state even though nothing looks broken.
Use gravity to prove the float rather than holding it down
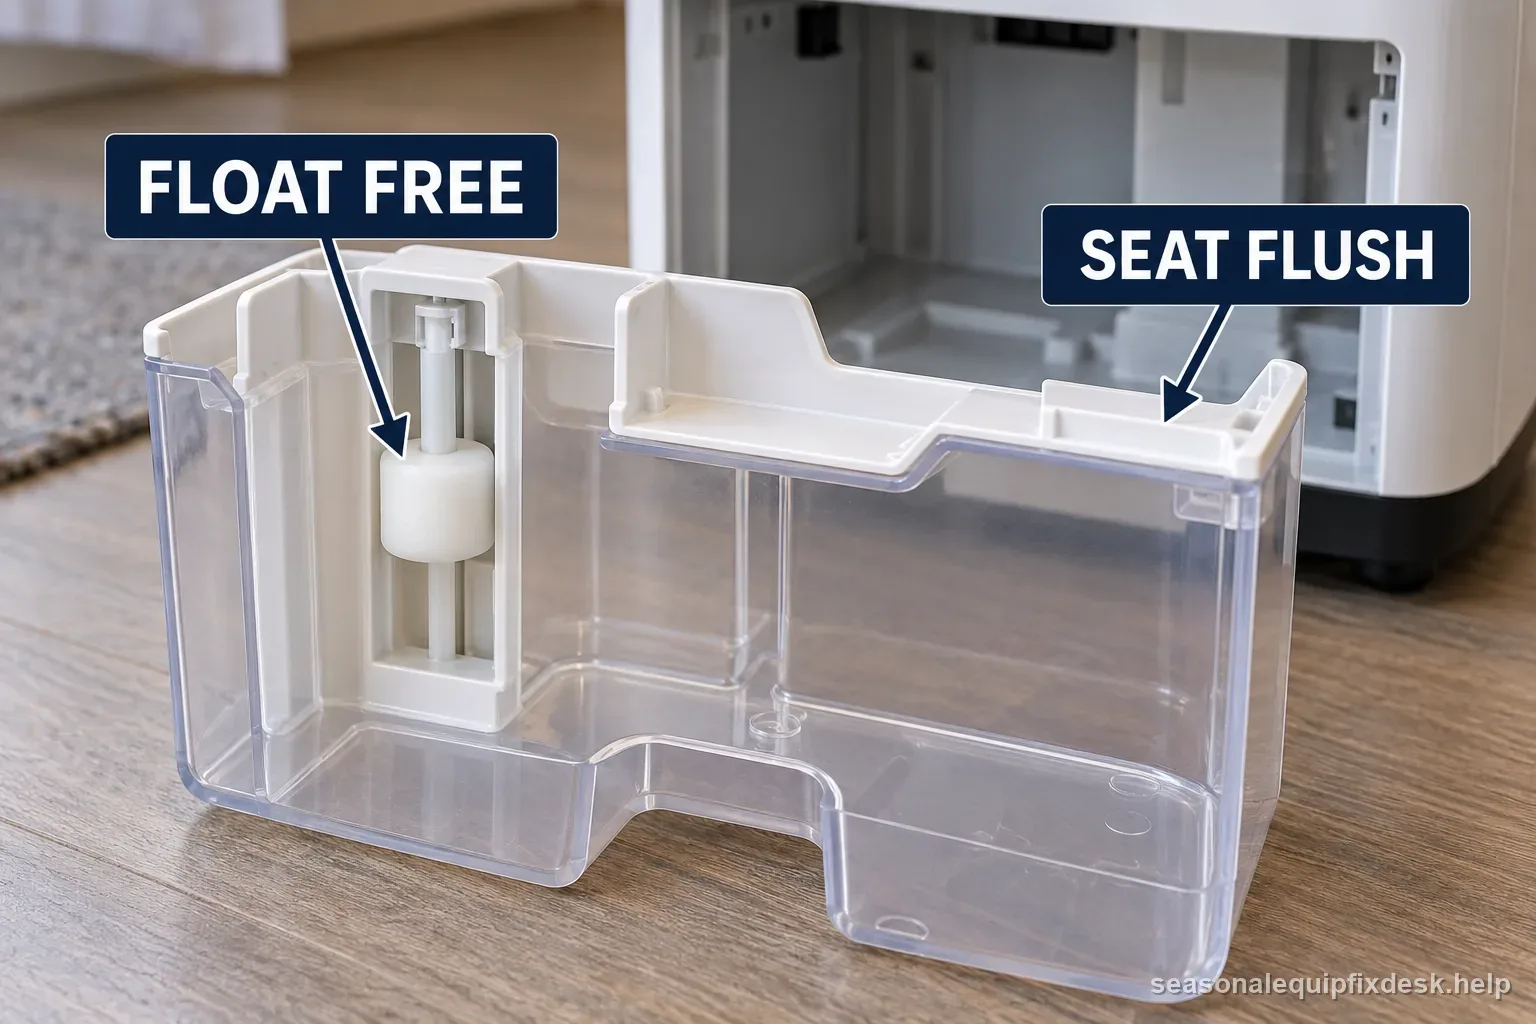
Set the empty bucket on a level surface and move the float through its full range by hand. It should fall to the empty position without sticking. Do not tape it down for operation. Defeating the float can allow the unit to keep collecting after the bucket is actually full, creating an overflow.
Bucket rails and cabinet fit are part of the sensor system
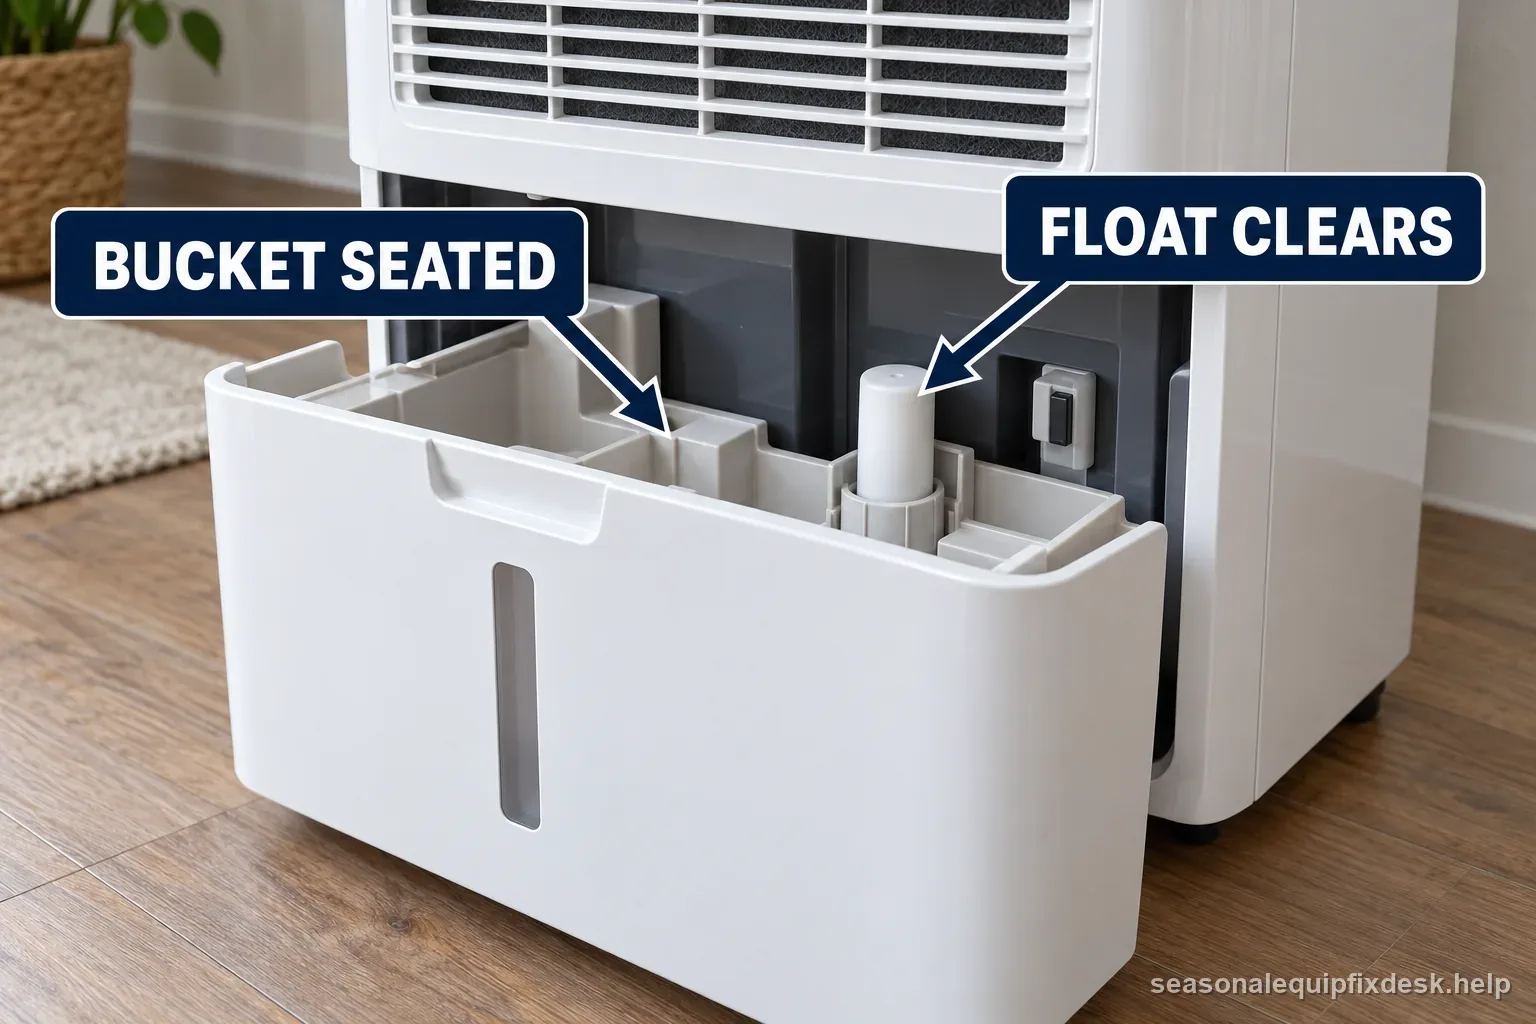
Check whether the bucket reaches the final stop without unusual resistance. A warped bucket, damaged rail, misplaced drain adapter, or debris behind the bucket can leave it a few millimeters out of position. On a switch-actuated design, that may be enough to keep the full/missing signal active.
Do not slam the bucket to make the light go away. Repeated impact can damage the switch bracket or crack the container.
Top results often treat a stuck float as the default cause, but models may use a float magnet, a mechanical plunger, or a bucket-presence interlock. A bucket can look empty and still hold a float high from residue, while a dry, freely moving float may be unrelated if the actual input is a side tab or magnet. Identify the sensing design in the manual before replacing a switch or assuming the control board failed.
Continuous drain setups create a second path to inspect
If a hose or drain adapter was recently installed, confirm it is assembled exactly as the manufacturer specifies. GE notes that hose connection problems can cause water to leak into the bucket even while continuous drain is connected. A misplaced adapter can also interfere mechanically with bucket seating on some designs.
| What you observe | Likely path | Safe next step |
|---|---|---|
| Light clears when bucket is reseated | Bucket fit or rail alignment | Seat it fully and confirm it rests level |
| Float sticks or remains raised while empty | Float or pivot assembly | Clean and orient it per the model manual |
| Warning appears with continuous drain | Drain route or bucket sensing | Check for a kink, blockage, or model-specific sensor requirement |
| Warning stays after all external checks | Switch or control circuit | Do not bypass protection; arrange service |
A simple mechanical isolation test
- Unplug the dehumidifier and remove the bucket.
- Clean and inspect the bucket rails, float, magnet or actuator, and the cabinet area they contact.
- Confirm the empty float drops freely and reinstall any removable part in its documented orientation.
- Reinsert the bucket slowly until it reaches its normal stop without force.
- Power the unit and see whether the warning clears before changing any humidity setting.
- If the warning persists with correct mechanics, use the model manual for reset or service rather than bypassing the switch.
When the switch itself becomes the likely fault
If the bucket sits fully home and the float or actuator clearly reaches its empty position, yet the warning never changes, the input switch, reed sensor, wiring, or control may have failed. A service manual may provide a continuity test with the unit unplugged; otherwise, do not probe line-voltage circuitry inside a damp appliance.
Why bypassing the full-bucket protection is a bad test
The protection prevents an unattended overflow. A dehumidifier can remove many pints of water over time, so a defeated switch can turn a small diagnostic shortcut into a flooded floor. If the control cannot reliably detect the bucket, repair the sensing path or stop using the appliance.
What to record for support
Take a photo of the float in its empty position, note whether the light changes when the bucket is inserted, and record any fault code. If a drain hose or pump is installed, include that configuration. Those details are more useful for warranty support than simply reporting “bucket light is stuck.”
Replacement threshold
Replace or service the unit if the bucket is cracked or warped, the switch bracket is broken, the sensor does not respond to correct mechanical movement, or water has reached electrical components. Do not fabricate a permanent jumper across a full-bucket safety input.
Use the indicator response to separate installation from sensing
On some models the warning changes as soon as the bucket crosses the final few millimeters of travel. Insert the empty bucket slowly and watch whether the light flickers, clears briefly, or never reacts. A light that changes with pressure on the bucket points toward fit, rails, or actuator geometry; a light that never changes despite obvious correct movement makes the switch or sensor more plausible.
Do not hold pressure on the bucket with tape, furniture, or a wedge. A deformed bucket can later fail to lift or drop the float correctly when it actually fills. The diagnostic goal is to restore normal mechanical travel, not to force the cabinet into a position where the protection happens to clear.
| Sensor style | Visible clue | Safe inspection |
|---|---|---|
| Float with magnet | Float moves inside bucket; magnetic target may be hidden | Check free travel and documented orientation |
| Mechanical plunger or tab | Cabinet actuator meets a bucket edge or slot | Check bucket fit and tab damage; do not bend it |
| Bucket-presence rail/interlock | Bucket must reach a final stop | Clear rails/adapter and reseat gently |
| Drain-hose system | Water may back up into bucket if hose is blocked | Inspect hose routing and blockage per manual |
| Correct mechanics; warning stays on | Switch, reed sensor, wiring, or control input | Stop at external checks and request model-specific service |