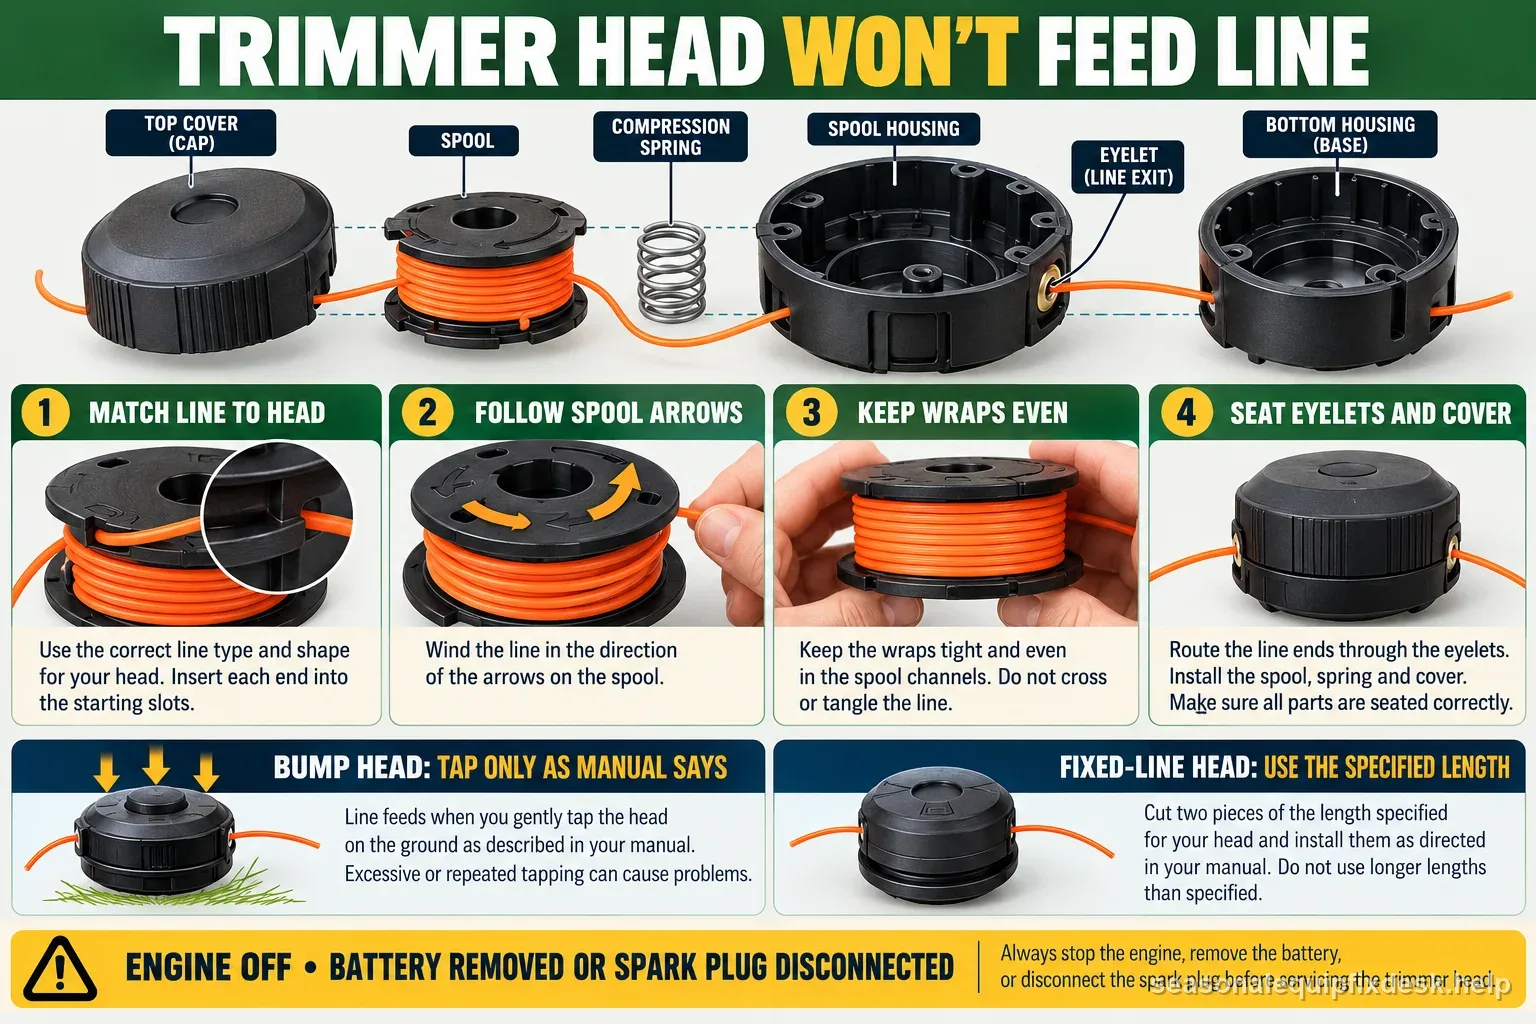
Quick answer: A trimmer head that will not feed line is usually a head-loading problem before it is a powerhead problem. The most useful first clues are how much line remains outside the eyelets, whether the spool was wound in the marked direction, whether the line diameter matches the head, and whether the spool can move freely inside the housing. Husqvarna specifically lists incorrect line thickness and dirt inside the spool among common no-feed causes, while STIHL notes that line can become too short to advance if a bump head is not operated often enough.
| Head style | How line advances | Likely first check |
|---|---|---|
| Bump-feed | Spool indexes when the cap is tapped as specified | Matched line diameter, spool direction, bump cap movement |
| Automatic-feed | Internal feed responds to motor/spool cycle | Correctly wound spool, eyelet friction, line not crossed |
| Fixed/manual line | Separate line pieces are loaded through slots | Exact line length/diameter and model loading procedure |
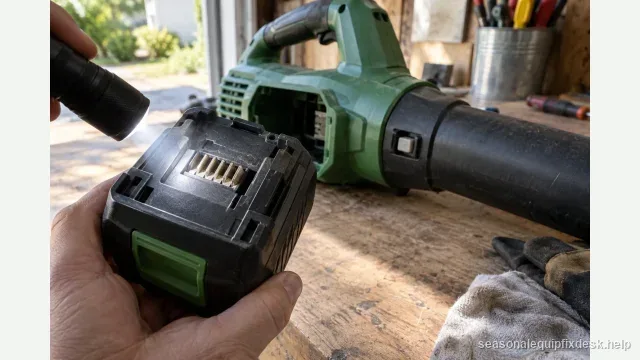
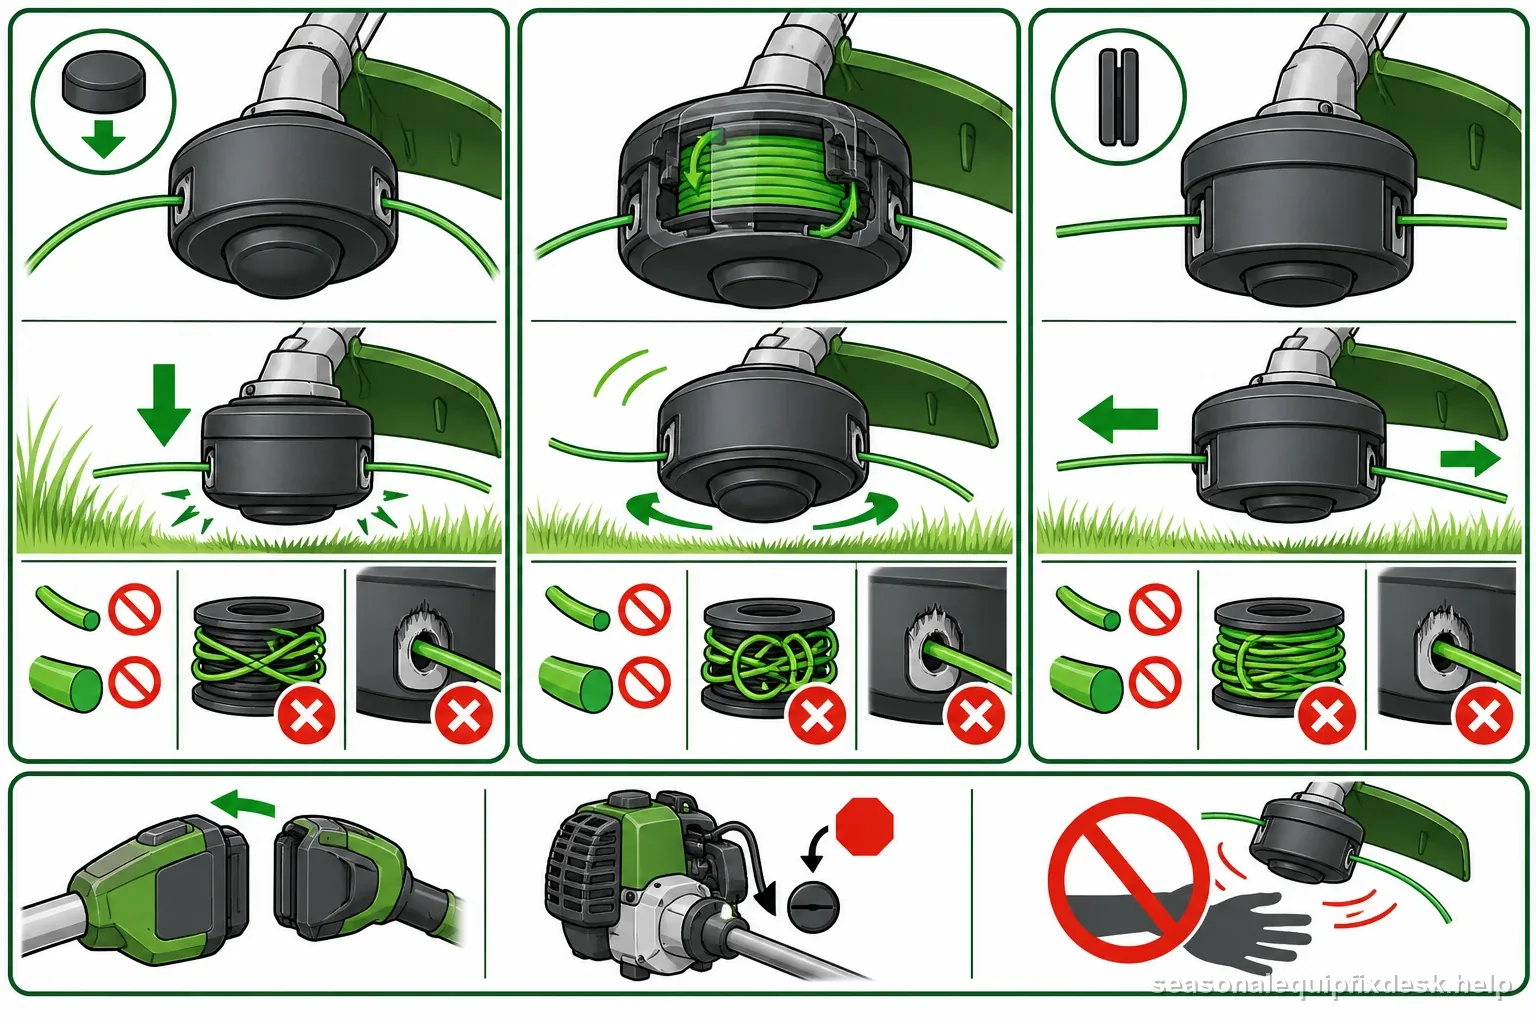
Remove the battery or disable the engine before opening the head. Keep the guard and line-limiting blade installed for operation; do not fit oversized line to force extra cutting reach.
Start with the line that is already visible
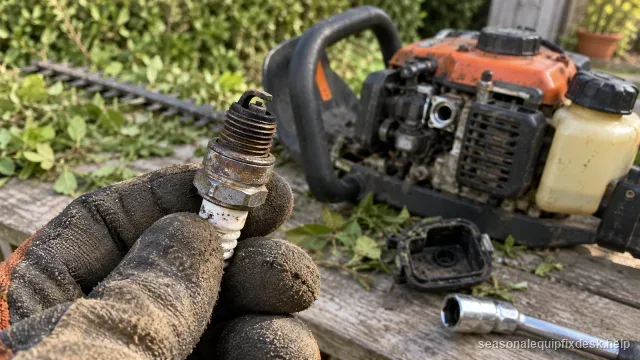
Shut the trimmer off, remove the battery or disconnect the spark-plug lead as appropriate, and wait for the head to stop. Look at both eyelets before opening anything. If one side is much shorter than the other, the line may have crossed, tucked under itself, or broken inside the spool. If both ends are extremely short, do not assume the bump button failed; there may simply be too little free line for the feed system to work normally.
For a bump-feed head, note whether the button is badly worn, packed with dirt, or stuck flush with the housing. For an automatic-feed head, record whether the line failed after a spool change, after striking a hard edge, or gradually over several uses. Those histories point to different faults.
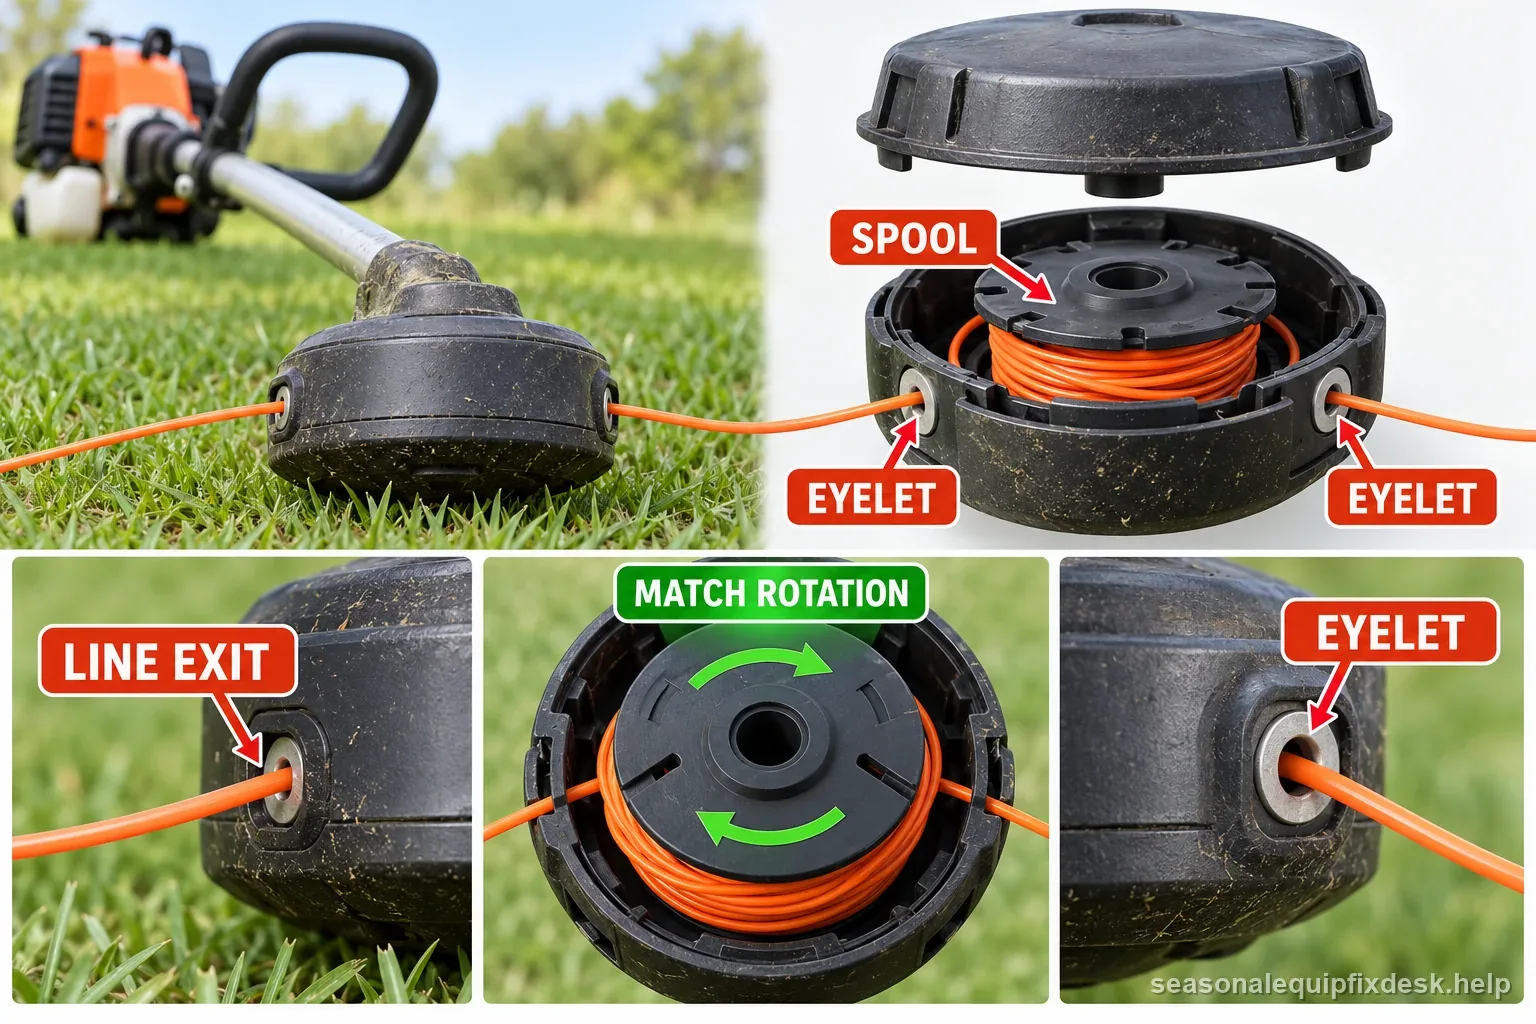
Wrong diameter can make a correctly wound spool act jammed
Use the line diameter specified for the exact head, not just the trimmer model family. Line that is too thick can bind in the spool channels and eyelets; line that is too thin may feed erratically, retract, or break before the mechanism meters it. A spool that worked until a new roll of line was installed is strong evidence to recheck diameter and shape before buying a replacement head.
Also compare round, twisted, or multi-edge line with the head maker's recommendations. The issue is not that one shape is universally better. The goal is to avoid loading a head with a profile that drags through an eyelet or occupies more spool space than the mechanism was designed around.
Rewind the spool only after checking how the old line failed
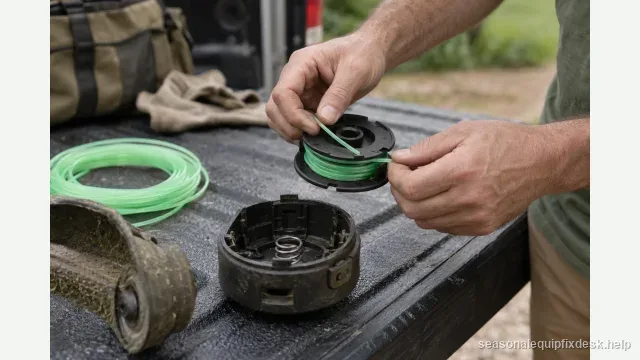
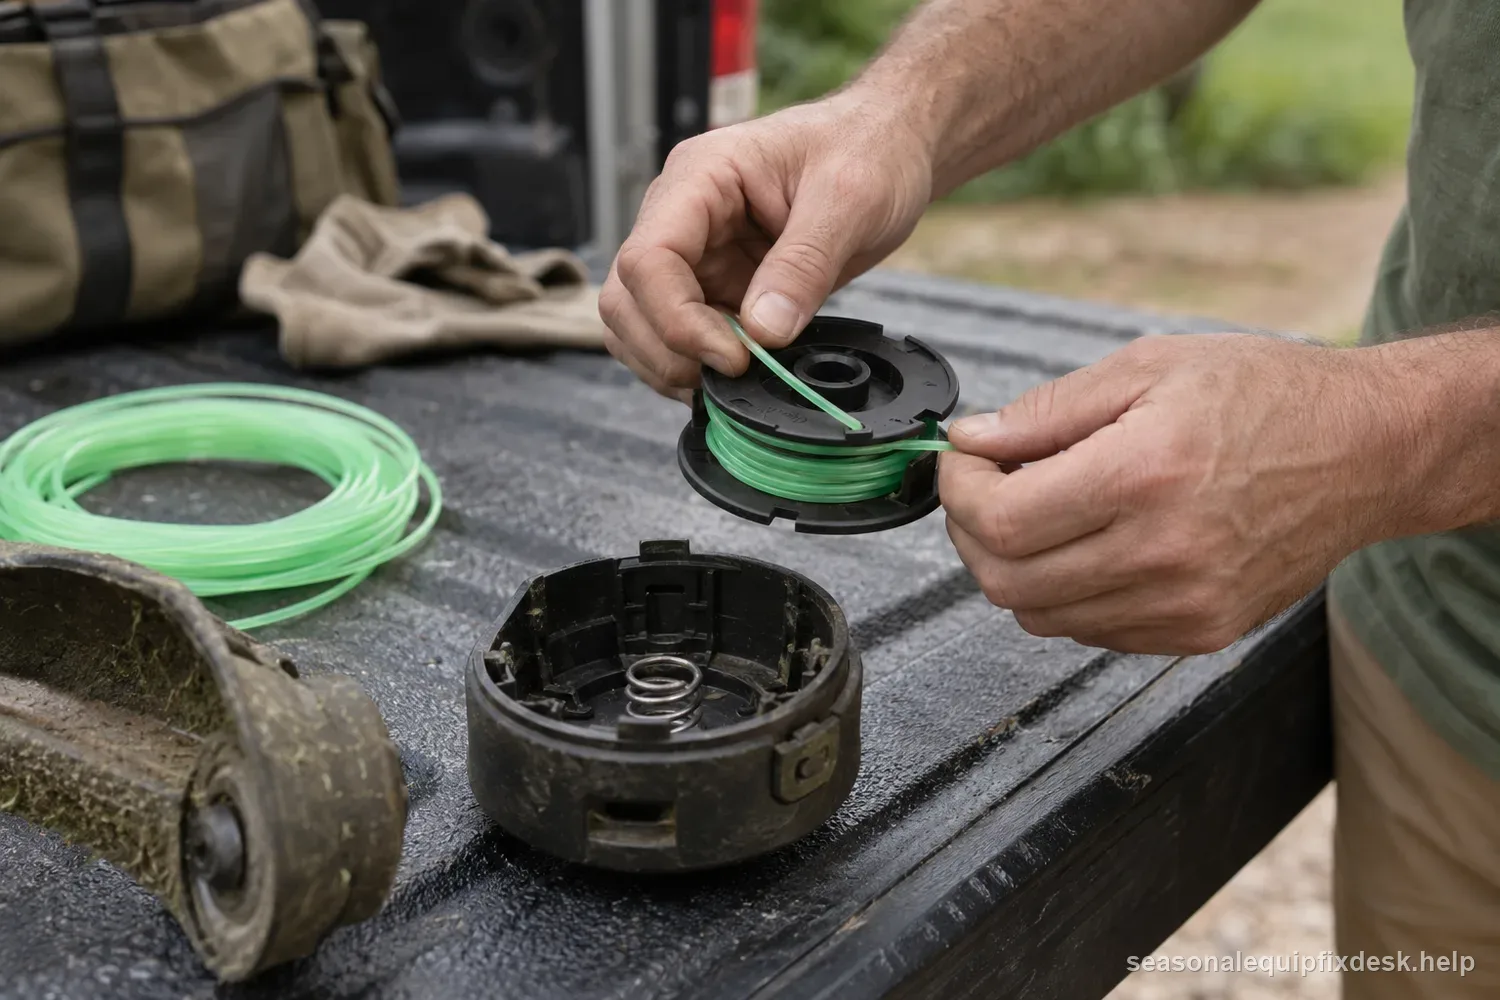
Remove the spool on a clean surface so springs, caps, washers, or indexing parts do not disappear in grass. Before pulling the old line out, photograph the winding direction and where the line crosses the eyelets. A tight knot near the center suggests poor winding. Melted or flattened coils suggest heat and friction. A nearly empty spool with clean line ends suggests normal consumption rather than a feed fault.
Follow the arrows or manual for winding direction. Keep the wraps even and organized instead of crisscrossing. Do not overfill the spool: extra line can press against the housing and prevent the spool from rotating or stepping. Husqvarna's current support guidance specifically warns against tangled winding and overfilled spools.
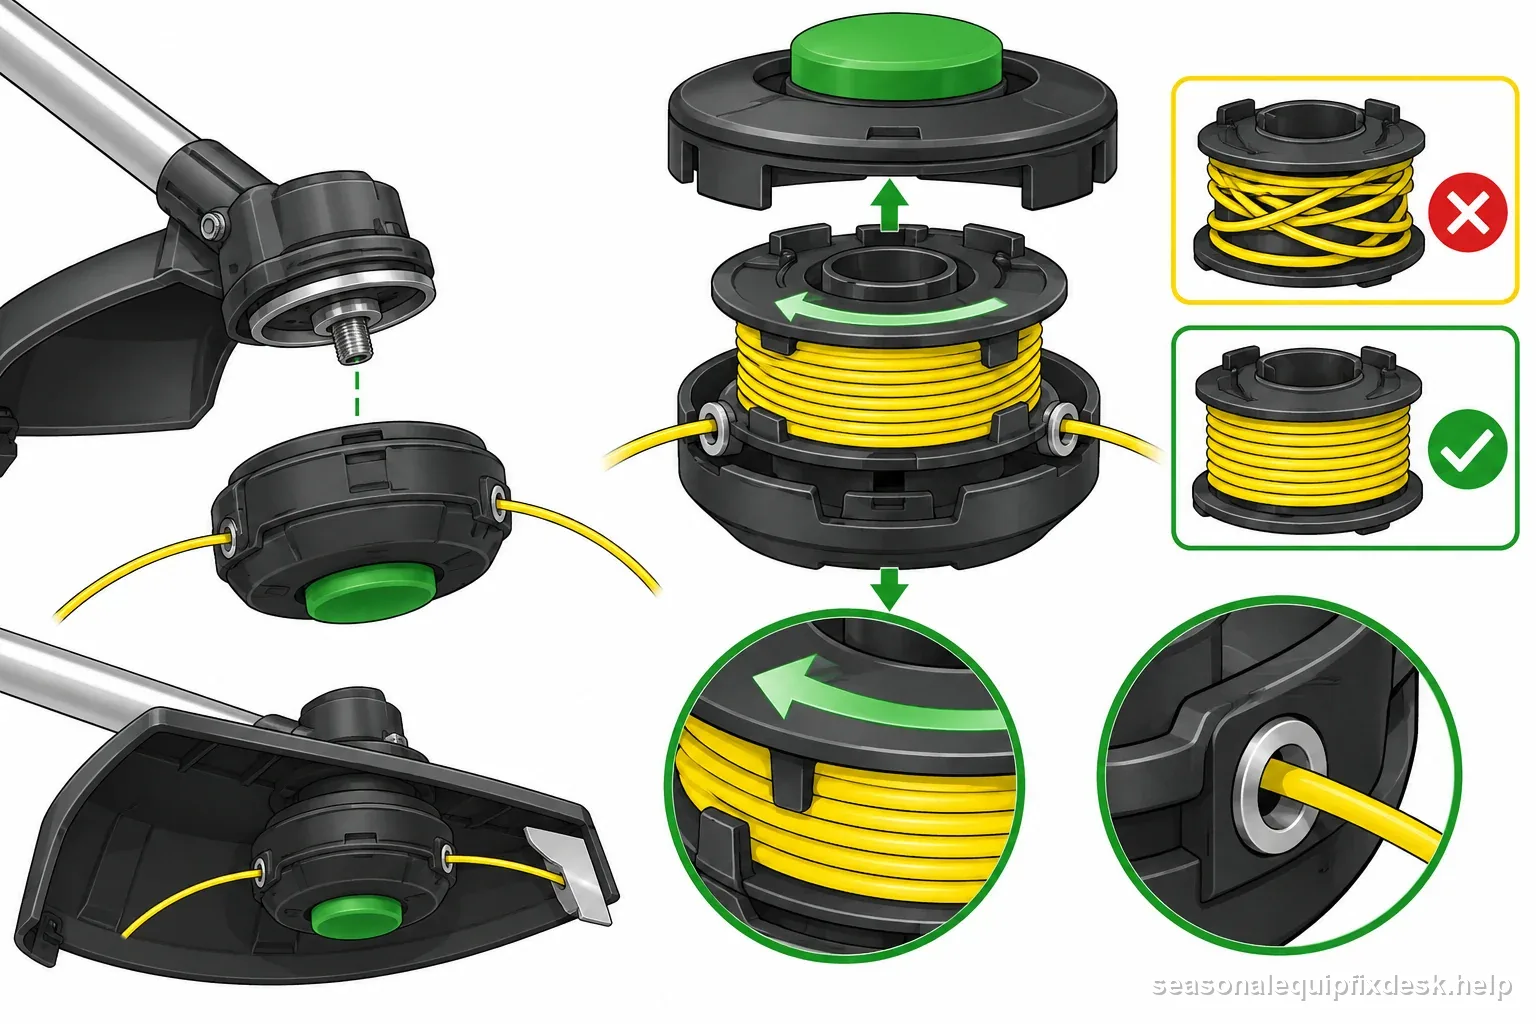
| Head type | Feed behavior | First compatible check |
|---|---|---|
| Bump feed | Tap head while spinning as manual directs | Spool direction, eyelets, line diameter |
| Automatic feed | Line advances by model mechanism | Spool winding and trigger sequence |
| Fixed line | Replace short segments by hand | Correct segment length and retention |
Clean the parts that actually have to slide
Grass fibers and abrasive dust can pack between the spool and head shell. Clean the spool hub, spring pocket, bump-button travel, and eyelets with the head removed and power isolated. Do not lubricate a dry-running plastic spool unless the manual explicitly calls for it; oil can collect more grit and make a clean mechanism sticky.
Inspect eyelets for sharp grooves. A grooved eyelet can cut line so quickly that the user interprets the short ends as a feed failure. Also inspect the spool rim and cap latches. If the cap does not seat squarely, the spool may bind even though the winding is correct.
A bump head needs a valid operating test
Reassemble the head completely and pull both line ends to confirm they are free. On models that use a bump-feed system, test it exactly as the manufacturer instructs. STIHL's current FAQ notes that on its bump-feed systems the head should be advanced at wide-open throttle; other brands or head designs may specify a different procedure, so use the model manual rather than copying that instruction across every trimmer.
One clean feed event is more useful than repeatedly pounding the head on concrete. If the button moves but no line advances, return to spool winding and internal indexing. If the button will not move or the spool cannot step even when correctly loaded, the feed mechanism may be worn or broken.
When the head should be replaced instead of reloaded again
Replace the affected head parts when the spool hub is cracked, the cap no longer locks, the bump button is worn through, the indexing teeth are rounded, the eyelets are deeply grooved, or a spring is damaged. Use the head maker's parts diagram where available. Installing a complete head simply because line was wound backward wastes money; continuing to use a cracked high-speed head is the opposite mistake.
- Head style and model
- Specified line diameter/material
- Spool winding direction and evenness
- Eyelets and bump cap movement
- Guard and line limiter present
- Feed test under model-approved operation
Two examples: model limits and feed evidence
Model-specific example: The cited Toro manual specifies 2.4 mm (.095 in) line, a 7.3 m (24 ft) maximum piece, and 152 mm (6 in) at each end. For that model, 2.7 mm or 8 m exceeds its directions; reload to the manual.
Illustrative observation: A sample spool starts with 6 inches at each eyelet. After three manual-approved tests, one side measures 1.5 inches and the other 5 inches. Isolate power and inspect the shorter side’s eyelet; this is not a universal threshold.
| Record | What it tells you | Next step |
|---|---|---|
| Exact model manual | Permitted diameter and loading method | Match both before winding |
| Both exposed ends | Uneven shortening or breakage | Inspect eyelets with power isolated |
Use the next mowing session as the proof
Trim a short test area with the guard and line-cutting blade intact. Confirm that the head feeds in controlled increments and the guard trims excess line to the designed length. If feed works on the bench but stops only after several minutes, reopen the head and look for heat-fused coils, line swelling, or a spool that was packed too tightly.
If the line repeatedly breaks at the same eyelet, investigate the eyelet and line condition rather than rewinding forever. If the entire head vibrates, wobbles, or loosens, stop the trimmer and address attachment damage before another feed test.
Storage matters more to the line than most users expect
Line that becomes brittle in storage can snap before the feed mechanism has a chance to advance it. Husqvarna advises storing trimmer line away from direct sunlight and notes that some aged line can regain flexibility after soaking. Follow the line maker's instructions for your product rather than treating soaking as a universal rule.
The cleanest seasonal habit is simple: empty debris from the head, record the correct diameter on the spool or in a maintenance note, and store spare line where heat and sunlight will not degrade it. That prevents next spring's first spool change from becoming a diagnosis of a feed mechanism that was never actually broken.
If a compatible battery blower itself will not start, check its power source and required assembly with the cordless blower no-power sequence.
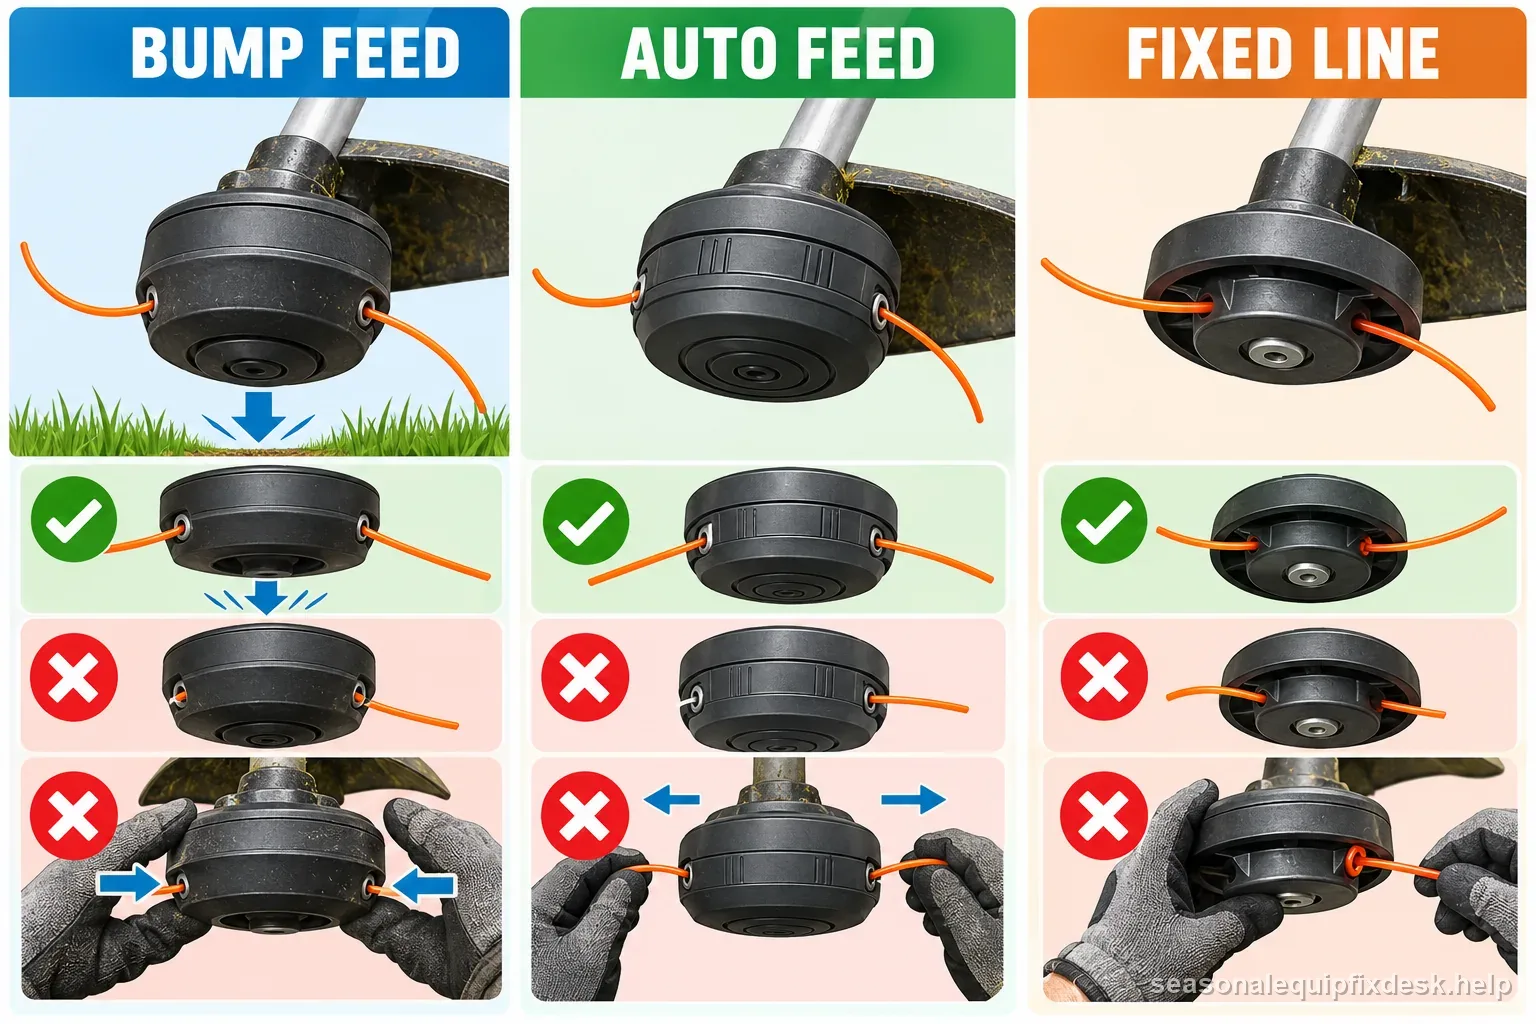
Match the feed complaint to the head design
First identify whether the head is bump-feed, automatic-feed, or a fixed-line replacement head. Their release methods differ, so a tap that helps one design may do nothing on another. With the tool switched off and isolated according to its manual, compare the installed line diameter and winding direction with the head label. Crossed wraps, a jammed spool, a melted line, or line that is too large can prevent movement even when the mechanism is intact. Check that both line ends pass through their eyelets and that the cap is fully seated without forcing its tabs. Never test the head while it is spinning or pull line near a running engine. If the spool is cracked, the eyelet is damaged, or the head does not turn freely by the approved hand check, replace the matched head or arrange service. Keep a photo of the head model and the line specification for the parts counter.