Quick answer: Separate two complaints. If turning the tensioner does not move the guide bar, inspect the adjuster mechanism and whether its pin is engaged in the bar. If the chain tensions correctly but becomes loose again, look at bar-nut clamping, heat expansion, chain seating/break-in, bar or sprocket wear, and whether the chain is the correct pitch, gauge, and drive-link count. A chain that repeatedly comes off is a retention problem, not something to solve by simply tightening harder.
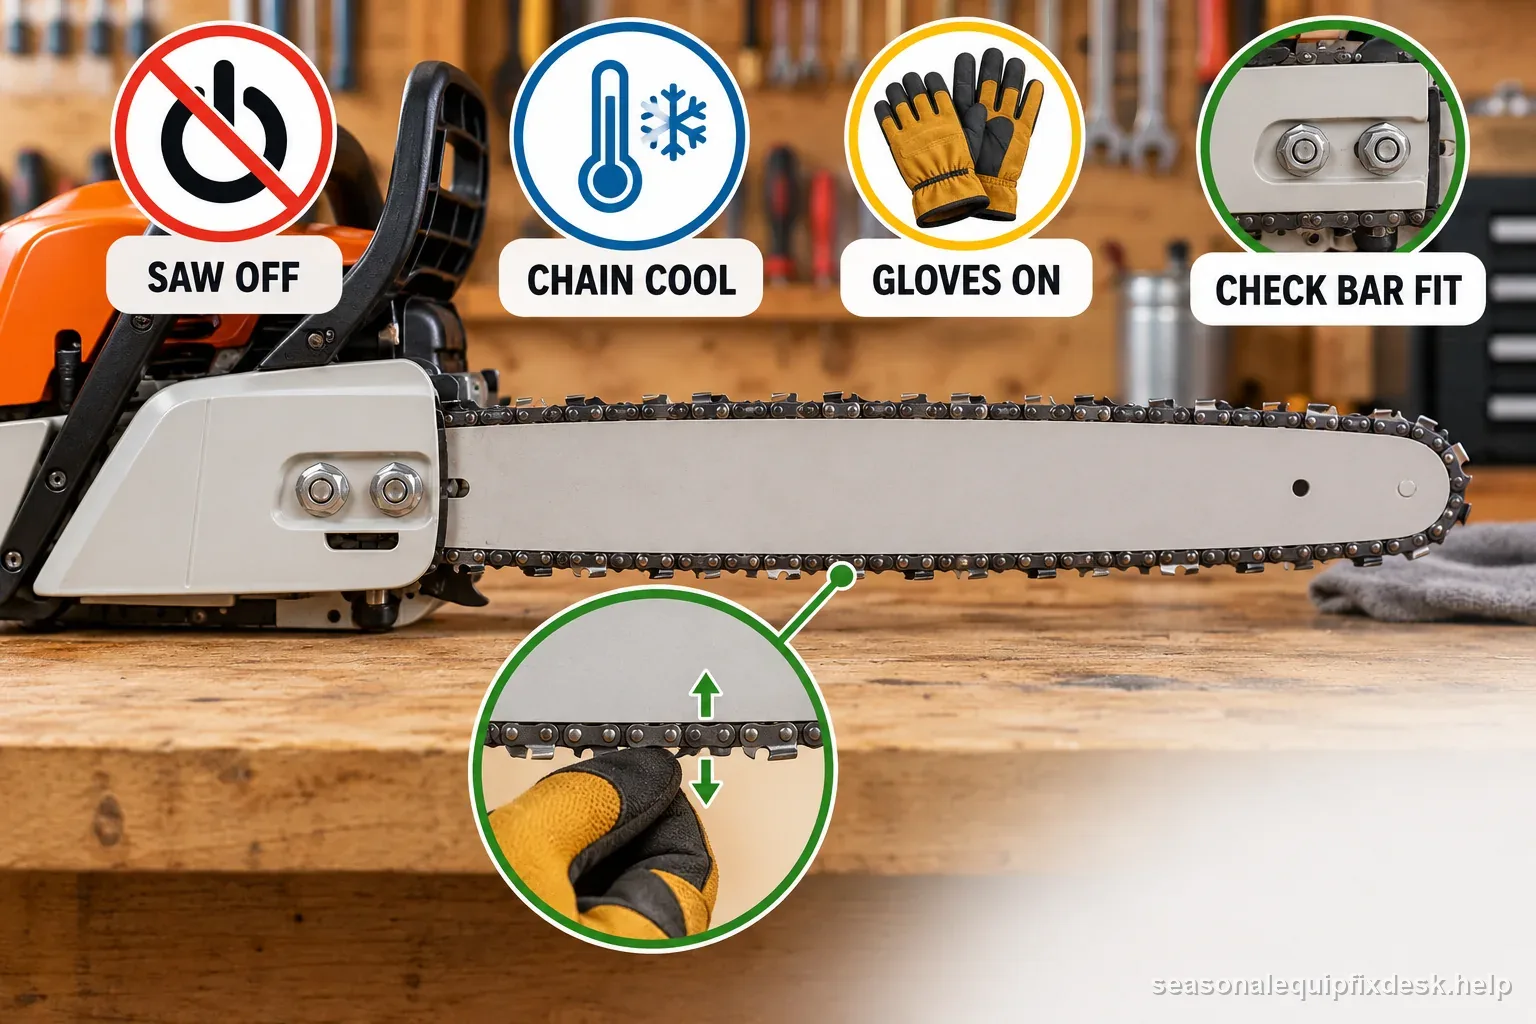
Husqvarna warns that incorrect chain tension can allow the chain to come loose and cause serious injury. Shut the saw off, let the chain cool, and wear gloves before adjustment. The final tension standard comes from the exact operator manual; the goal is not an internet number of exposed drive links.
Let a hot chain cool before you decide it is “too loose”
Chain length changes with temperature. Husqvarna explicitly tells users to allow the chain to cool before adjustment because a hot chain expands and tightens again as it cools. Cranking a hot chain extremely tight can create damaging tension after shutdown.
If the complaint appears only after a long cut, note whether the chain returns closer to normal as it cools. That pattern is different from a tensioner that backs off immediately or bar nuts that are not holding the bar position.
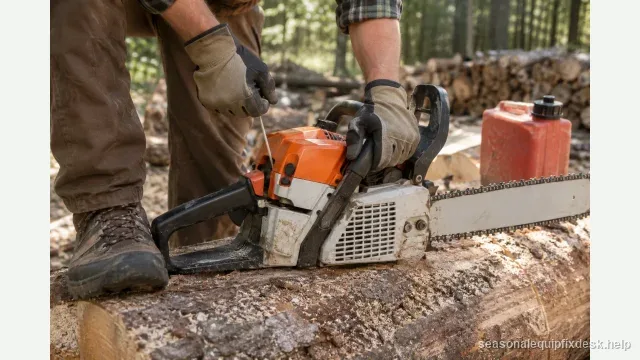
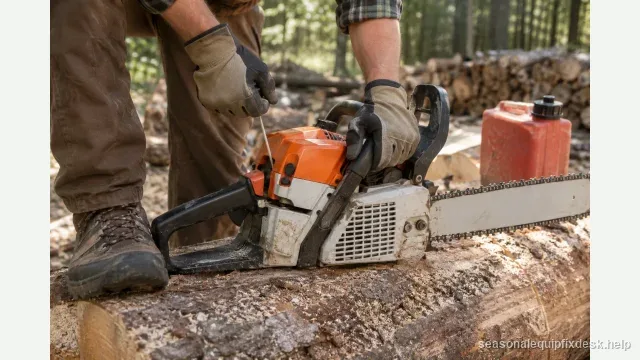
Before touching the chain, switch the saw off, let the engine and chain cool, and disable starting exactly as the manual directs: remove the battery or unplug an electric model, or disconnect the spark-plug lead on a petrol saw. Wear protective gloves. Release the chain brake only for a check that requires the chain to move by hand, then engage it again as directed. Never use the throttle to test tension.
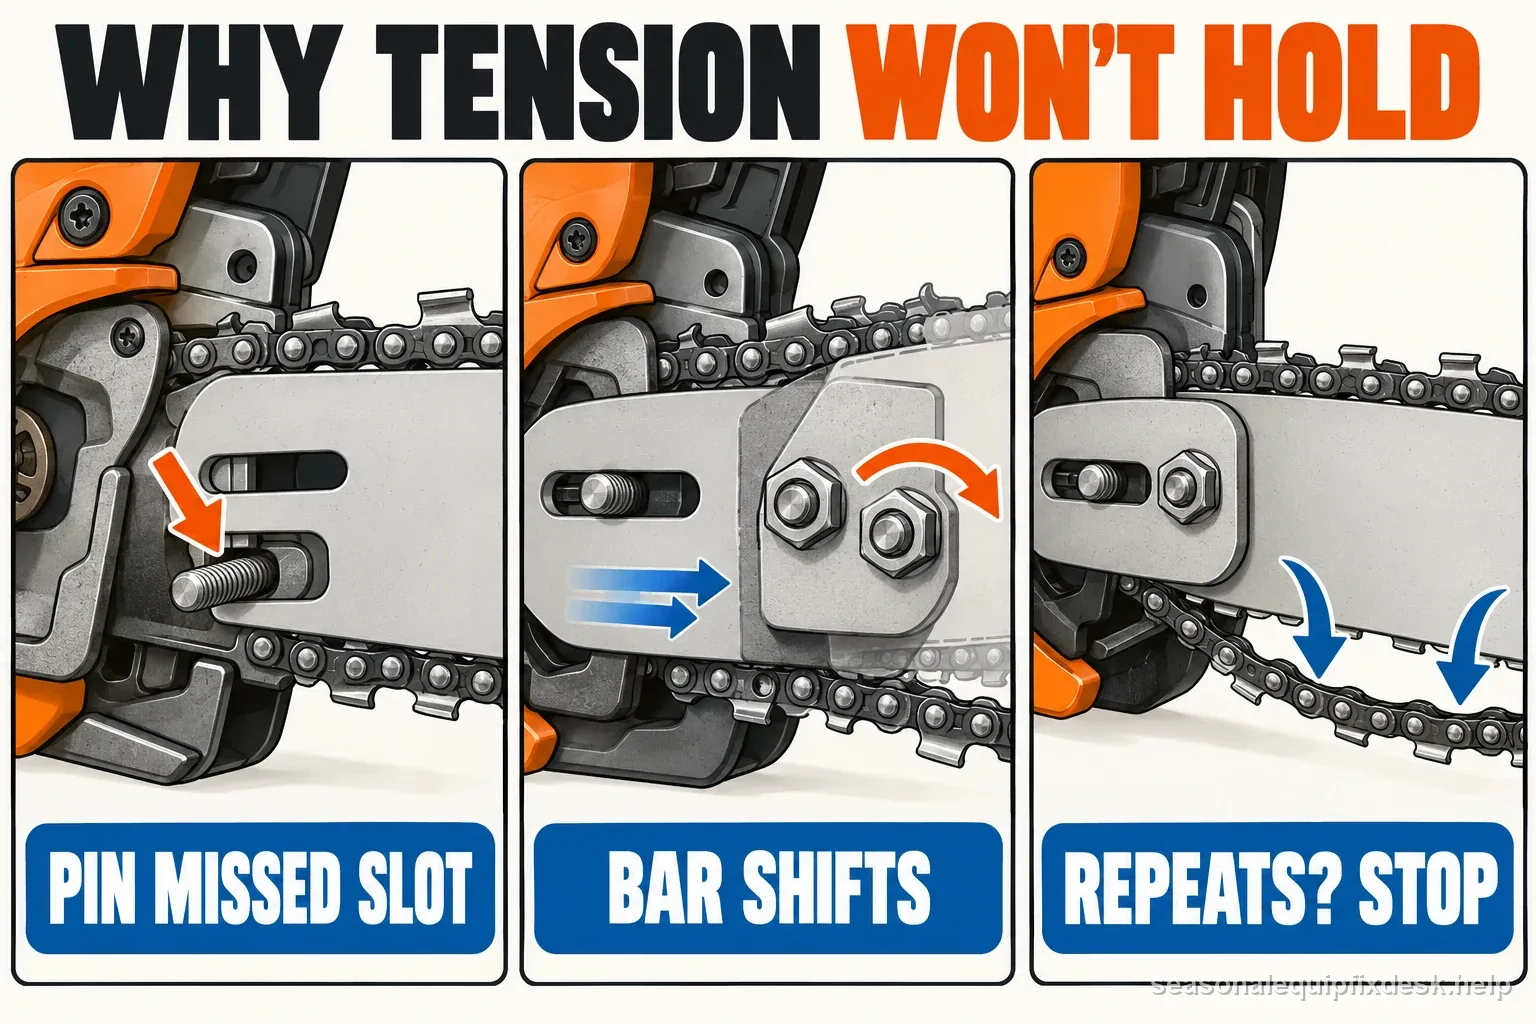
If the tension screw turns but nothing moves, watch the guide bar
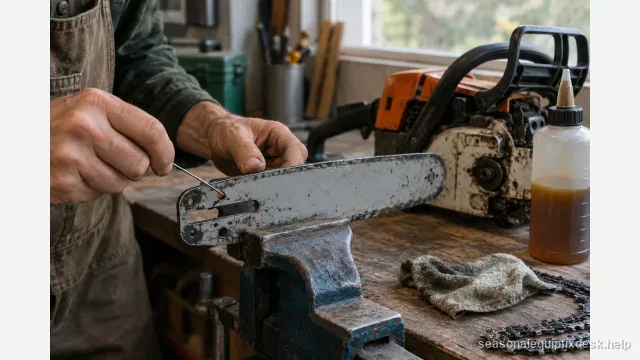
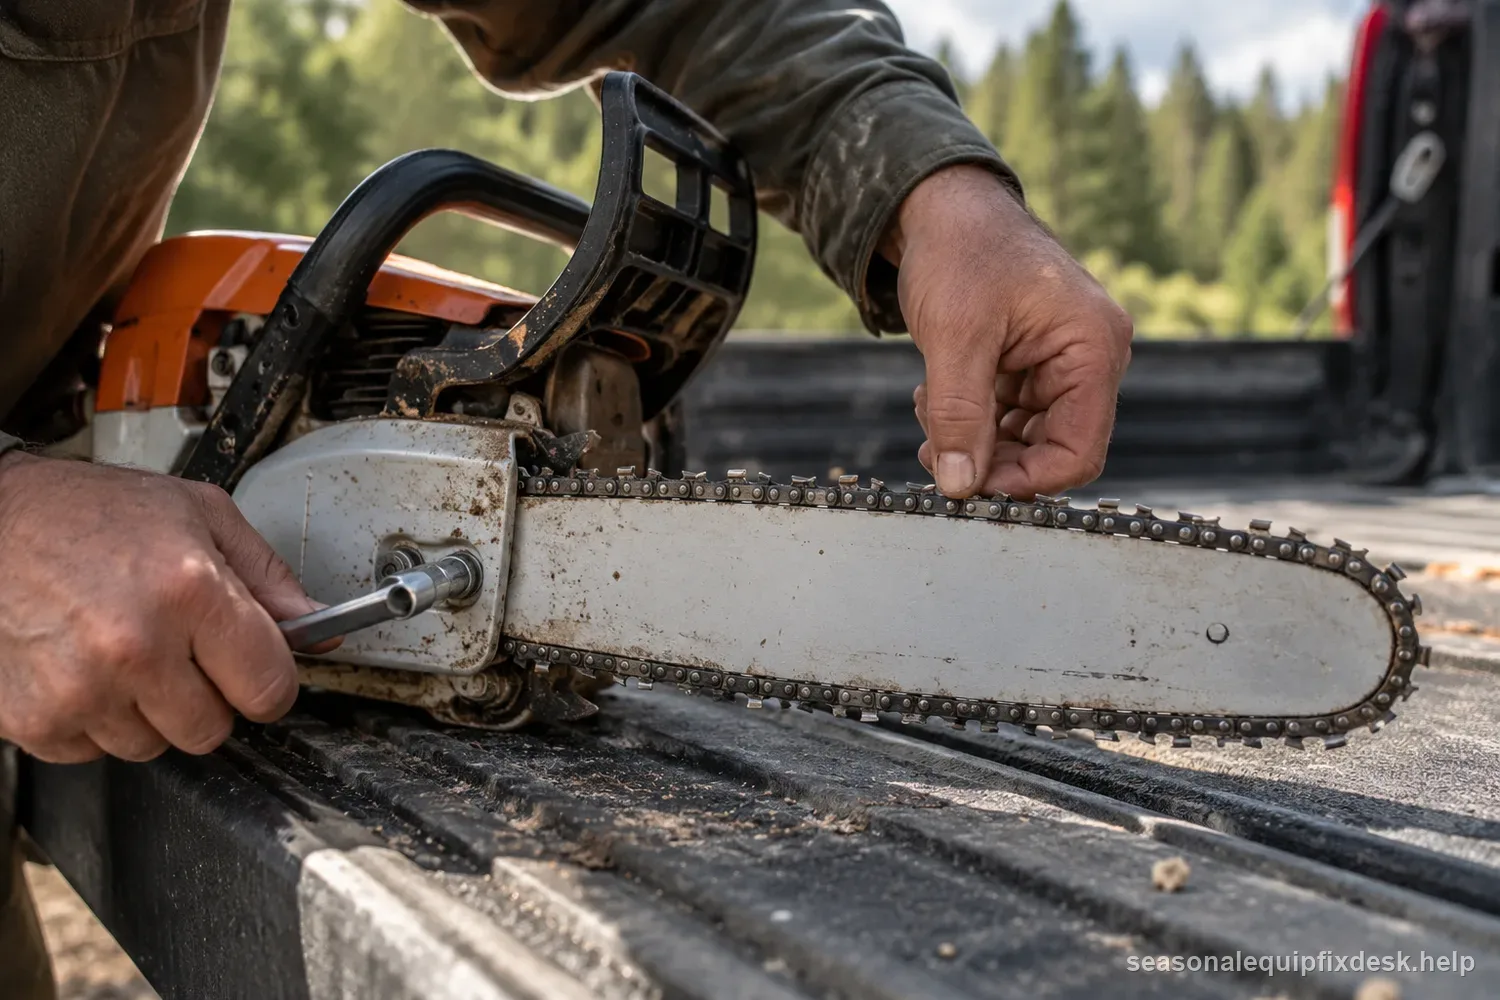
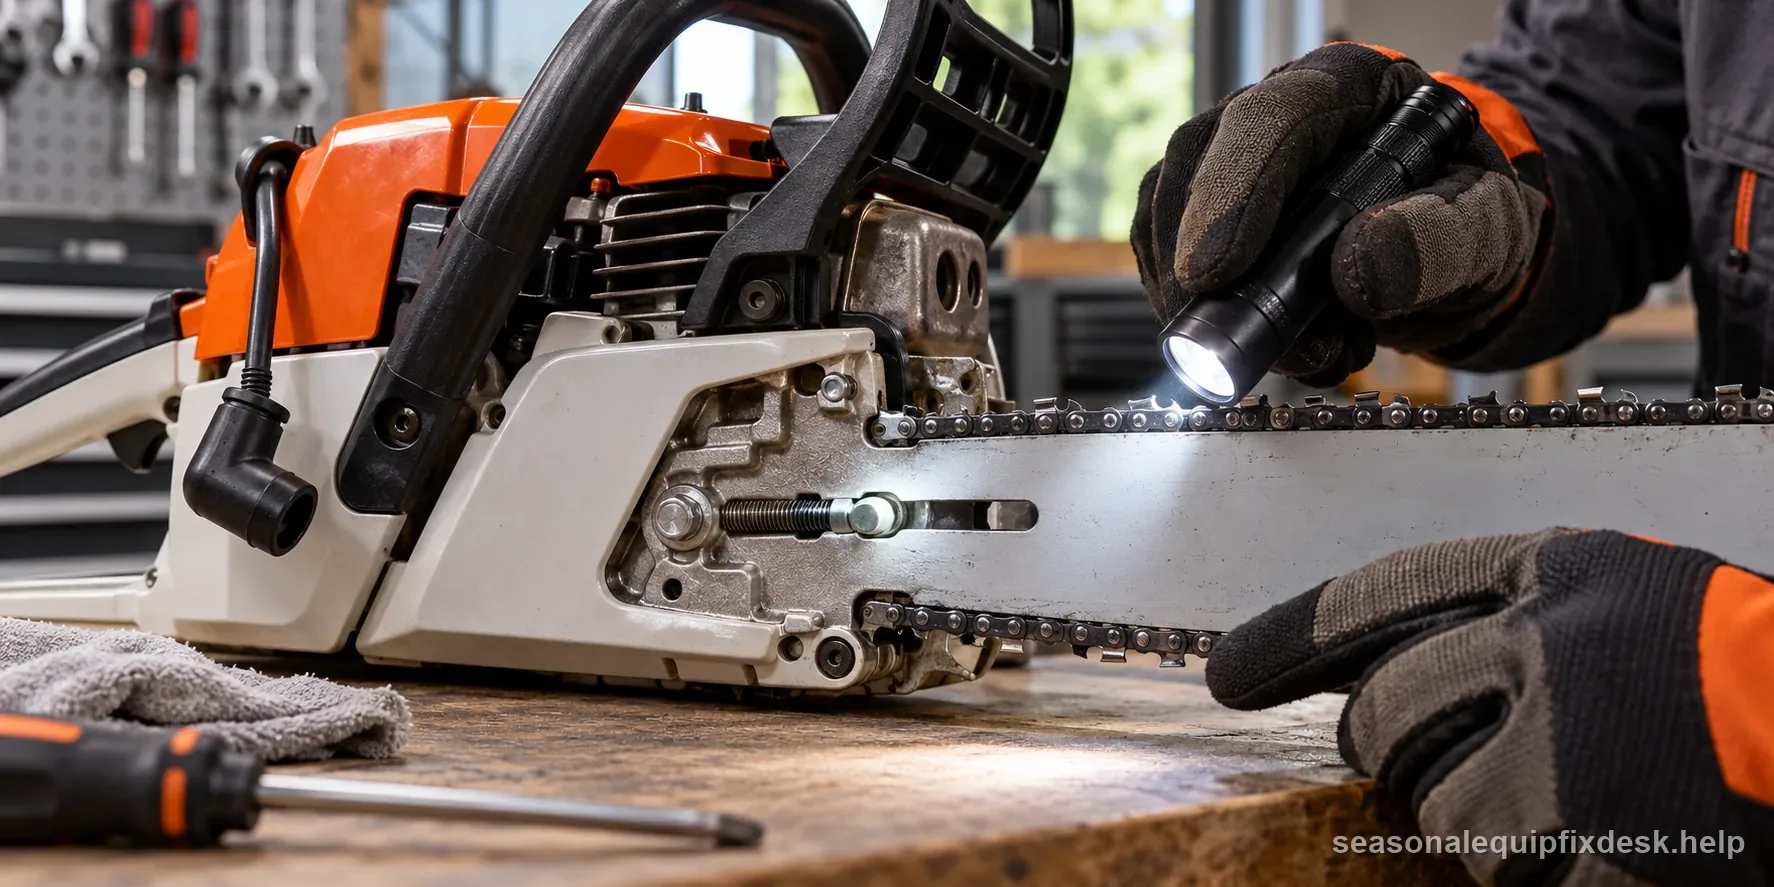
Loosen the bar nuts only enough to allow the bar to slide, then support the bar nose as the manual directs and turn the adjuster. The guide bar should move in or out as the tensioner works. If the screw spins with no bar movement, inspect the adjuster pin, screw, gear, and the hole or slot in the bar that the mechanism engages.
A damaged adjuster can sometimes still make clicking or turning noises. Do not use pliers on the bar to substitute for a broken tensioner. The adjuster and clamping hardware must be able to hold a repeatable setting before the saw is used.
Correct chain fit comes before tension adjustment
Pitch and gauge must match the bar and drive sprocket, and the drive-link count must fit the bar length/setup. A chain that is too long may run out of tensioner travel; an incorrect gauge may not seat correctly in the rails; a pitch mismatch can ride badly on the sprocket. Use the bar marking, saw manual, or manufacturer fit chart rather than appearance alone.
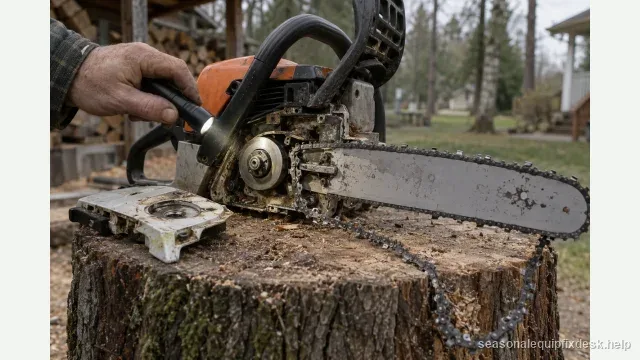
Inspect every drive link if the chain has derailed. Burrs or bent tangs can prevent smooth movement in the bar groove even when the chain dimensions are nominally correct. A damaged thrown chain may need replacement instead of more tension.
Set cold tension with the bar clamped in the position it will run
- Switch the saw off, remove the battery or otherwise disable starting as the manual specifies, and wear gloves.
- Disengage the chain brake only when the tensioning procedure requires the chain to move by hand.
- Loosen bar nuts enough for bar movement and hold the bar nose up if the manufacturer instructs.
- Turn the tensioner until the chain sits snugly against the underside of the bar while still moving by hand according to the manual.
- Keep the bar in position while tightening the bar nuts, then recheck movement and tension after clamping.
STIHL and Husqvarna both emphasize that the bar fasteners must be secured after adjustment. If the setting changes as the nuts are tightened, redo the procedure rather than accepting a chain that looked correct only while the bar was loose.
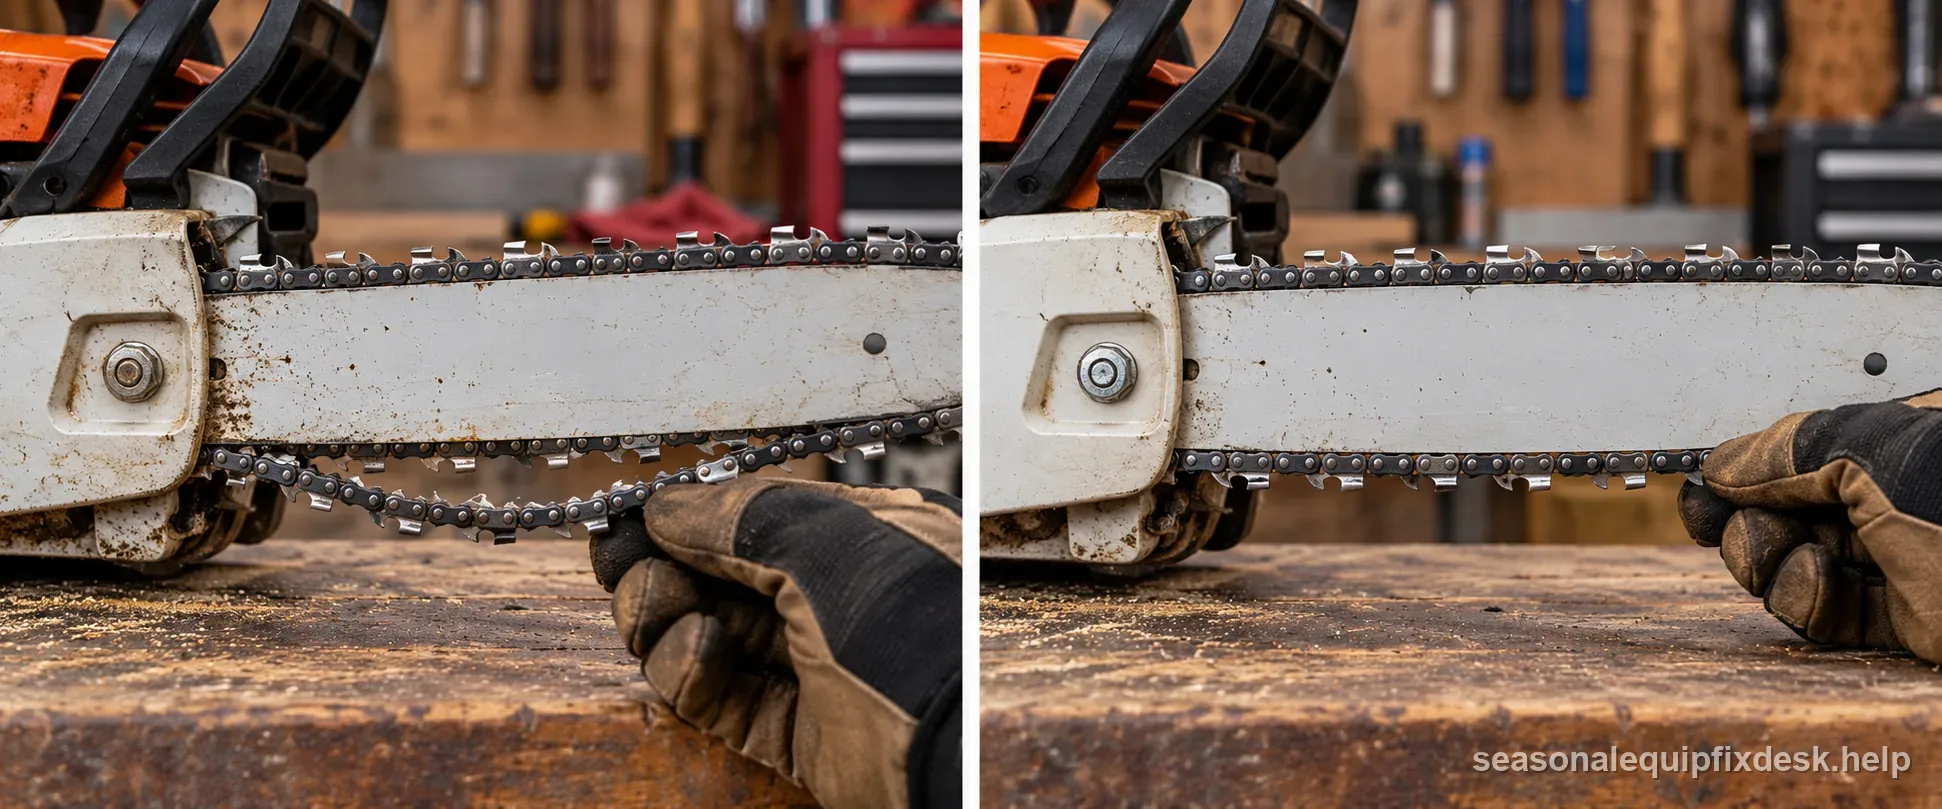
There is no universal gap or “number of drive links” that applies to every bar and chain. Chain pitch, gauge, drive-link count, bar design, and the manufacturer’s tension test determine the fit. Use the exact model instructions whenever a generic description conflicts with the saw’s marks or manual.
A new chain can need more frequent early checks
New chain components seat during initial use, so early tension checks are normal. That does not mean the chain should be tightened before every cut indefinitely. If looseness continues after break-in, inspect the bar mounting surfaces, nuts/studs, sprocket, and chain condition for wear or movement. Husqvarna’s support procedure gives its own short post-adjustment recheck interval; other saws can specify a different schedule, so use the exact manual rather than treating one interval as universal.
Clean packed sawdust and oil from the bar-mount area before blaming the fasteners. Debris trapped between the cover, bar, and powerhead can settle after the saw heats and vibrates, changing the clamped position.
- Cold setupCheck fit and snugness before cutting.
- Bar clampedRecheck after tightening the cover nuts or knob.
- Early useNew chain may settle; stop and inspect if it sags.
- After the cutCool first, then recheck before adjustment.
Bar rails and sprockets can make a correctly adjusted chain behave badly
Check the bar groove and rails for heavy wear, spreading, burrs, or uneven surfaces. Inspect the drive sprocket and bar nose sprocket for abnormal wear or roughness. A worn drive path can let the chain rock or climb even if static tension seems acceptable.
Do not try to compensate for worn components by overtightening. Excess tension increases friction and loads the bar, sprocket, clutch/bearings, and chain. The chain must both remain retained and move as the manufacturer specifies.
Distinguish “loosens” from “throws the chain”
If the chain simply sags after heating but remains seated, temperature and normal settling may be part of the issue. If drive links leave the bar groove, the chain catcher is contacted, or derailment happens under throttle, stop using the saw and perform a full retention inspection. That includes correct chain fit, bar/nose condition, sprocket wear, tensioner integrity, and bar clamping.
A thrown chain can be damaged even when it looks reusable. Inspect drive links carefully and follow the manufacturer guidance on refitting versus replacement before running it again.
The post-adjustment test is mostly a recheck, not a long cut
After setting tension, rotate or pull the chain by hand only as allowed by the manual, verify the brake works, and make a short controlled cut in suitable material only if the chain stays seated. Stop the engine and let the chain cool before readjusting; recheck tension after the first short run and again when cool. The useful result is that the chain remains on the bar, moves normally, and does not require extreme tightening to stay there.
Stop DIY work for damaged bar studs, a broken tensioner housing, cracked side cover, repeatedly loosening hardware, severe bar/sprocket wear, or any chain that derails again after correct fit and tension. Those defects compromise retention and should be repaired before further cutting. A chain that has derailed more than once should not return to service until the bar, chain, sprocket, adjuster, and clamping system have been checked together.
| Observed symptom | Most useful first check | What it suggests |
|---|---|---|
| Tension screw turns; bar stays still | Adjuster pin, gear, or bar slot | Tensioner is not translating movement to the bar |
| Chain loosens as saw heats | Hot versus cool tension; early chain seating | Thermal expansion or normal initial settling |
| Chain loosens immediately after tightening | Bar nuts, bar lift, and clamping surfaces | Bar is shifting as hardware is tightened |
| Chain repeatedly leaves the bar | Chain dimensions, rails, sprocket, and adjuster | Stop use; inspect retention parts before restart |
| Chain is snug but binds by hand | Overtension, brake state, damage, or debris | Do not start; follow manual and inspect drive path |