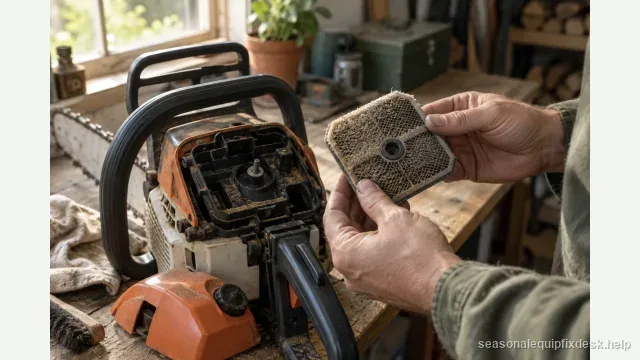
Quick answer: A chain that repeatedly leaves the guide bar is a retention fault. Stop cutting and inspect the entire chain path before reinstalling it. Husqvarna specifically warns that a thrown chain is likely to be damaged; it also notes that immediate derailment can point to incorrect chain/sprocket fit, while derailment during use often brings tension and cleanliness into the diagnosis. Do not solve repeat throws by tightening the chain far beyond the manual setting.
A chain that repeatedly leaves the bar needs more than another turn of the adjuster. Use the chainsaw chain tension and fit checks to inspect bar clamping, chain fit, wear, and the stopping point.
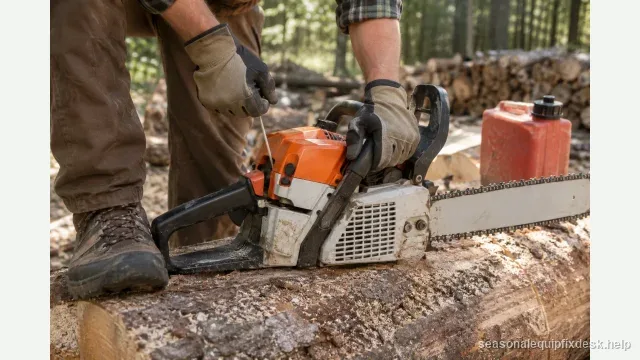
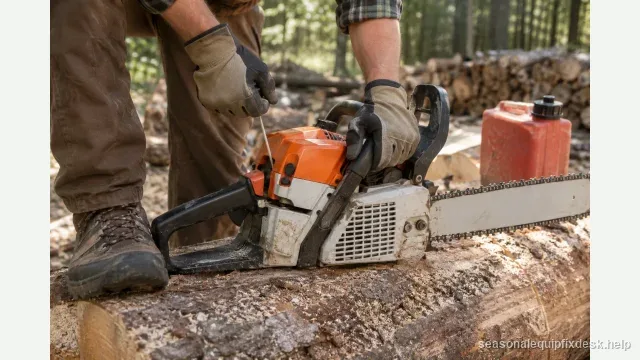
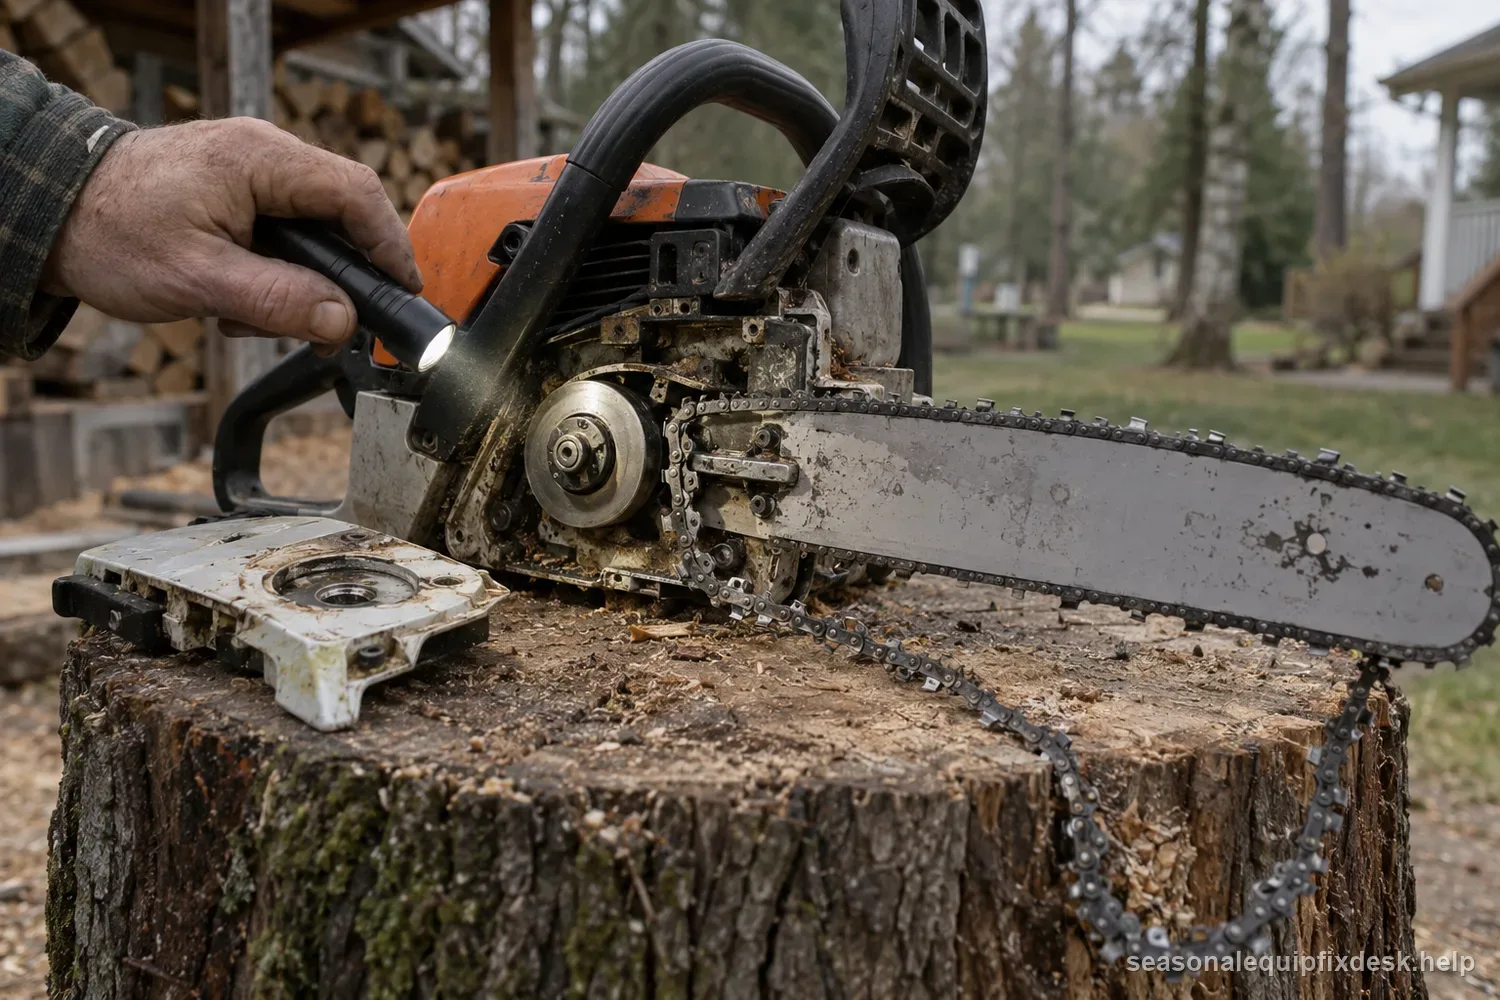
Engage the chain brake when appropriate, shut the saw off, remove the battery or disable ignition according to the model, and wear gloves. A thrown chain can leave sharp burrs on drive links and can damage the chain catcher or bar, so the inspection starts before the chain goes back on.
| When it derails | Inspect first | Why this branch fits |
|---|---|---|
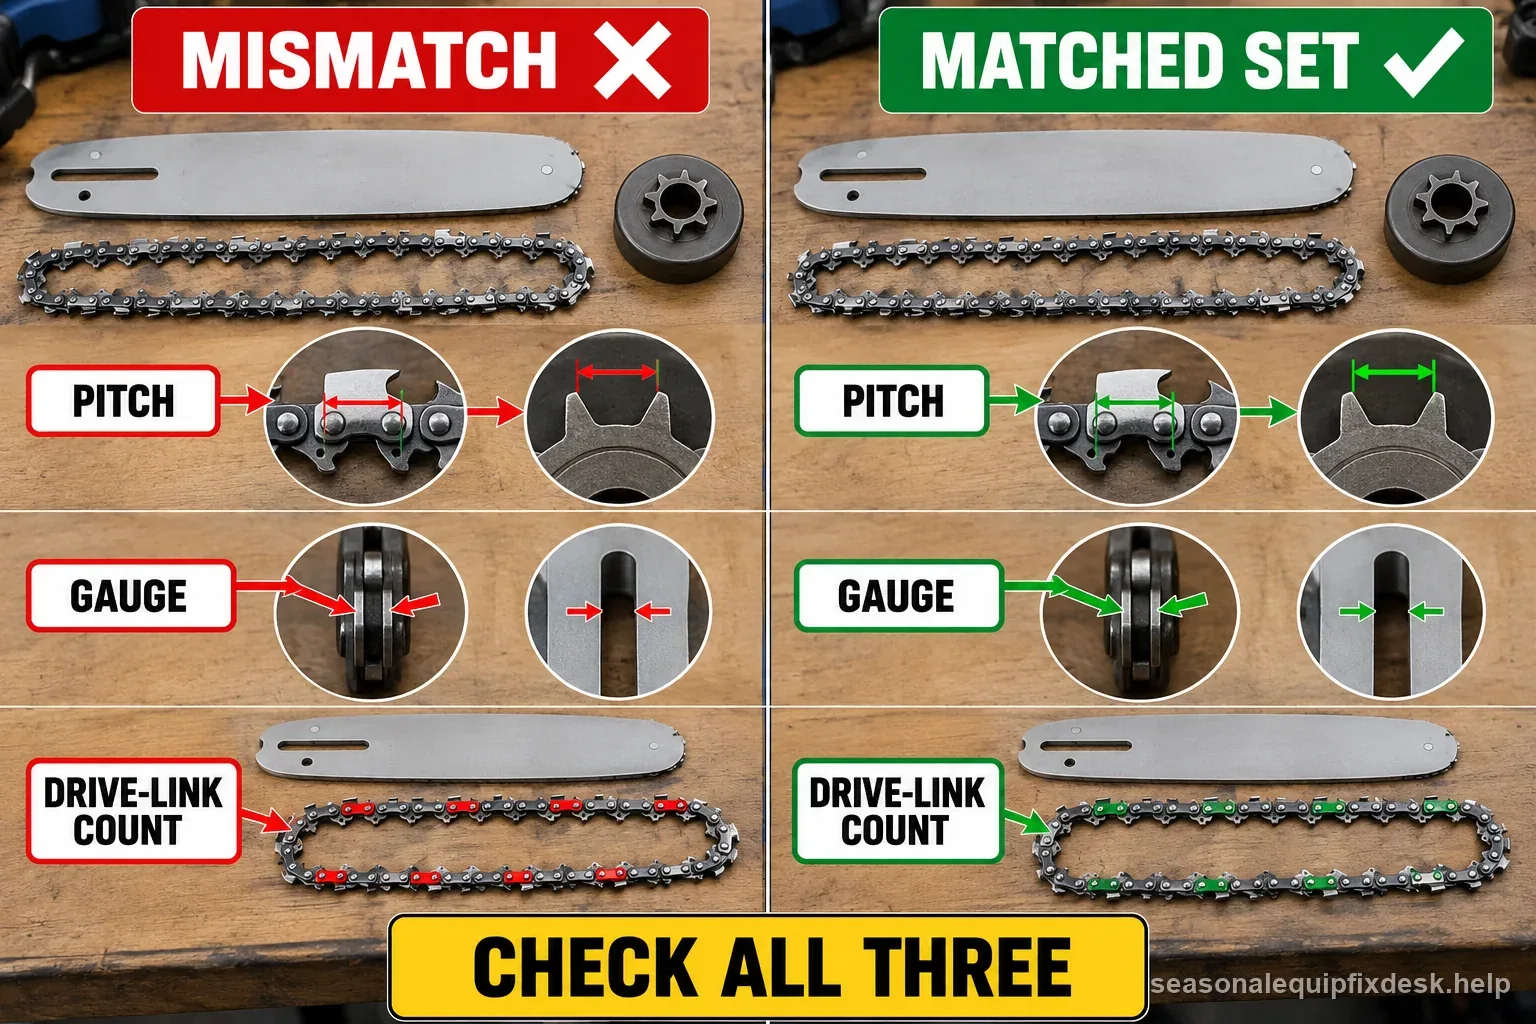
| Immediately after assembly | Pitch, gauge, drive-link count, chain direction, and bar seating | A mismatch or spacer at the studs can prevent proper fit |
| After tightening or reassembly | Bar movement as nuts were secured; tensioner pin engagement | Clamping can change the setting or leave the bar off its mount |
| Only during a cut | Cold tension, chain damage, rail spread, sprocket wear, and debris | Load and a damaged track can expose a retention problem |
| After repeated chain changes | Drive sprocket and guide bar service condition | A new chain does not correct worn mating parts |
Timing narrows the inspection; it does not make another start safe before the saw is disabled and inspected.
The moment it comes off tells you where to begin
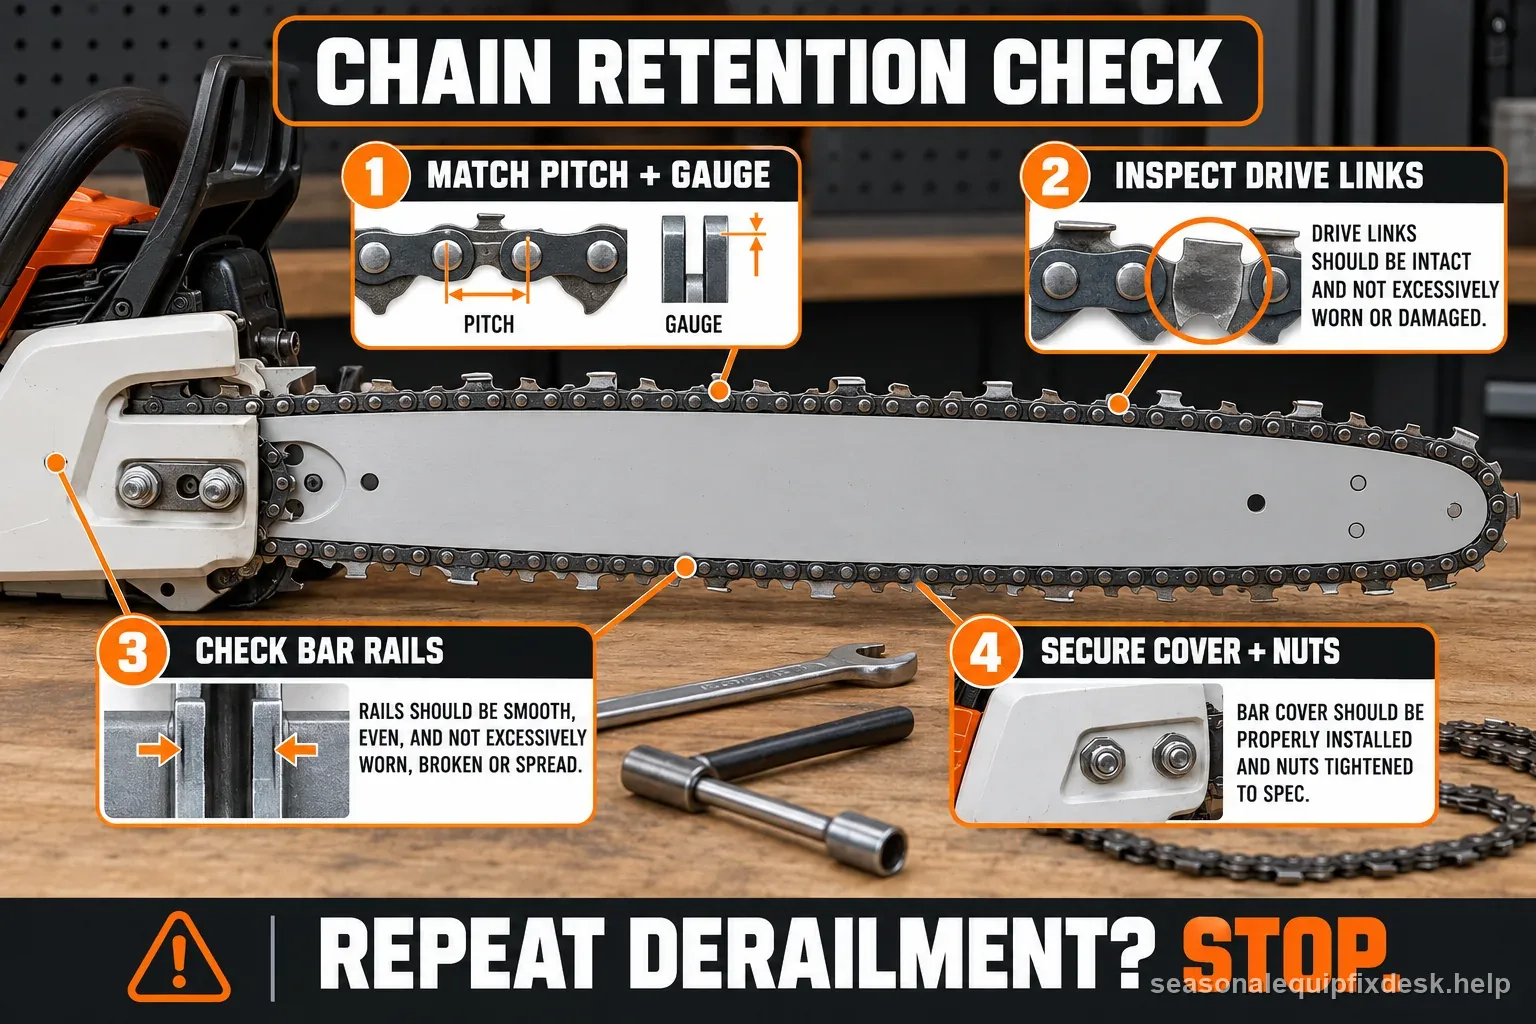
If the chain derails immediately when the saw starts, verify that the chain pitch, gauge, and drive-link count match the guide bar and drive/rim sprocket. Husqvarna calls incorrect chain type/size or sprocket fit a likely explanation for an immediate throw. Do not assume a package labeled for the same bar length is automatically the correct chain.
If it stays on at idle and comes off only after cutting begins, tension, bar/sprocket wear, debris, side load, and clamping become more important. Note whether the chain was visibly sagging, whether the bar was pinched, and whether the throw occurred at the bar nose or drive sprocket area.
- Disable the sawRemove battery or disable ignition as the model directs; wear gloves for chain handling.
- Inspect the thrown chainLook for burrs, peened or bent drive links, cracks, stiff links, and damaged tie straps.
- Match the complete drive pathVerify the chain against bar and sprocket markings, then inspect both sprockets, rails, and bar mounting.
- Set and secureUse the exact cold-tension and bar-fastener procedure in the operator manual.
- Make one brief proof checkStop at the first tracking change. A second throw means service, not another adjustment.
Stop at damage, binding, a second derailment, or any failed safety part.
Inspect the thrown chain before deciding it is reusable
Clean the chain and look at every drive link. Bent tangs, peened edges, cracks, stiff links, or burrs can prevent the chain from seating fully in the bar groove. A damaged drive link can appear normal from the cutter side and still climb out of the rail under speed.
If the chain cannot be pulled smoothly around the correct bar by hand under the manufacturer’s tensioning procedure, do not force it back into service. Replace it if the operator guidance or damage condition calls for replacement.
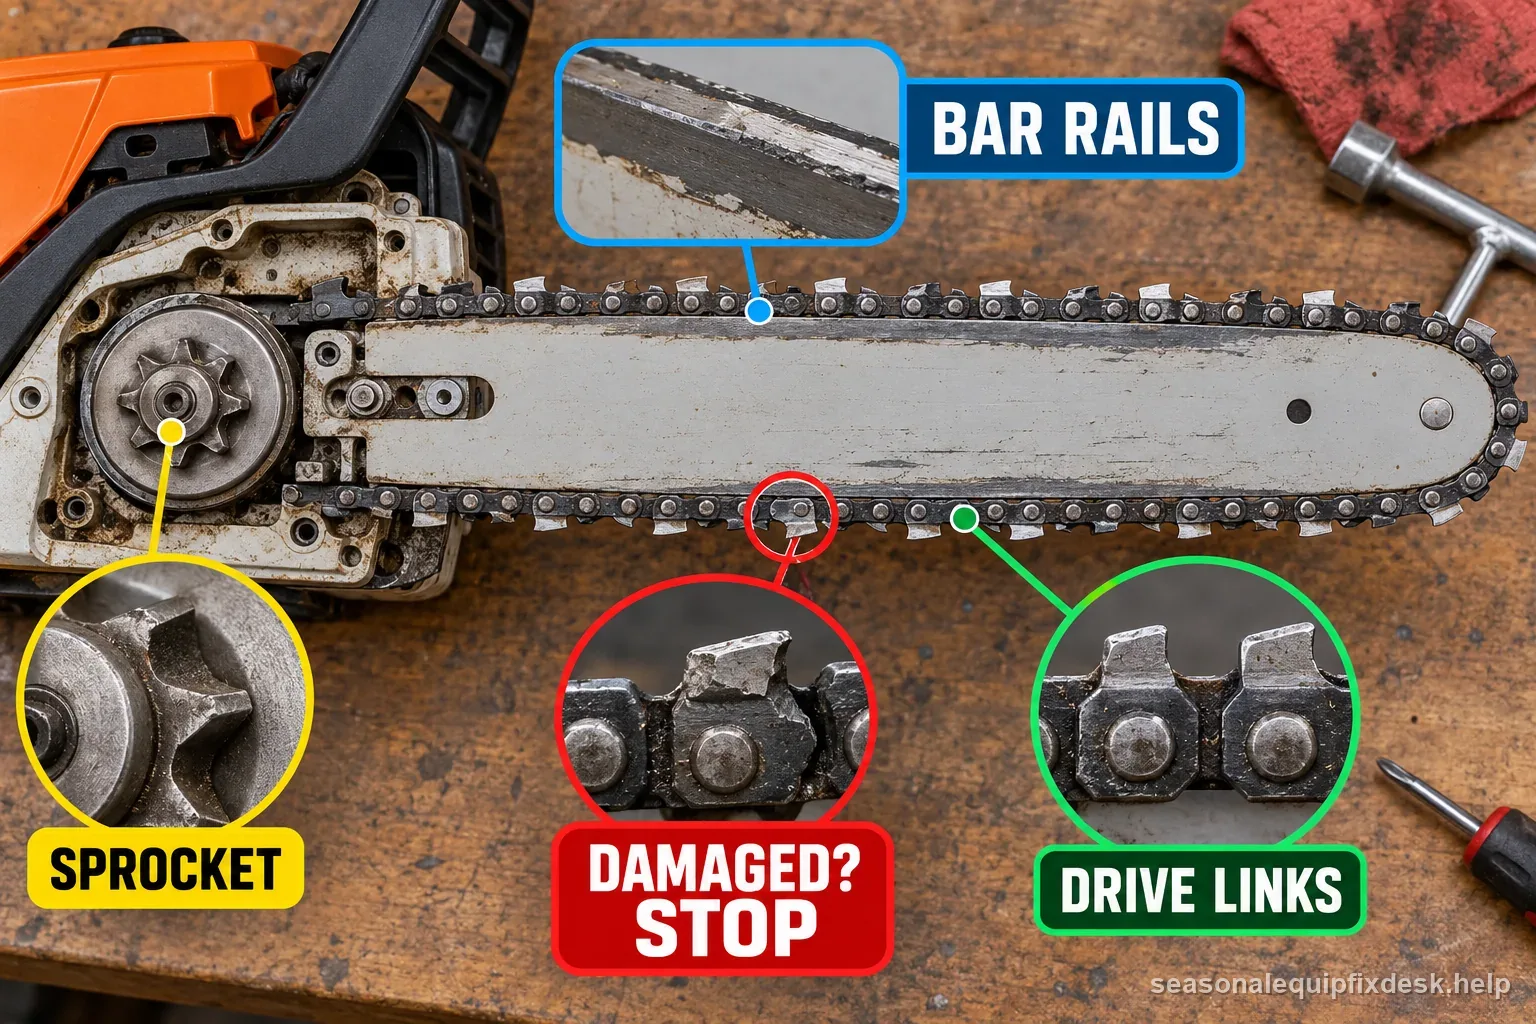
Bar rails and the nose sprocket are part of chain retention
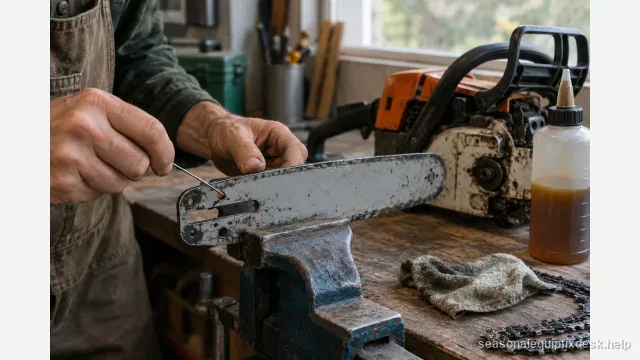
Clean the guide-bar groove and oil holes, then inspect the rails for spreading, chips, severe uneven wear, or burrs. Check that the nose sprocket turns normally if the bar uses one. Husqvarna includes the nose sprocket in its thrown-chain inspection because wear there can change how the chain tracks around the tip.
Flip or dress a bar only when the bar manufacturer’s maintenance instructions permit it. A rail that is cracked, badly spread, or worn beyond service limits should be replaced instead of filed until the chain seems to stay on.
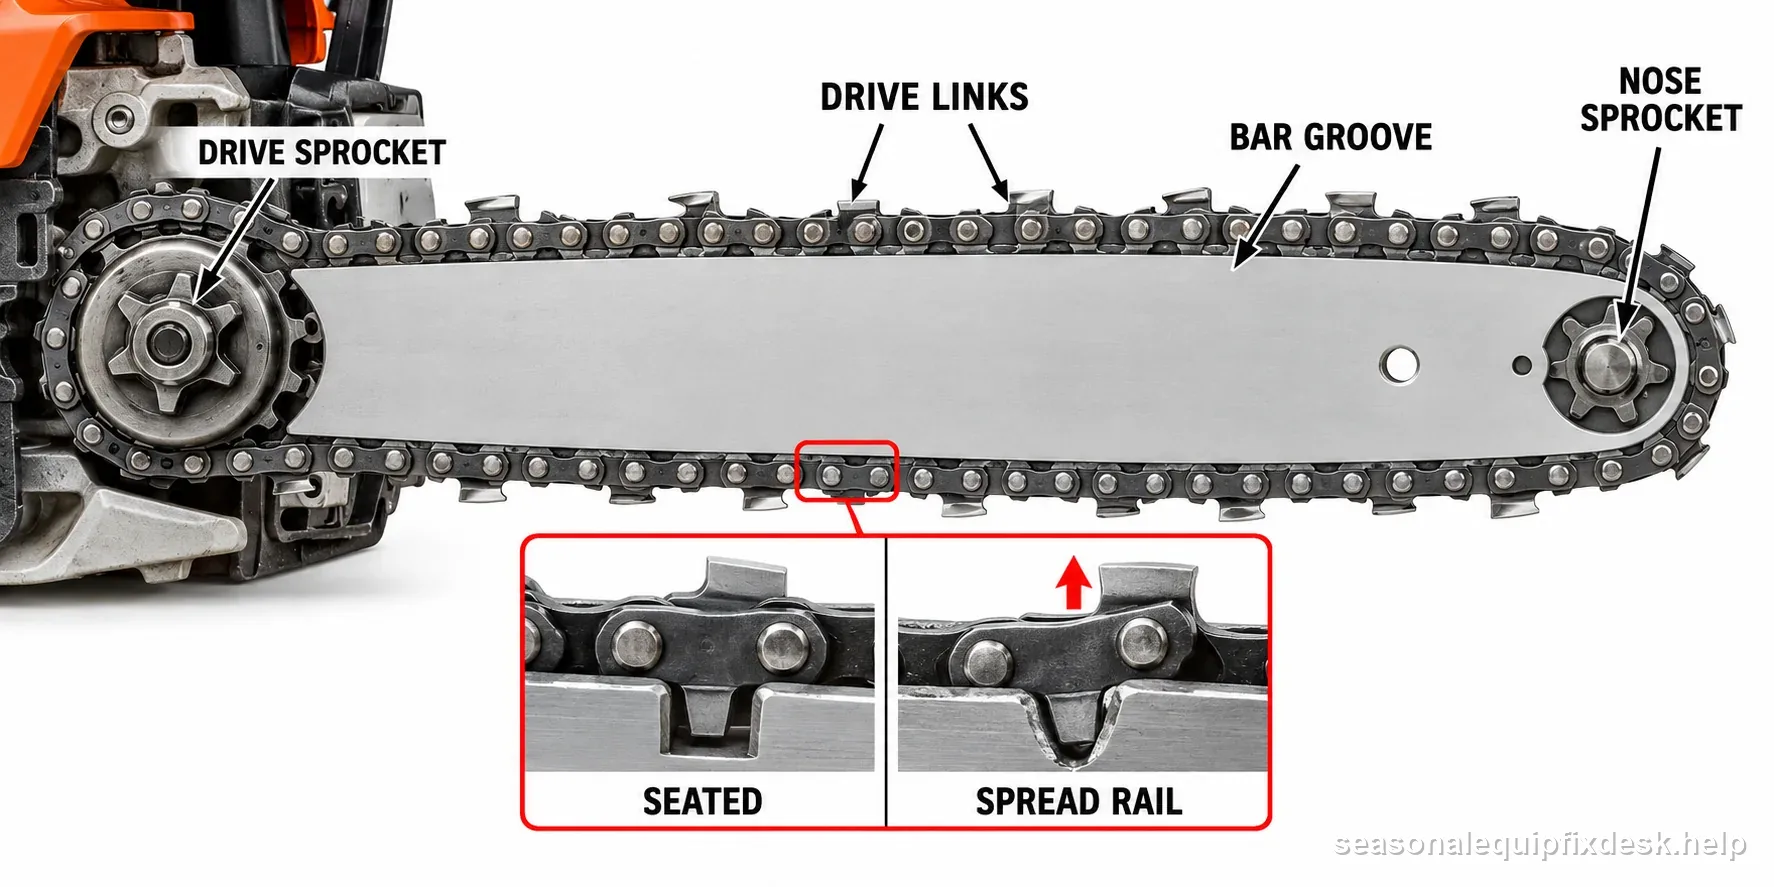
Check the drive sprocket instead of looking only at the bar tip
A worn drive or rim sprocket can alter the chain’s path at the clutch end. Compare wear to the service limits for the saw and sprocket type. Deep grooves, damaged teeth, or a mismatch between new chain and worn sprocket can contribute to poor tracking and shorten chain life.
If the clutch drum, bearing, or sprocket has abnormal play or roughness, stop the owner-level test. Those components rotate at high speed and require correct assembly and service clearances.
Tension must be correct cold, then checked as the chain warms
Use the exact tension procedure for the model. Husqvarna instructs users to let the chain cool before adjustment and to set it so it sits correctly on the bar while still moving as specified. A chain that is too loose can derail; a chain that is overtightened creates heat and load and can damage the drive system.
During a short retest, stop and recheck after the chain has warmed and seated. The goal is not zero change in tension; it is controlled retention without excessive sag or binding. If the chain needs constant aggressive tightening, investigate wear or fit instead.
Bar nuts, studs, and the tensioner have to hold the setting
Marking or photographing the bar position can help reveal whether the bar is slipping backward under load. Inspect mounting faces for packed debris, verify bar nuts and studs are in good condition, and make sure the tensioner pin is engaged. A correct chain cannot stay tensioned if the bar itself moves.
If derailment began immediately after a new saw, bar, or chain was assembled, check the mounting area for any shipping spacer named in that model's setup instructions. Husqvarna documents that a spacer left around the bar studs can prevent the bar from seating flush and disrupt alignment or tension. Remove it only as directed for the exact model.
Do not add threadlocker, substitute hardware, or over-torque bar nuts beyond the manufacturer specification to hide damaged studs or a slipping mount. Repair the clamping fault.
| Inspection finding | Decision | Reason |
|---|---|---|
| Bent, cracked, or peened drive link | Do not reinstall | Link may not seat or track safely |
| Bar rail spread or nose damage | Service or replace the bar | The groove no longer retains the chain |
| Repeated throw after correct fit and tension | Stop and inspect full chain path | Check sprocket, tensioner, studs, and cover |
| Warm chain needs frequent retightening | Allow cooling; follow manual tension | Do not overtighten to mask a fault |
The chain catcher is evidence after a derailment
Husqvarna includes the chain catcher in its post-throw check. If it is bent, cracked, missing, or heavily struck, replace it as the model instructions require before operating the saw. The catcher is a safety device, not a wear item to leave damaged because the chain has been reinstalled.
Also inspect the side cover and brake components for impact damage. A thrown chain can strike more than one part of the powerhead, and a chain that now stays on does not prove those safety components remain sound.
Technique can create side load that a healthy chain should not see
Pinching the bar, twisting in the kerf, cutting with the nose in an uncontrolled position, or forcing a dull chain can add side loads and destabilize tracking. Correct cutting technique and a sharp chain reduce those loads, but technique should never be used to explain away a chain that derails during a simple straight cut.
If the same saw throws a correctly matched, undamaged chain after correct bar, sprocket, tension, and clamping checks, stop using it. Repeated derailment is a safety defect that deserves professional inspection rather than another “one more cut” test.
A safe retest is short and ends at the first tracking change
- Install only a chain verified for the bar and sprocket.
- Set cold tension by the operator manual and secure the bar fasteners.
- Verify chain catcher, brake, side cover, and lubrication before start.
- Make a brief low-stress cut in clean wood without twisting the bar.
- Stop, disable the saw, and recheck tension, bar position, and drive-link seating.
The repair passes only if the chain tracks normally, remains retained as it warms, and all safety components remain intact. Any second derailment ends the test and moves the saw to service.
Let a warm chain cool before adjusting it. A hot chain expands, so tension that looks acceptable during work may become too tight as the chain cools. Husqvarna’s procedure calls for the saw off and gloves during adjustment; the exact slack and adjustment steps still depend on the bar and saw. If the chain cannot track smoothly after the correct cold setup, do not test-run it.
Compare crooked-cut checks when tracking is uneven.