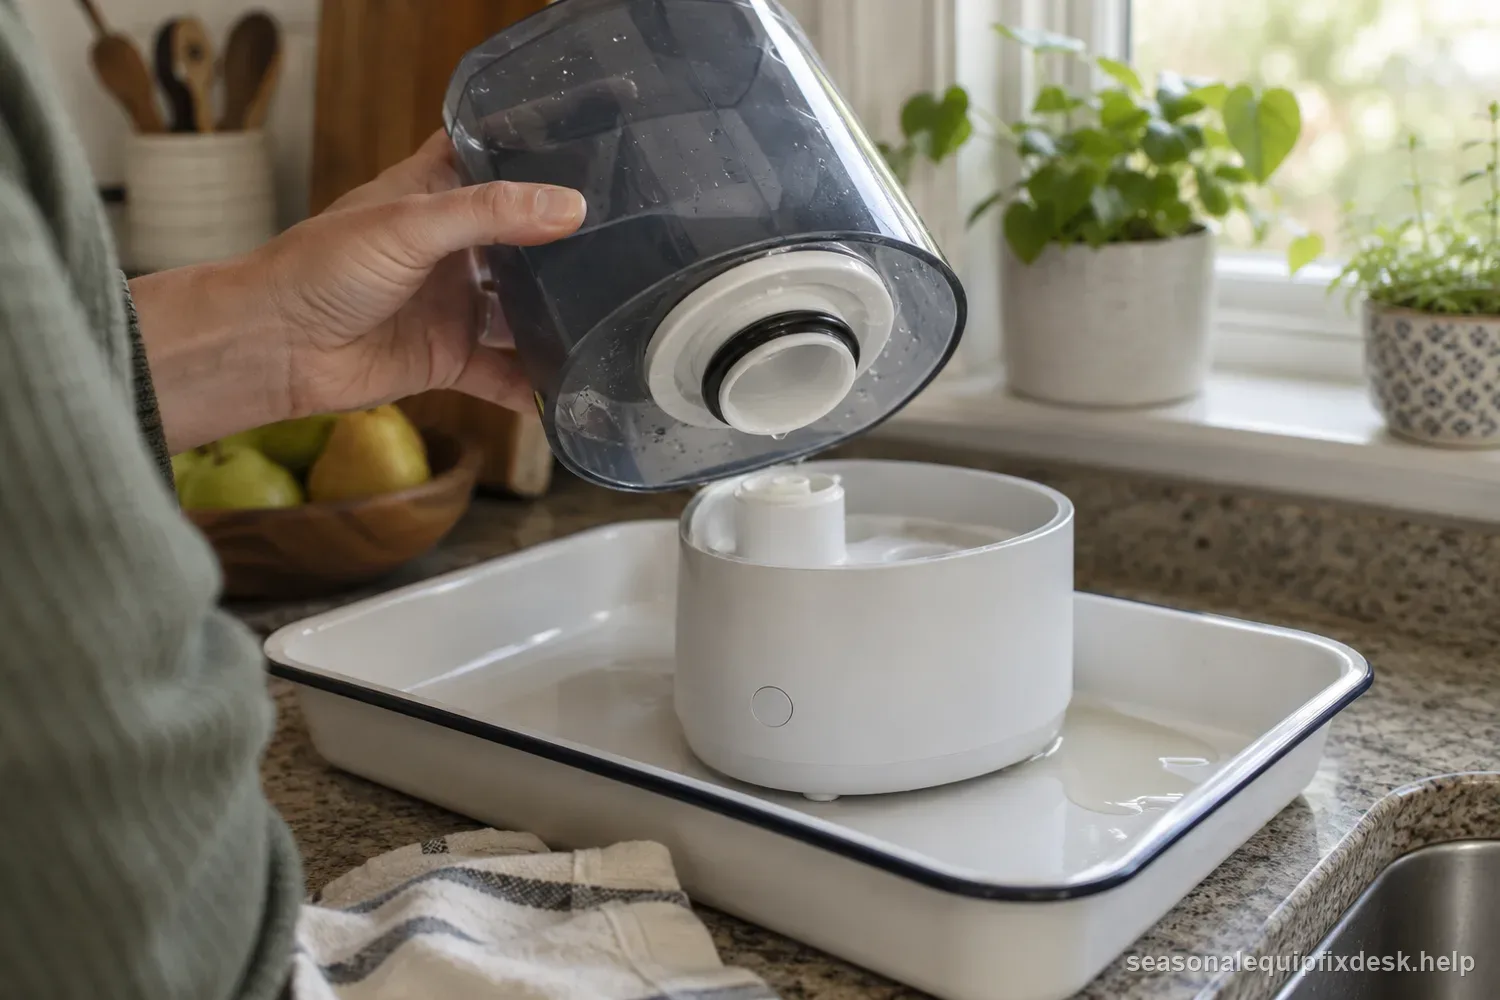
Quick answer: Dry the humidifier completely before diagnosing a leak. Refill and assemble it over a sink or waterproof tray, then watch for the first place water appears. A cracked tank leaks differently from a cap gasket, a sticking outlet valve, an overfilled base, a misplaced evaporative wick, or mist that condenses on nearby furniture and runs back toward the machine.
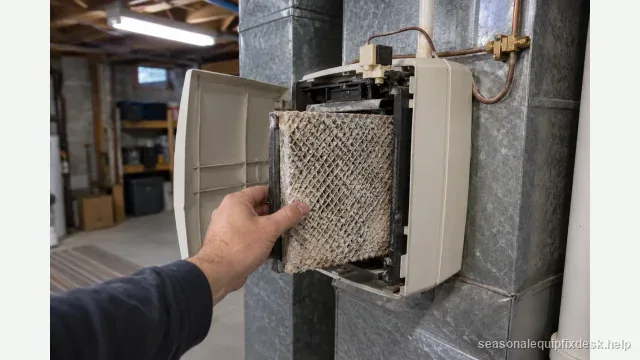
This guide covers portable units. If the leak is from a furnace-mounted humidifier, distinguish normal drain-through flow from a cabinet or supply-line leak with the furnace humidifier leak checks.
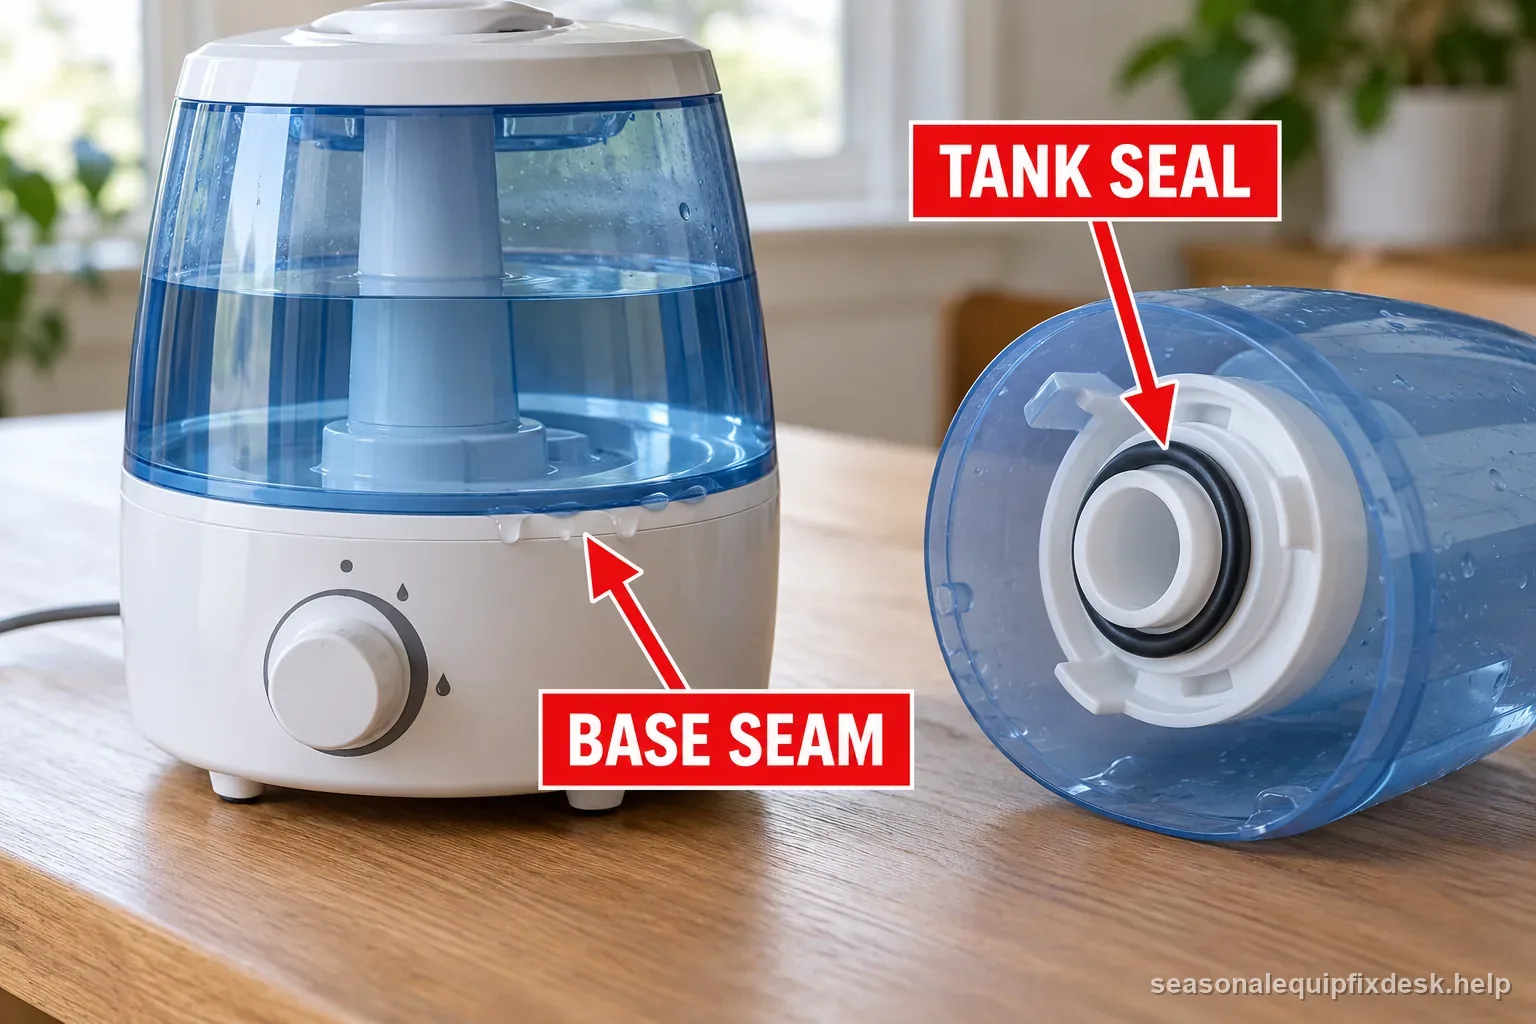
| First wet point | External check | Action / stop point |
|---|---|---|
| Cap or tank seam | Threads, gasket, overfill, hairline crack | Reseat; replace cracked tank |
| Tank-to-base post | Plunger, valve, float alignment | Unplug; clean only as manual allows |
| Base underside | Float paddle, drain, reservoir crack | Stop if leak reaches power controls |
| Whole-house drain | Kink, clog, wrong routing | Turn HVAC unit off; call service for plumbing |
| Observation | Possible meaning | Next step |
|---|---|---|
| Tank seam or cap | Seal, thread, or fill-level issue | Test tank away from electrical base |
| Base below valve | Sticking valve or overfill | Unplug before inspecting water path |
| Outside near mist outlet | Condensation or mist drift | Compare placement and droplets |
| Cord, controls, or underside | Water may reach electrical parts | Unplug; do not operate until inspected |
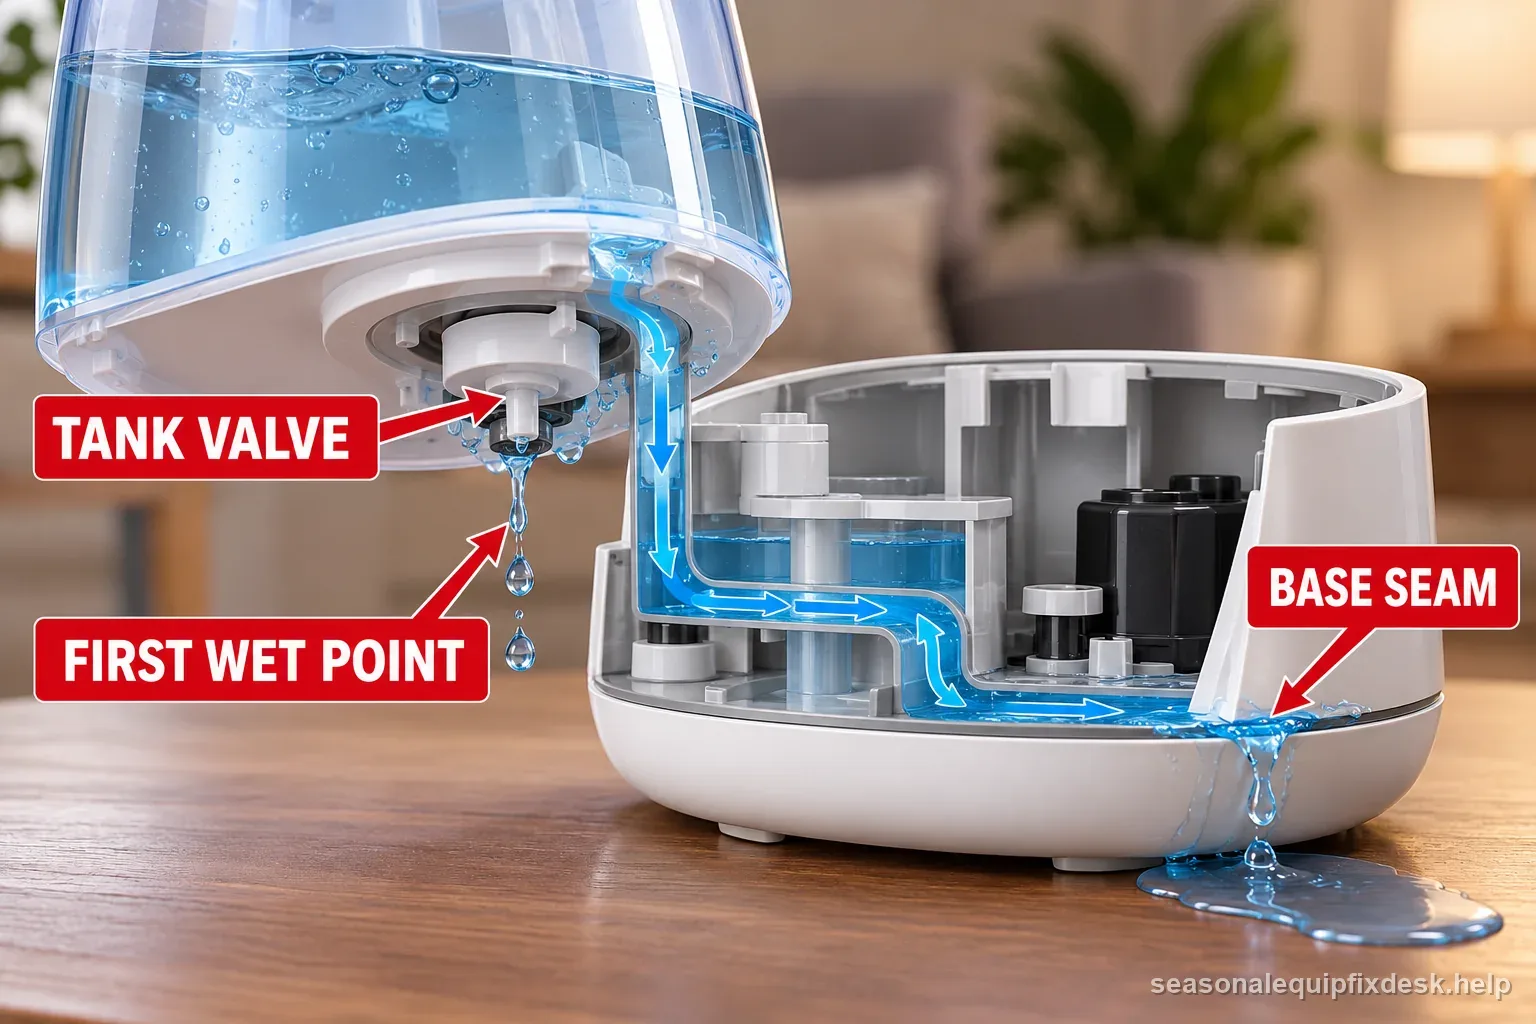
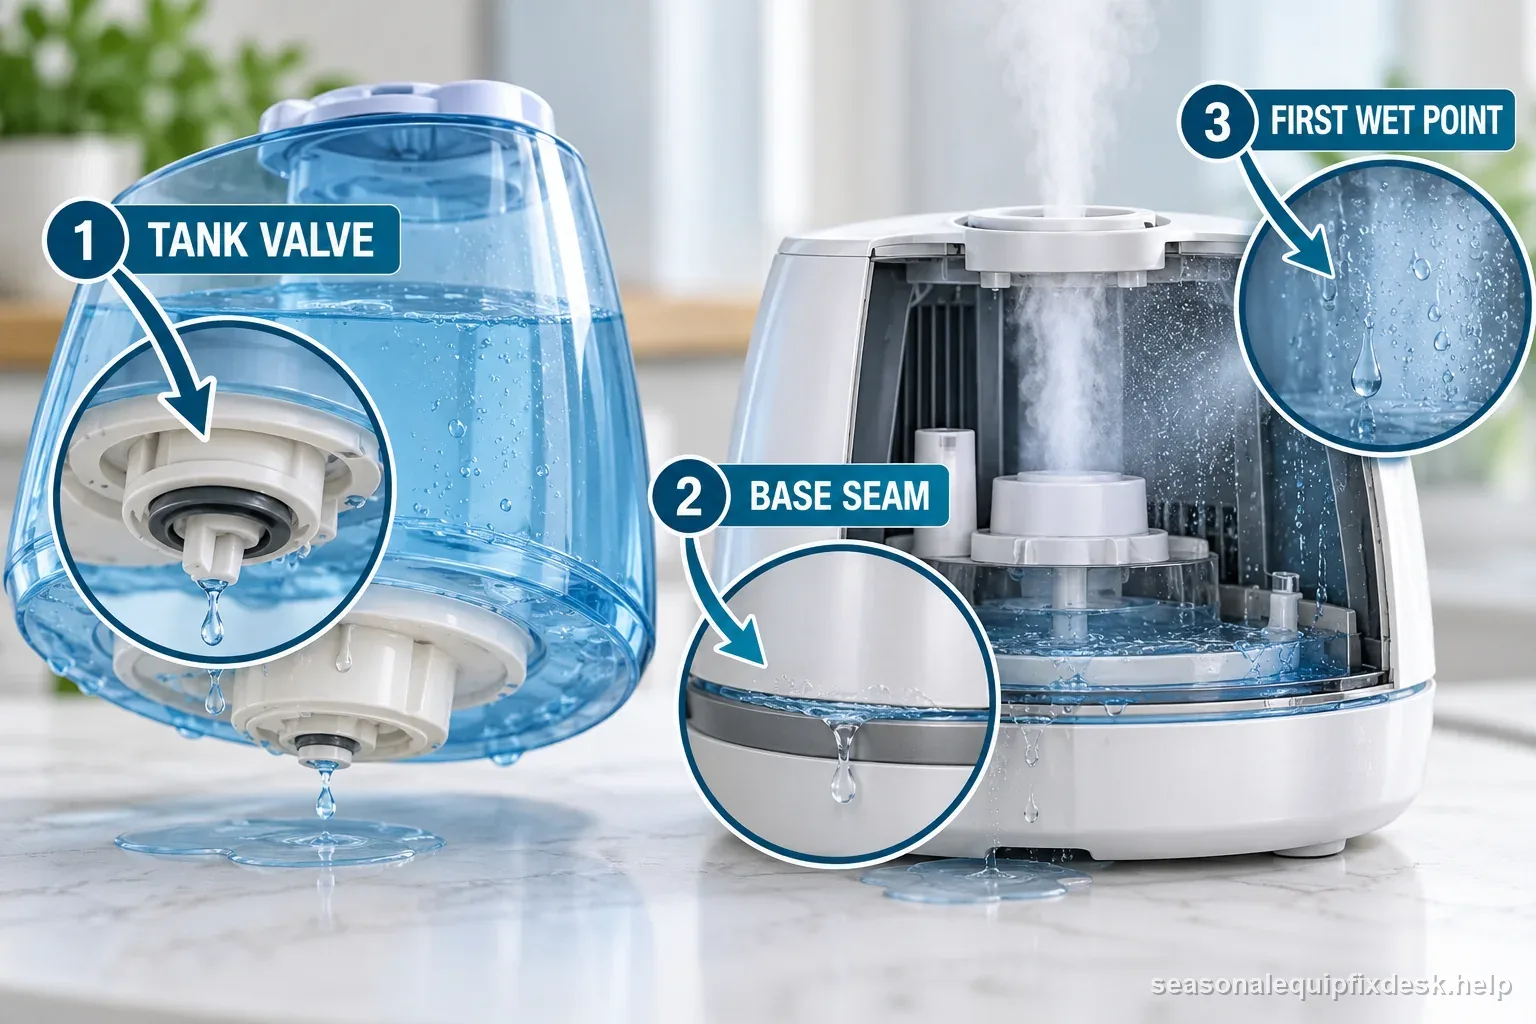
The first wet point matters more than the biggest puddle
Water travels along seams, cords, tank contours, and countertops. By the time a puddle reaches the floor, the source may be several inches away. Start with a dry appliance and blot around the tank, cap, valve, and base with separate paper towels. The first towel to become wet is better evidence than the final puddle location.
- Identify the humidifier type and the exact symptom.
- Check the tank, base, water path, and relevant sensor or output part.
- Check scale, wick, setting, or placement for this model.
- Run the controlled test described for the complaint.
- Stop if the remaining fault involves electronics or unsafe leakage.
Test the removable tank away from the electrical base
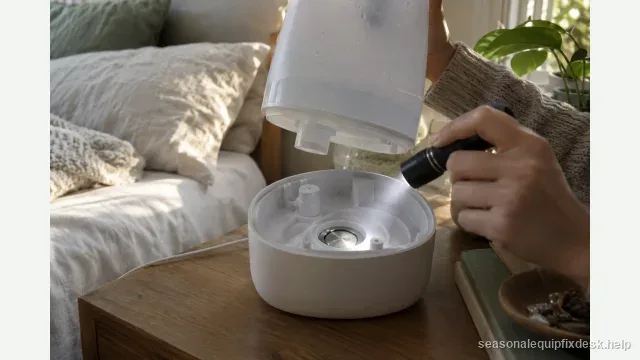
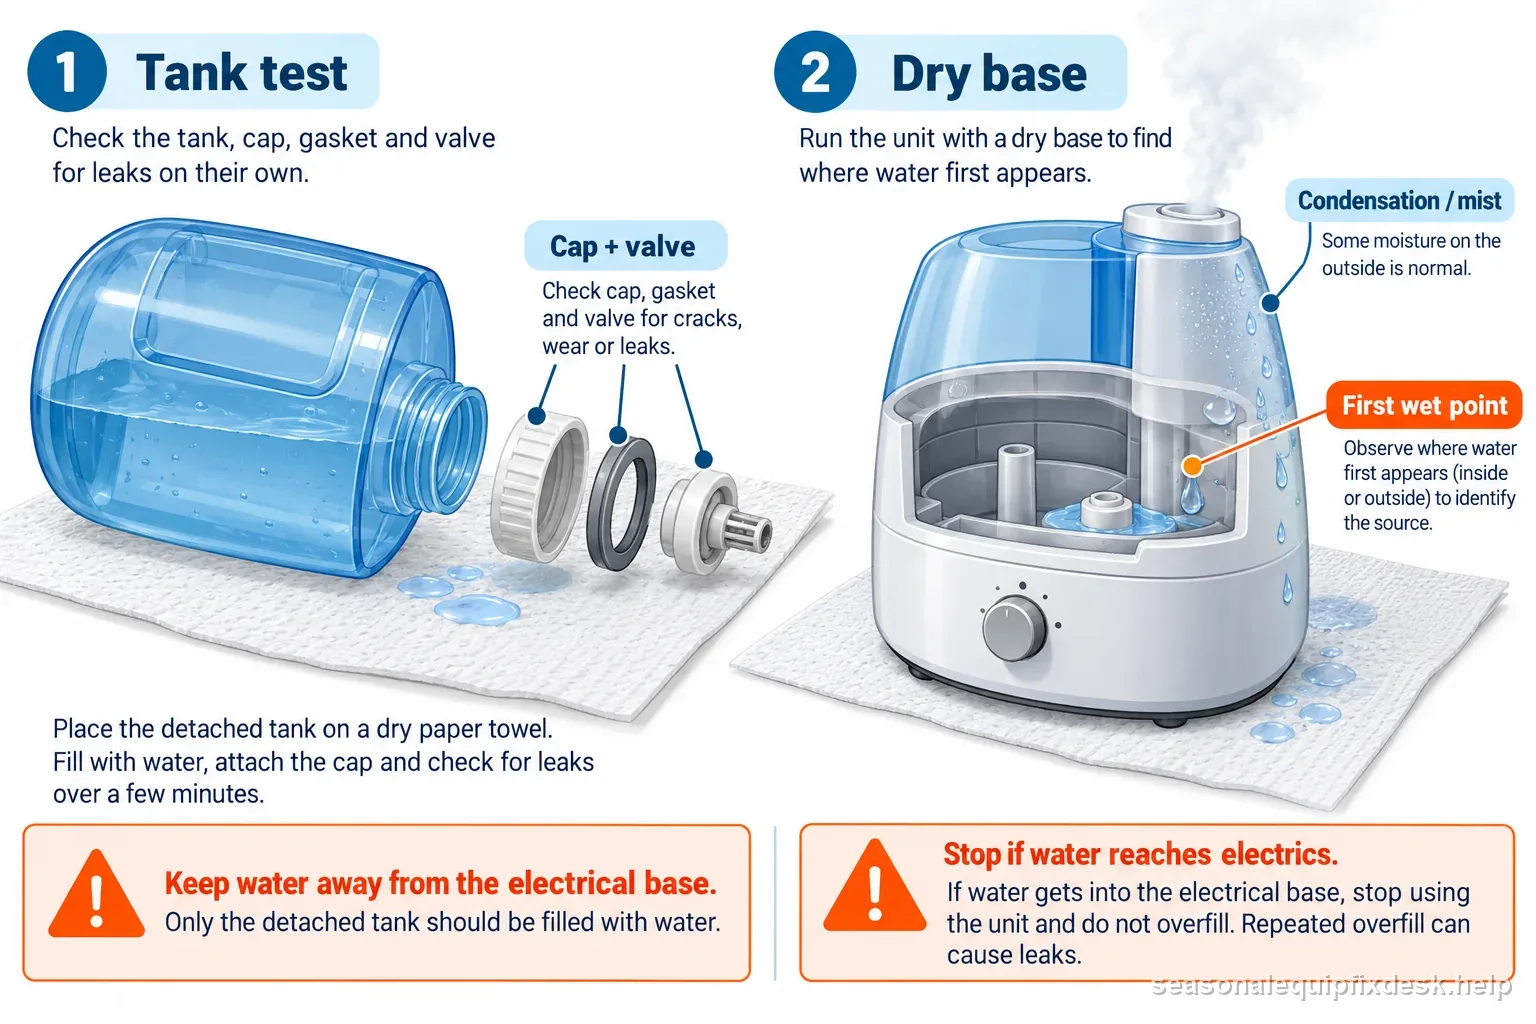
Fill the tank with cool water to a normal level, close the cap exactly as directed, and hold or rest it over a sink. Look for drips from molded seams, corners, handles, and the cap area. A hairline crack can open only under the weight of a full tank.
If the tank leaks while it is completely separate from the base, stop there. Adhesive patches on a water tank are rarely a dependable long-term repair, especially where a crack changes shape under load. Replace the tank with the correct part.
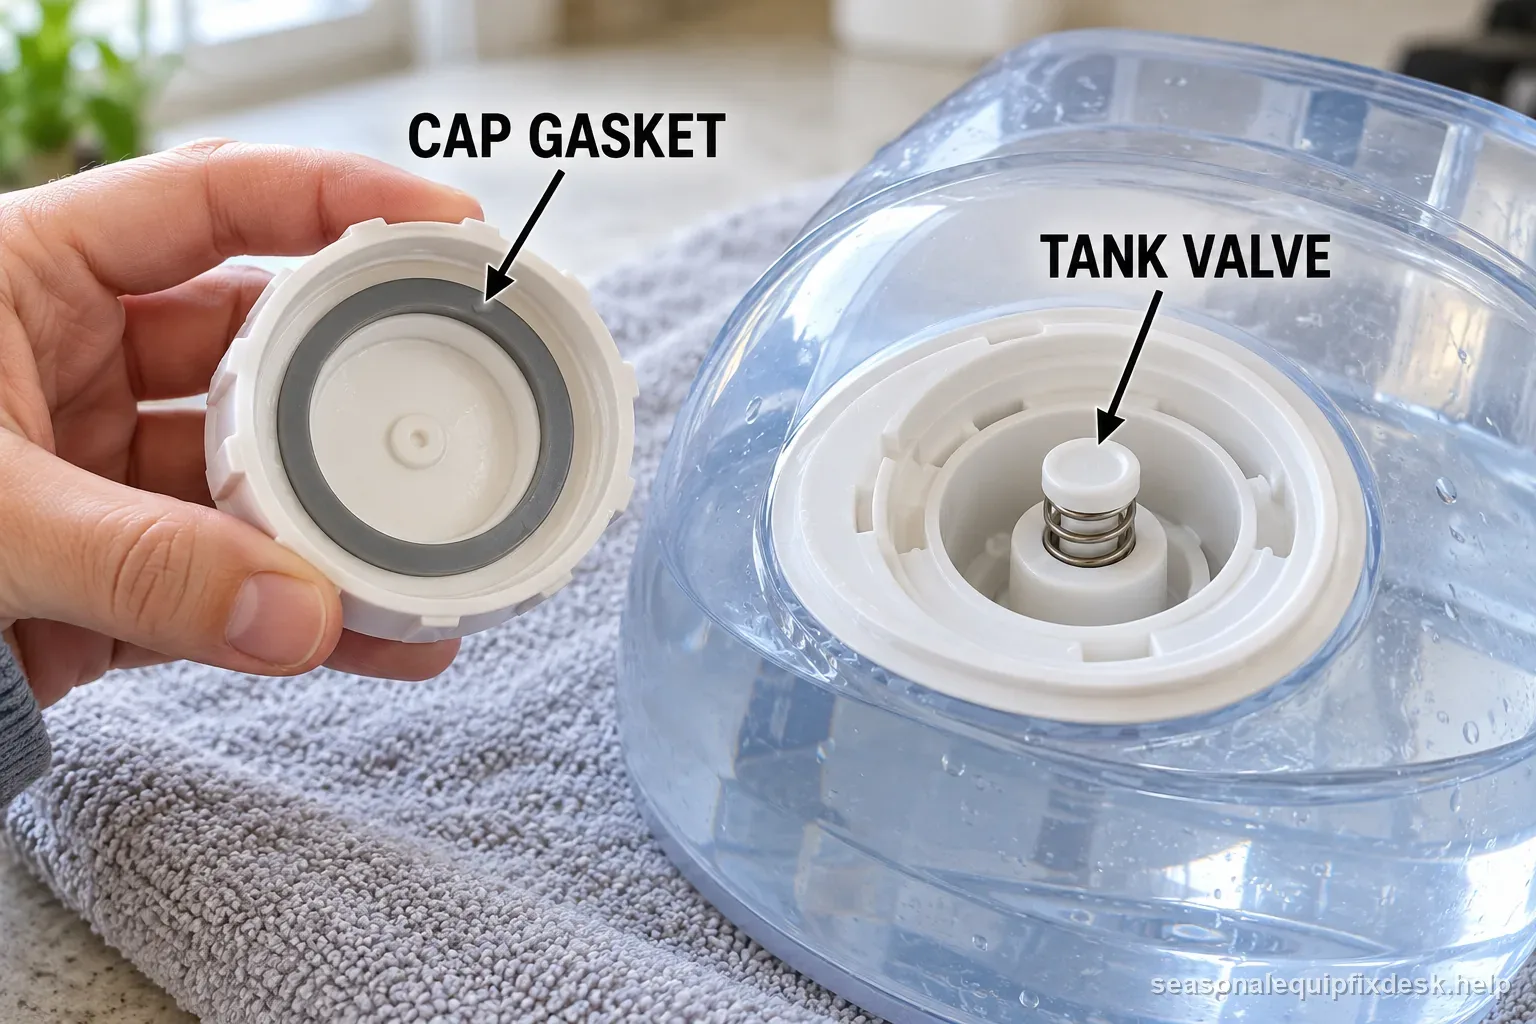
A cap gasket can fail in three different ways
A gasket may be missing, twisted, hardened, or contaminated with scale. It can also be squeezed out of position by overtightening. Remove the cap with the tank empty, clean the sealing surfaces, and reinstall the gasket in its intended groove. Do not stack extra O-rings or wrap threads with plumbing tape unless the manufacturer specifies that repair.
A sticking tank valve can overfill the base
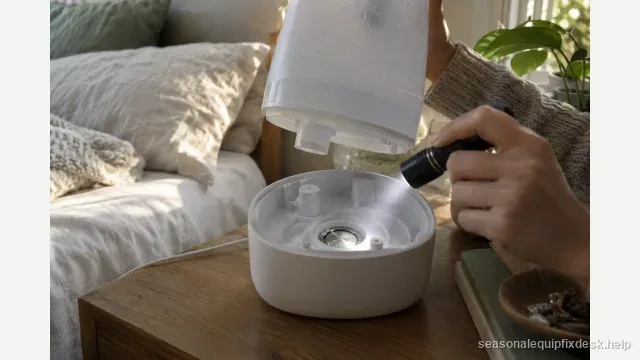
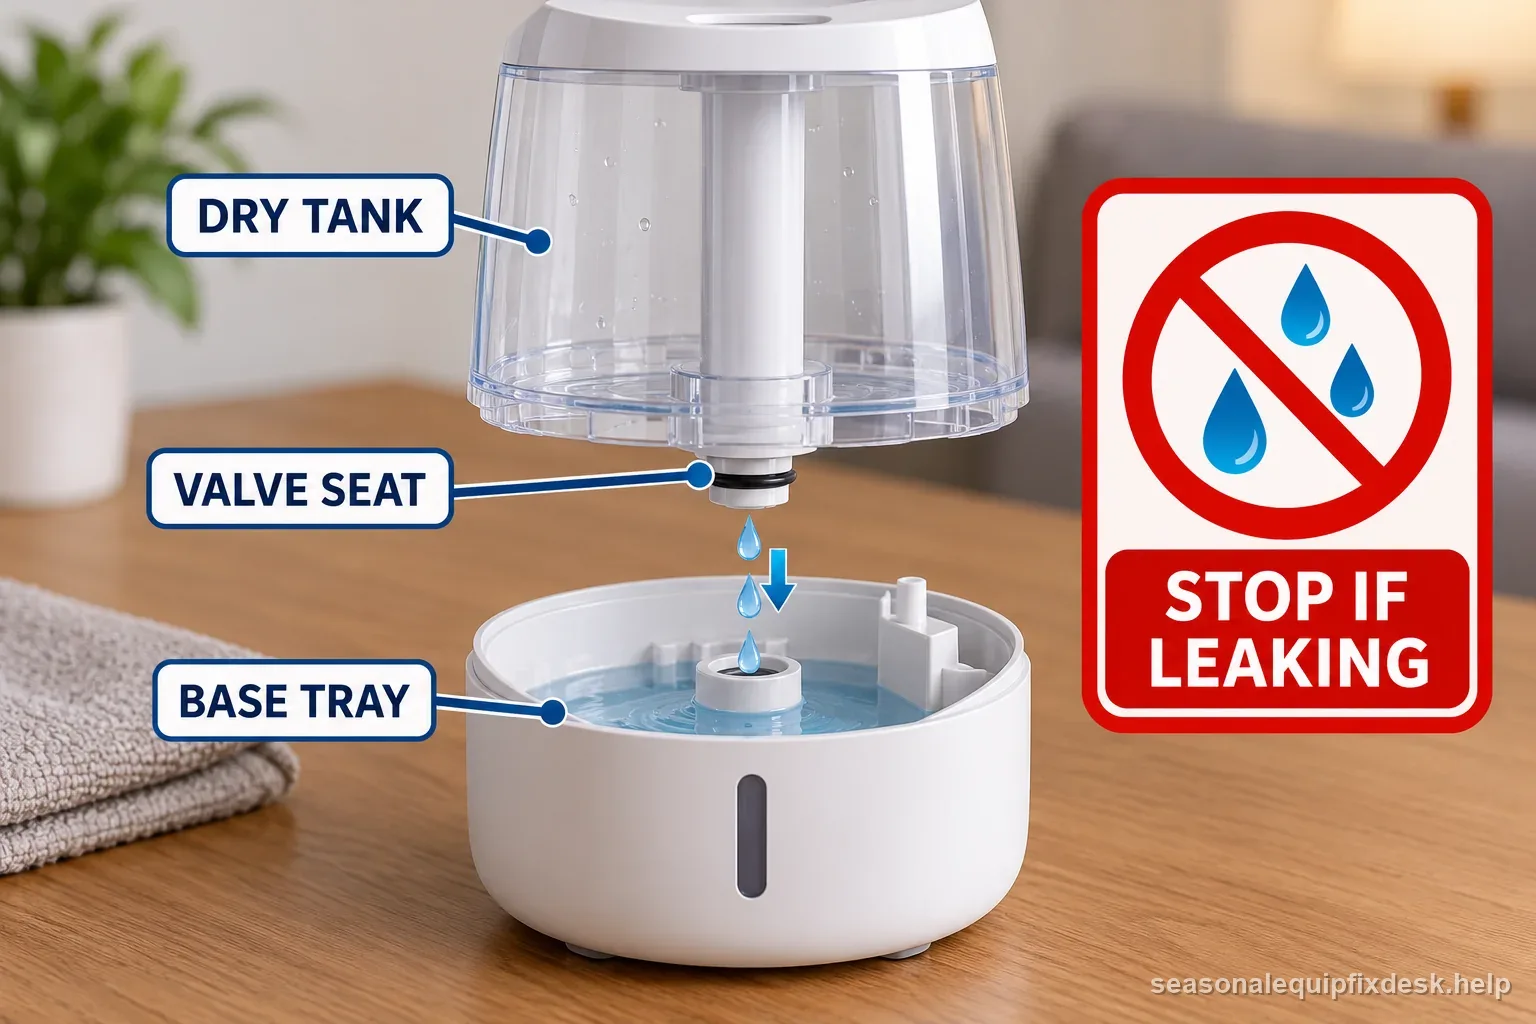
Many bottom-feed tanks release water only when a spring valve is pressed by the base. If that valve sticks open, the tank can continue feeding after the normal base level is reached. Mineral deposits or a damaged stem are common external clues. Test valve movement over a sink with the tank removed and power disconnected, following the manual.
If the base fills above its expected level, do not power the humidifier. Correct the valve, cap, gasket, float, or other level-control problem first. Water above the designed reservoir level can reach fan ducts or electronics.
Evaporative wicks can redirect water without any cracked plastic
On an evaporative humidifier, the wick or filter frame must sit in the intended channel. A bowed, swollen, or badly installed wick can touch a wall or edge and create a capillary path that carries water outside the reservoir. Compare the installed shape with the manual before replacing the base or tank.
A wick saturated with heavy scale may also drain unevenly. Replace disposable media according to the manufacturer’s schedule rather than trimming or folding it to make it fit.
| First water appears | Likely path | Next safe check |
|---|---|---|
| At tank cap or seam | Cap seal, tank crack, or overfill | Inspect detached tank on a dry towel |
| At tank outlet/base seat | Valve, plunger, or tank alignment | Check seating and free movement per manual |
| Outside near mist outlet | Condensation or redirected mist | Compare with room conditions and wick placement |
| At cord, control, or inside base | Electrical exposure risk | Stop use and arrange service |
Test only the detached tank or a dry, assembled unit exactly as the model manual permits.
Mist condensation can masquerade as an appliance leak
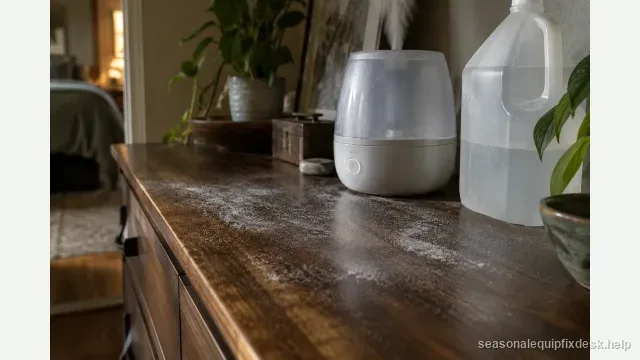
If the machine stays dry but the table, wall, or floor becomes wet after hours of operation, examine where the mist is aimed. High output, a cool nearby surface, or already-high room humidity can cause droplets to settle and coalesce. Redirect the nozzle, reduce output, and verify room relative humidity before taking the unit apart.
This distinction is especially useful for top-fill ultrasonic models. Water may appear behind or under the unit even though every tank seal passes a stationary leak test. A clean dry towel directly under the base during a short controlled run can separate internal leakage from external condensation.
Illustrative path for portable humidifiers; use the exact model manual.
A safe refill-and-run sequence
- Unplug, empty, clean, and dry the tank and base exterior.
- Leak-test the filled tank by itself over a sink.
- Inspect and correctly seat the cap, gasket, outlet valve, wick, float, and tank.
- Place the assembled unit on a level waterproof surface and wait several minutes before powering it.
- If it remains dry, run at a low output while monitoring the base, cord entry, and surrounding surface.
- Stop immediately if water enters a control panel, power connector, fan cavity, or cord area.
Dry the detached tank; note whether water appears at its cap, valve, or seam. If it stays dry, place it on the base only as the manual directs. Droplets at a cool-mist outlet may be condensation. Never tilt or fill a powered base to provoke a leak.
Stop the test if water reaches the cord, controls, fan compartment, or any internal electrical area. Unplug only if the plug and surrounding surface are dry and safe to reach; otherwise keep clear and shut off power at a safe upstream point. Record the first wet location, amount of water, fill level, and whether the unit was recently moved. These observations help a repair provider identify a failed seal without energizing a wet appliance.
Keep the unit unplugged and do not tilt or open a wet base. Resume only when the manufacturer confirms the unit is dry and safe, or arrange service.
Two illustrative leak observations
These sample readings explain the method; they are not leak-rate limits.
Example 1: tank drips before installation
After drying the tank, Morgan sees a drop form below the cap while it sits over a sink. That points the next check toward the cap seal, valve, or tank seam. Morgan keeps the tank unplugged and replaces only a model-approved damaged part.
Example 2: wet floor, dry base
Riley finds moisture on a nearby table after an hour, but the unplugged tank and base stay dry during a short watched test. Riley records the mist direction and setting, then checks for condensation and placement before ordering a tank.
Why repeated overfilling is a stop condition
A humidifier that repeatedly floods its base has lost control of water level. Continuing to operate it because the leak is “only a little” is not a reasonable test. Replace the failed water-control part or the appliance. Water and line voltage share the same enclosure on many small humidifiers, so internal wetting changes the safety decision.
- Initial symptom and conditions
- Controls, settings, and supply checked
- Inspection finding before adjustment
- Single change made and result
- Any stop condition or unresolved fault
Cleaning after a leak
EPA recommends regular humidifier cleaning and thorough rinsing after cleaning products are used. If leaked water has sat under the appliance or soaked nearby porous material, dry the area promptly. Do not return the unit to service until all exterior electrical connections and the surrounding surface are dry.
When the repair ends at replacement
Replace or service the appliance if the tank is cracked, a proprietary valve or gasket is unavailable, the base seam itself leaks, or water has reached internal electrical parts. Do not open a wet base and perform live testing. A portable humidifier is not worth creating an electric-shock risk to save a damaged housing.
Portable tank leaks and whole-house humidifier leaks have different paths. A cap gasket or stuck tank valve can leak into a portable base; a bypass or fan-powered HVAC unit may leak at a drain or water valve. Shut off water and power to an integrated unit before arranging service.
Moving a full humidifier can create a leak that disappears on the bench
Some base-fed humidifiers are designed to maintain a shallow reservoir level only while sitting level. Carrying the appliance with water in the tank or base can slosh water into fan ducts, sensor pockets, or seams that never leak during stationary use. If the puddle appeared immediately after relocation, dry the unit fully and repeat the stationary tank/base tests before ordering seals.
For future moves, follow the manual’s instruction to shut down, unplug, remove the tank, and empty the base where required. A “leak” caused by transporting a filled appliance is operational evidence, but water that reached electrical sections still requires the same stop-use caution as any other internal wetting.
If the tank is full but the humidifier produces no visible plume, check the operating type and water path in the humidifier no-mist guide.
If the reservoir appears full but the light still signals low water, inspect the model-specific tank valve and base float in the full-tank red-light checks.