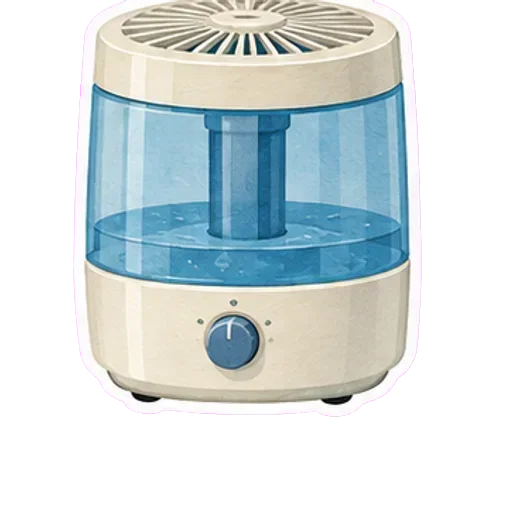
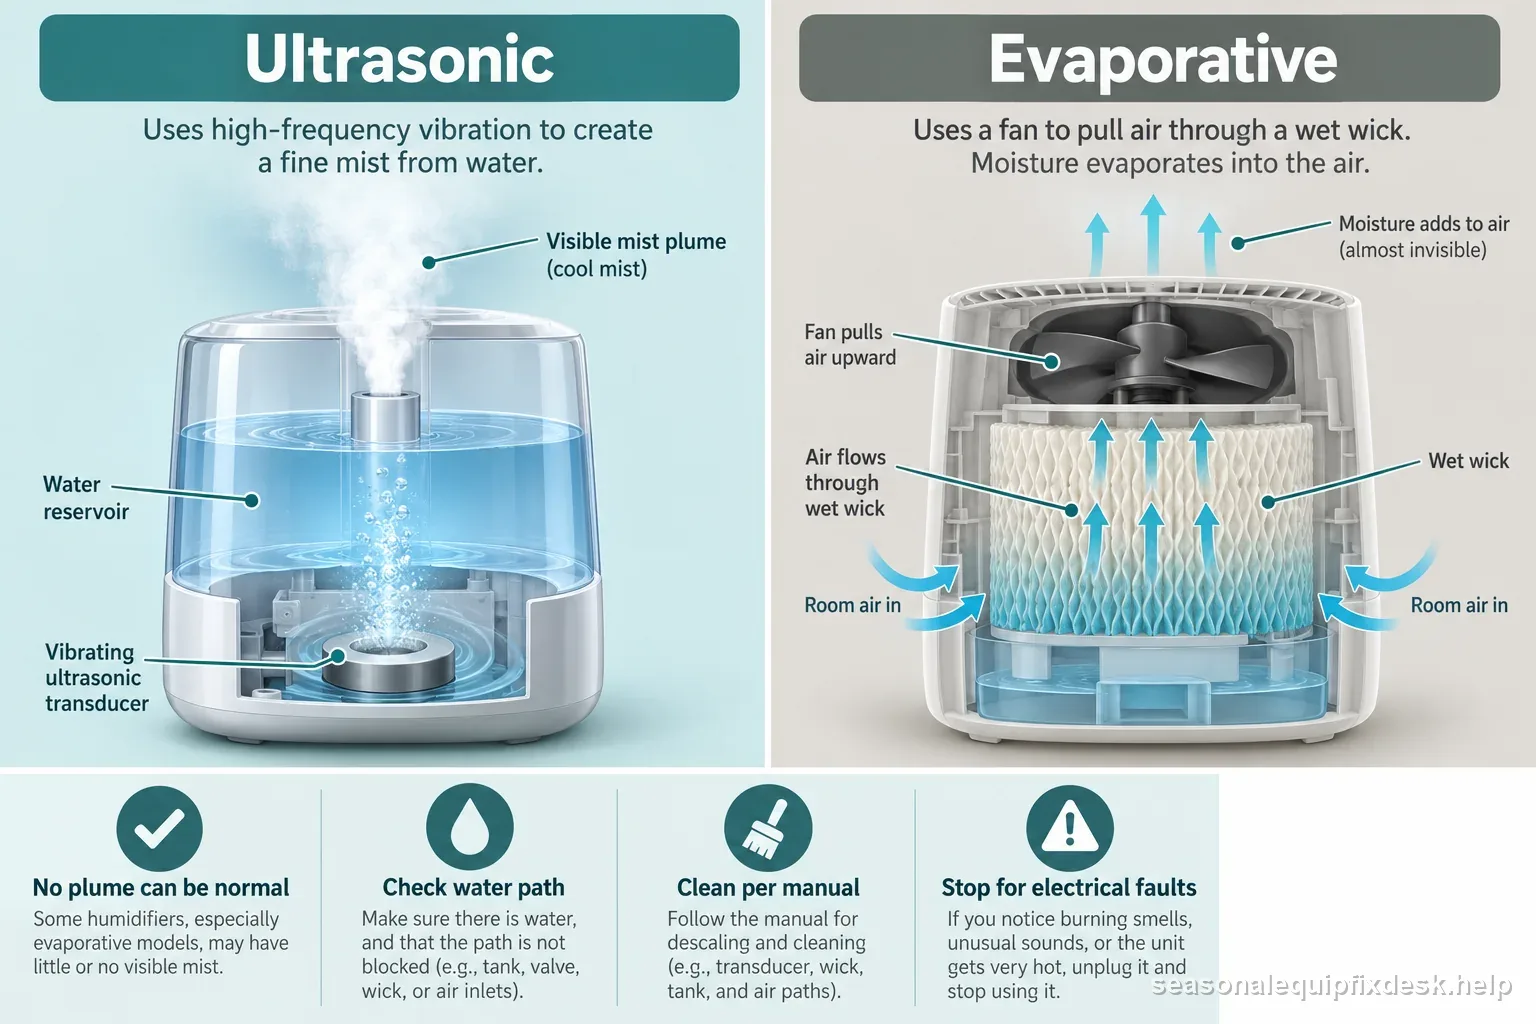
Quick answer: A humidifier can be working normally without producing a visible cloud, so the first step is identifying the design. Ultrasonic machines create a visible aerosol at a transducer. Evaporative machines pull room air through a wet wick and may release moisture with little or no visible mist. Once the type is known, check whether water reaches the working section, whether the moisture-producing surface is clean and wet, and whether the fan or control is actually asking the unit to run.
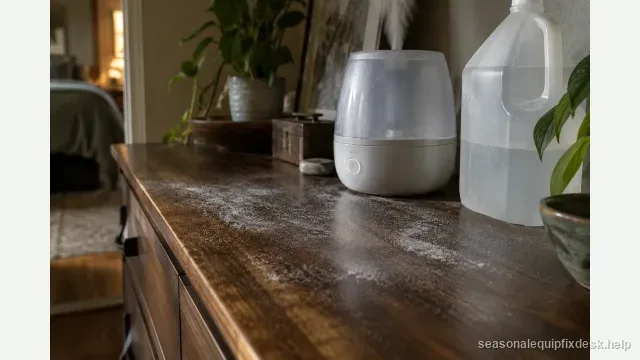
If pale powder appears near an ultrasonic mist path, compare the water source under steady conditions and distinguish mineral residue from wick fibers or ordinary dust. See the humidifier white dust and mineral residue guide for the matching checks.
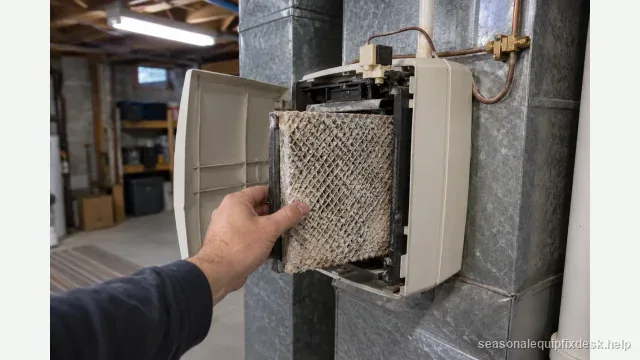
If the unit is mounted on furnace ductwork rather than sitting in a room, use the furnace humidifier troubleshooting checks; its airflow, humidistat, and water-feed sequence differs from a portable humidifier.
| Observation | First checks | Safe next step |
|---|---|---|
| No visible mist; tank drops | Evaporative model may emit invisible moisture | Check wet wick, airflow, humidity setting |
| Fan runs; ultrasonic mist stops | Setpoint, low water, blocked airflow | Check target, refill, clear outlet |
| Ultrasonic output weak | Mineral scale or low water | Unplug; clean as manual allows |
| No power or damaged unit | Cord, outlet, fault light, visible damage | Stop for electrical damage; use service |
| Observation | Possible meaning | Next step |
|---|---|---|
| Ultrasonic model | Visible cool mist may appear | Check water, scale, and atomizer per manual |
| Evaporative model | Moisture may leave without visible mist | Check wick seating and airflow |
| Tank stays full | Water may not feed the base | Inspect valve with unit unplugged |
| Controls or base are wet | Possible electrical exposure | Unplug and stop operation |
Visible mist is a technology clue, not a universal pass/fail test
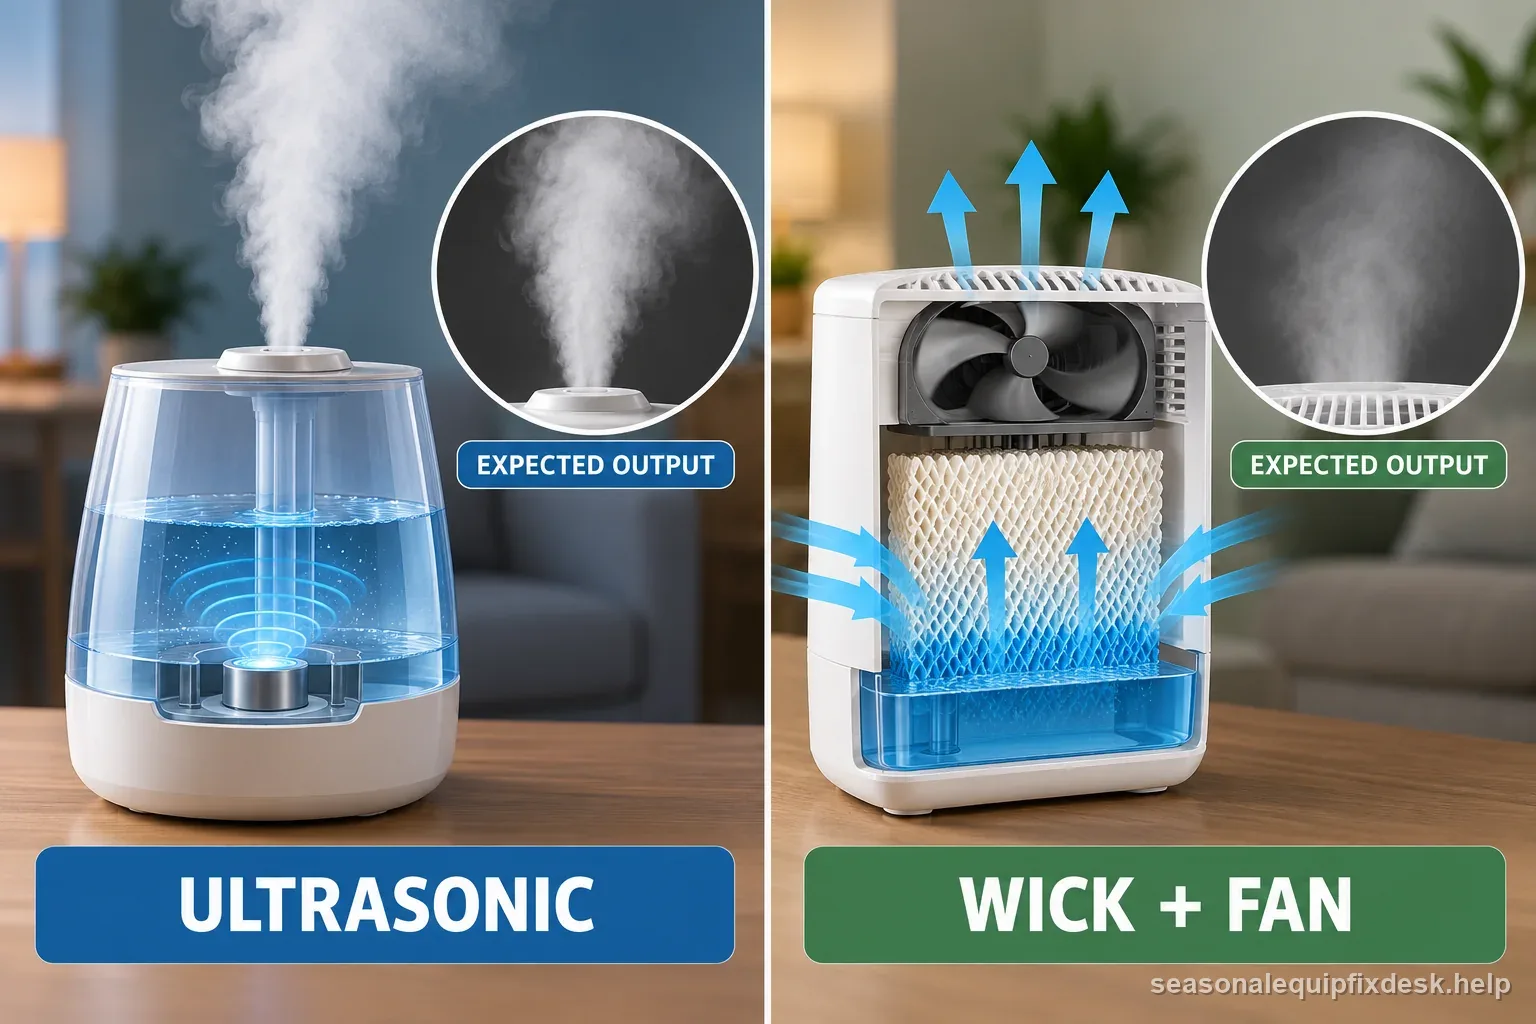
An evaporative humidifier can raise room humidity while the outlet looks dry. EPA describes evaporative units as using a fan to move air through a moistened wick or similar absorbent material, so judging one by plume size creates a false failure. For this style, inspect wick saturation, airflow, and humidity change instead of searching for an ultrasonic “mist maker” that is not present.
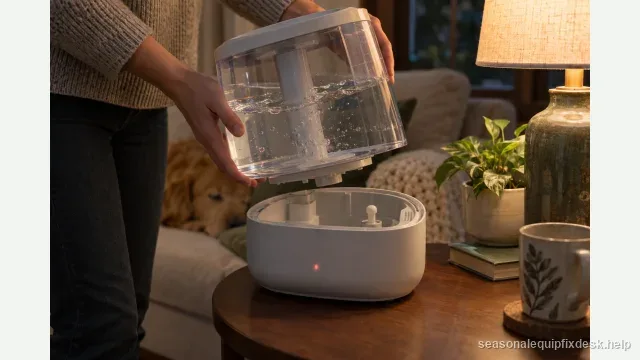
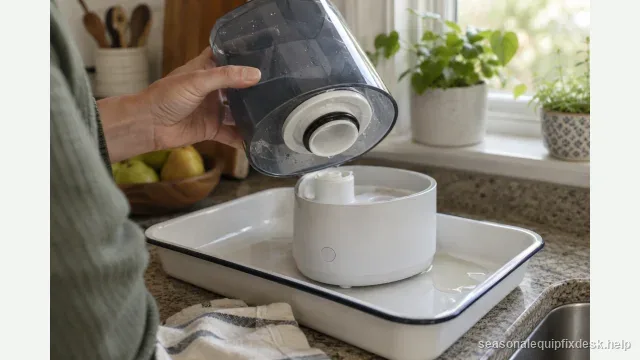
An ultrasonic unit is different. Water must reach the base or atomizing chamber and the transducer surface must remain free of heavy mineral scale. If the tank is full but the base stays dry, focus on tank seating, the cap valve, float, or water path before blaming the electronics.
- Identify the humidifier type and the exact symptom.
- Check the tank, base, water path, and relevant sensor or output part.
- Check scale, wick, setting, or placement for this model.
- Run the controlled test described for the complaint.
- Stop if the remaining fault involves electronics or unsafe leakage.
Prove that the tank is actually feeding the base
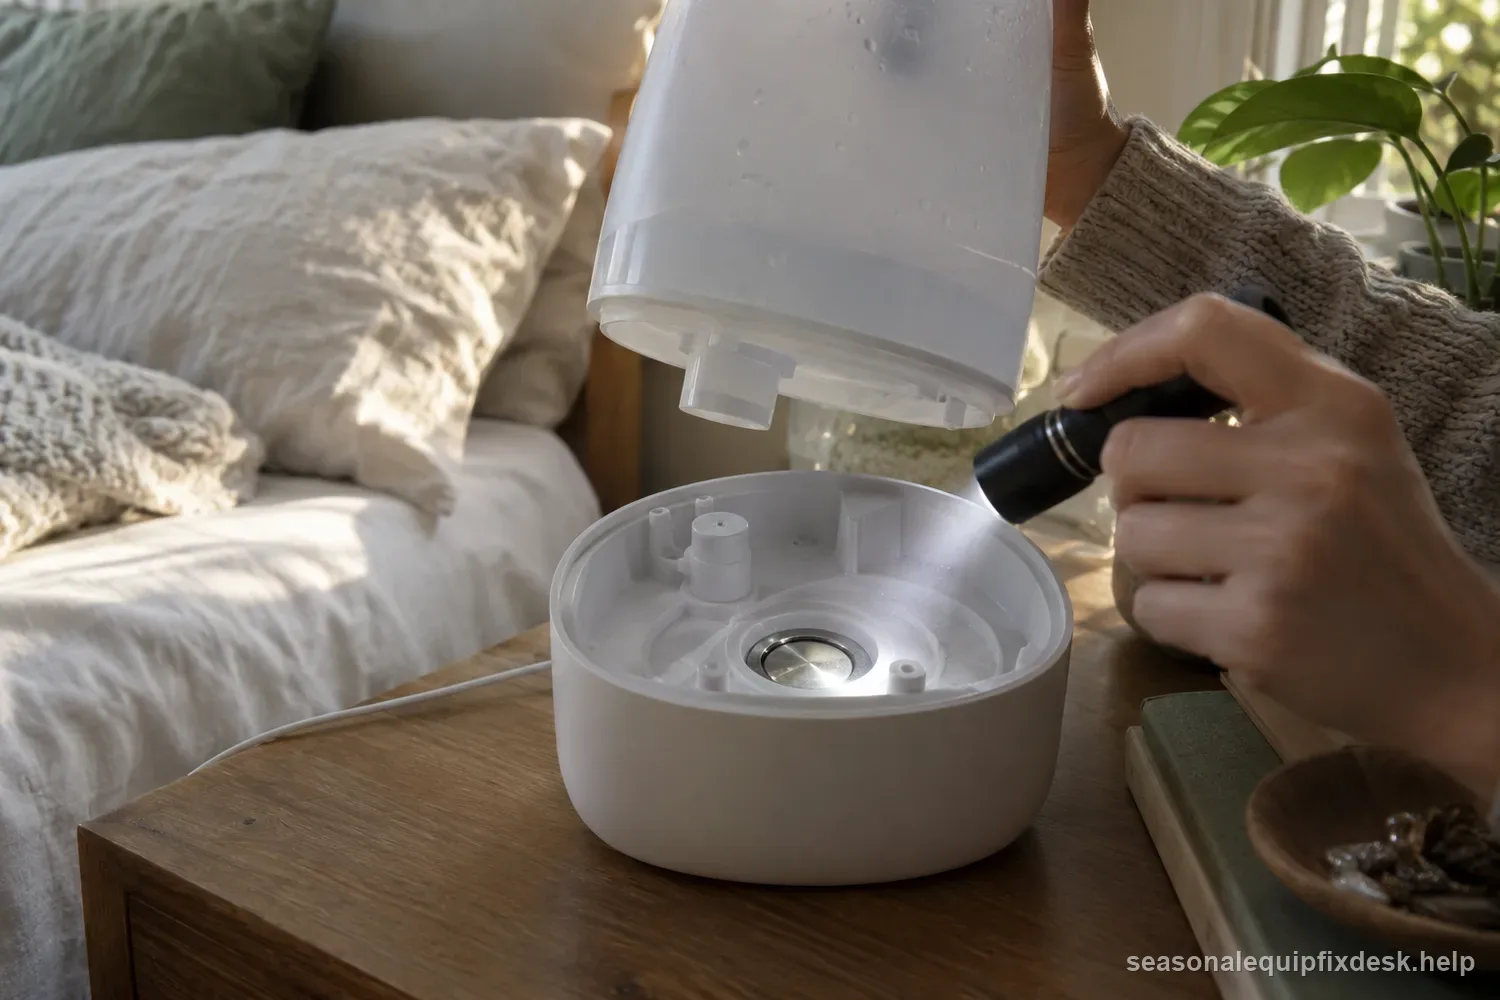
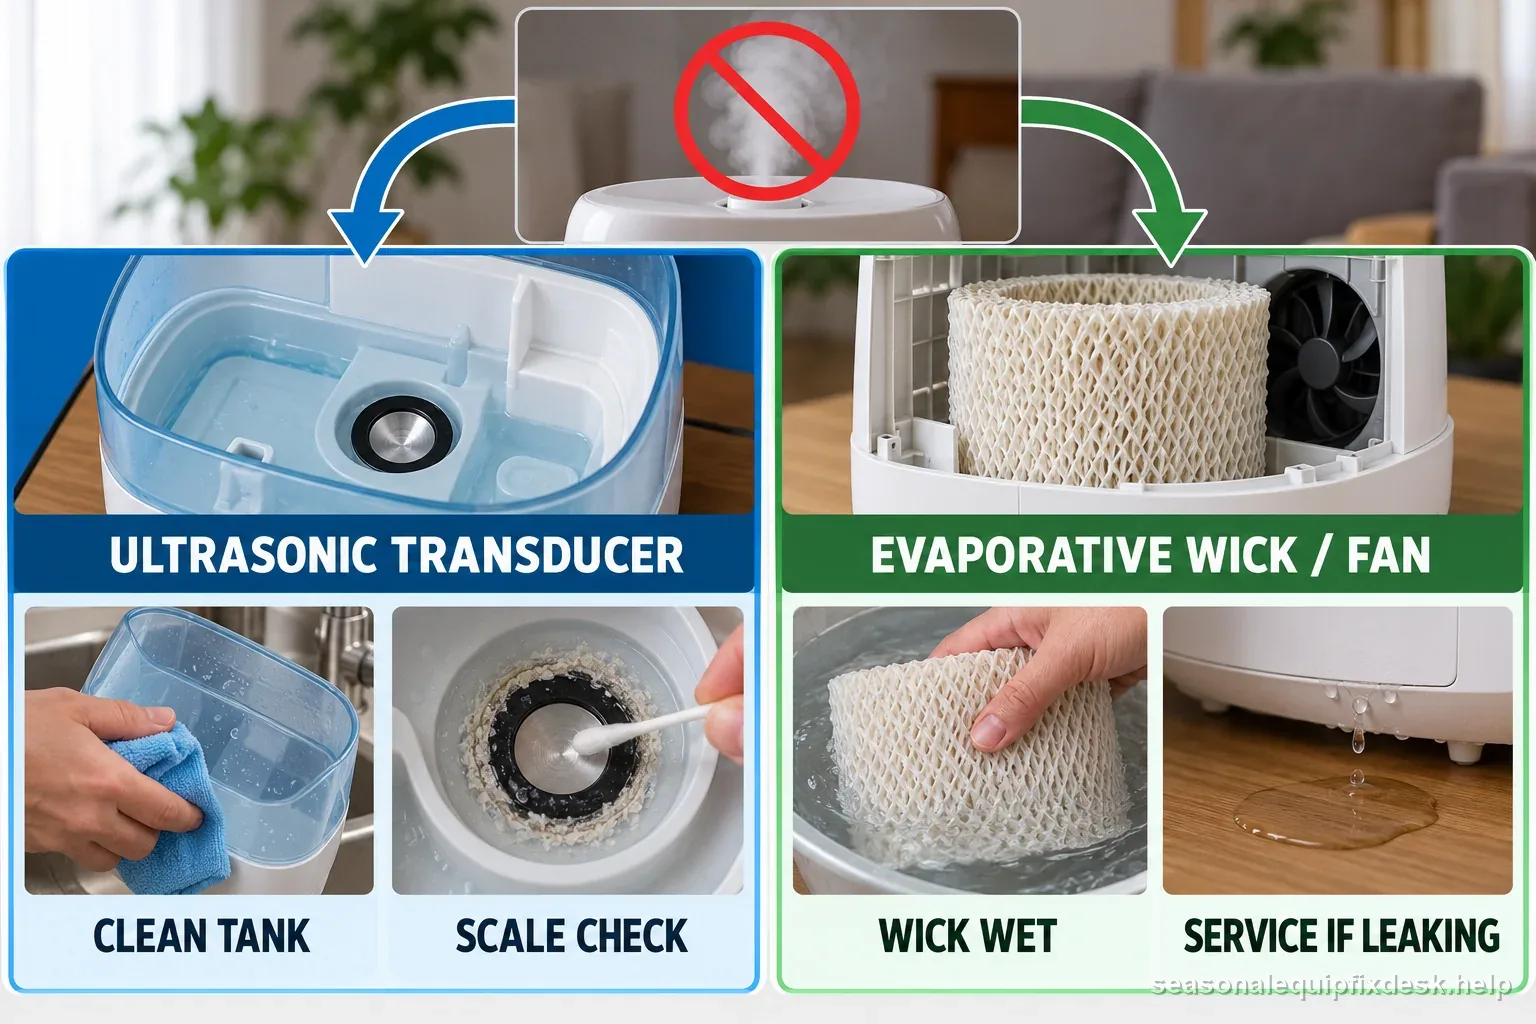
Unplug the unit, remove the tank, and note the water level in the base. A full tank above a nearly dry base points toward a feed problem rather than a bad transducer. Inspect the tank cap, gasket, spring valve, and any float only as the owner manual permits. Mineral crust can keep a small moving part from opening fully even though the tank itself looks full.
Do not defeat a water-level switch or wedge a valve open for operation. Those parts can also protect the appliance from dry running. Clean and reseat them, then reassemble the humidifier exactly as designed before applying power.
For ultrasonic units, separate scale from a failed atomizer
With power disconnected, inspect the transducer area for a hard white or gray film. EPA recommends removing scale and following the manufacturer’s cleaning directions. Use only a cleaner and contact time allowed by the manual; scraping the disc with a metal tool can damage the surface that creates the aerosol.
After cleaning and rinsing, refill with the recommended water and retest. If the base has the correct water level, the controls indicate active output, and there is still no mist or characteristic ultrasonic activity, the problem has moved beyond routine cleaning. Internal driver-board or transducer testing is a service boundary unless the manufacturer supplies a homeowner procedure.
| What you observe | Ultrasonic | Evaporative |
|---|---|---|
| No visible plume | Check water feed, control setting, and transducer condition per manual. | May be normal; look for fan airflow and a wet wick. |
| Water remains in tank | Check that the base receives water and the atomizer is clean. | Check that the wick contacts water and airflow is not blocked. |
| Output still absent after normal setup | Stop before sealed electrical or energized testing. | Stop before internal fan or control testing. |
Use the expected output for this model before condemning the misting part.
For evaporative units, read the wick before replacing the motor
A wick that is rigid, heavily mineralized, installed upside down, pinched, or only wet along one edge cannot present enough water to the airflow. Remove it with power disconnected and compare its condition with the replacement criteria in the model manual. Some wicks are disposable and should not be washed aggressively because their structure or treatment can be damaged.
If the wick is wet but the room-side surface stays dry, confirm the reservoir is feeding it. If the wick is uniformly saturated, move to airflow: a running display does not prove the fan is turning at useful speed. Dust on an intake screen or a stalled fan can make an evaporative unit appear to “do nothing” while its water system is fine.
Humidistat settings can create an intermittent “no mist” complaint
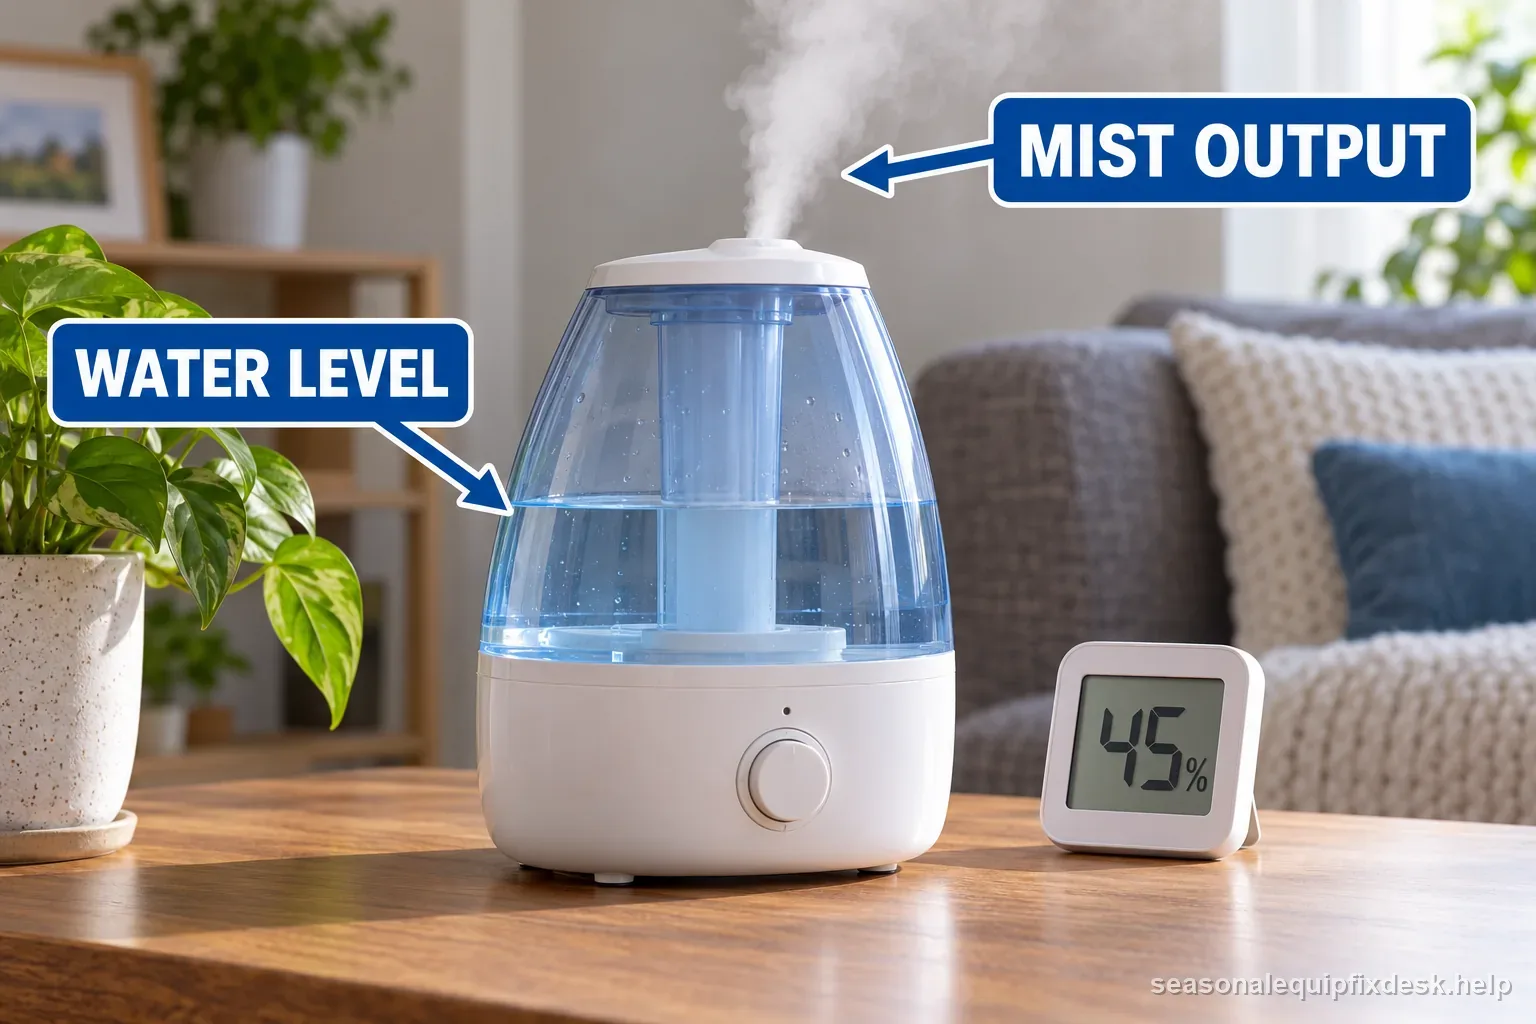
A humidifier in auto mode may stop output because the sensed humidity is already at or above the target. Move the unit away from its own discharge path, since mist or very humid air around the sensor can cause the control to think the room is wetter than it is. Compare the display with a separate room hygrometer placed away from the humidifier, window, or supply vent.
For diagnosis, temporarily select a higher demand or manual output mode if the manual allows it. If output resumes immediately, there may be no hardware failure. The correct fix is placement or setpoint, not bypassing the humidity control.
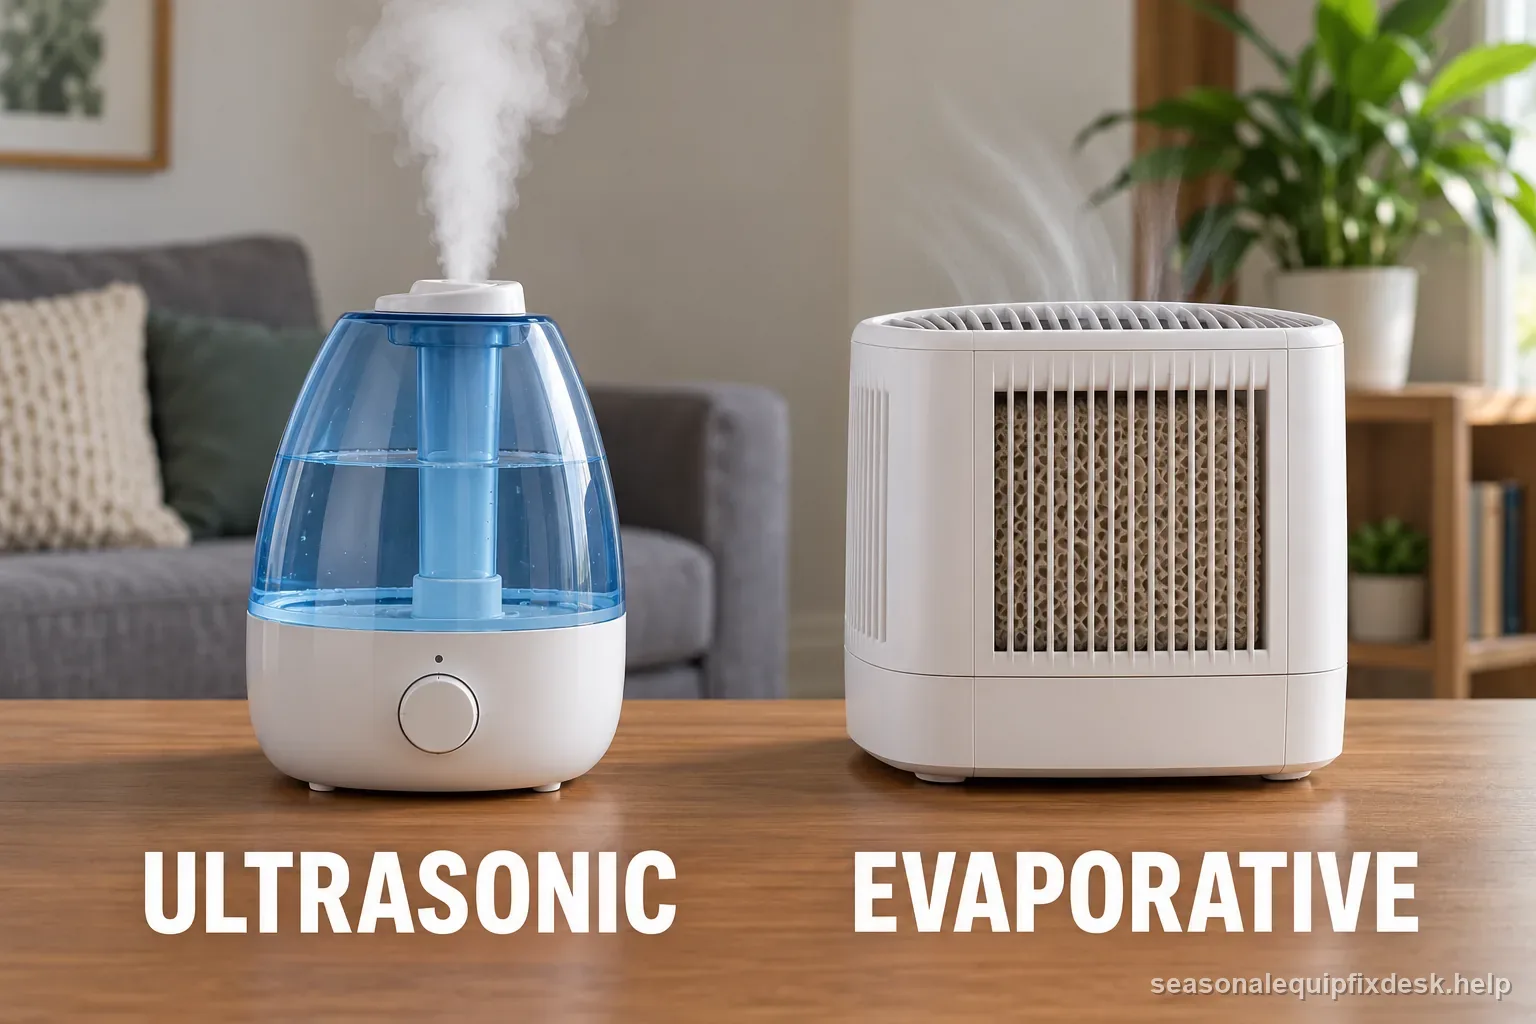
Illustrative screening aid; identify the type and follow the exact product manual.
Use a one-hour moisture-output test instead of staring at the nozzle
- Clean and assemble the unit, fill it with the recommended water, and place it on a level water-resistant surface.
- Note room relative humidity with a separate hygrometer several feet away.
- Run a defined manual setting for about an hour with doors and windows in their normal condition.
- For an ultrasonic unit, confirm stable mist and normal water consumption. For an evaporative unit, confirm the wick remains wet and room humidity trends upward.
- If there is no measurable output despite correct water feed and airflow, stop replacing consumables and move to model-specific service information.
A humidifier can operate without visible mist or measurable room change. Identify the design and symptom before replacing a cartridge or treating an indicator as a universal code.
Water cleanliness is part of the repair, not an afterthought
EPA recommends frequent water changes and regular cleaning because standing water can support microorganisms, and mineral deposits can impair operation. Empty and dry the portable humidifier when it will sit unused. Never add disinfectant to operating water unless the manufacturer explicitly instructs you to do so; cleaning chemistry should be rinsed away before the unit returns to service.
Do not judge every humidifier by a visible plume. Evaporative models move moisture through a wet wick and may discharge air without visible mist; ultrasonic models create visible droplets. The type determines whether a running fan with no plume is a fault or normal operation.
Two illustrative output checks
These sample measurements show how to compare readings; they do not set a required output.
Example 1: an evaporative unit with no visible cloud
At the start, a user records a full tank at 2.0 lb and a room hygrometer reading of 34%. One hour later, the tank weighs 1.7 lb and the room reads 37%. The 0.3 lb change and 3-point reading change suggest moisture is being used, but room conditions and scale accuracy still matter; the missing plume alone does not prove failure.
Example 2: a tank stays full and output stays absent
A user records 40% on a hygrometer before and after a short manual-approved test, while the tank remains at the same marked level and no fan or mist appears. They unplug the unit and check the mode, seating, and model-specific water path before deciding whether service is needed.
When to stop DIY troubleshooting
Stop if water reaches electrical compartments, a cord or plug is damaged, the unit smells burned, the fan or internal wiring must be energized while open, or the model requires sealed electronic testing. A replacement humidifier can be safer and more economical than improvised line-voltage repair on a small appliance.
After cleaning, assemble the tank, wick frame, and covers exactly as designed, then make one short observation using the model’s normal setting. Ultrasonic output should match its indicator or mist control; evaporative output is better judged by fan airflow, a wet wick, water use, and a room-humidity trend over time. A room sensor can lag, so an unchanged display after only a few minutes does not prove the appliance failed. If a low-water indicator stays on even though the tank is full, use the red water-light checks rather than assuming the mist mechanism is at fault.
Keep cleaning separate from repair: descale only the removable surfaces named in the manual, rinse them fully, and do not immerse the base or add chemicals to operating water. When correct assembly and normal controls produce no output, record the indicator, fan behavior, water level, and replacement parts already tested before contacting support.
For the matching drive or fuel symptom, see the difference between mist condensation and a true leak.