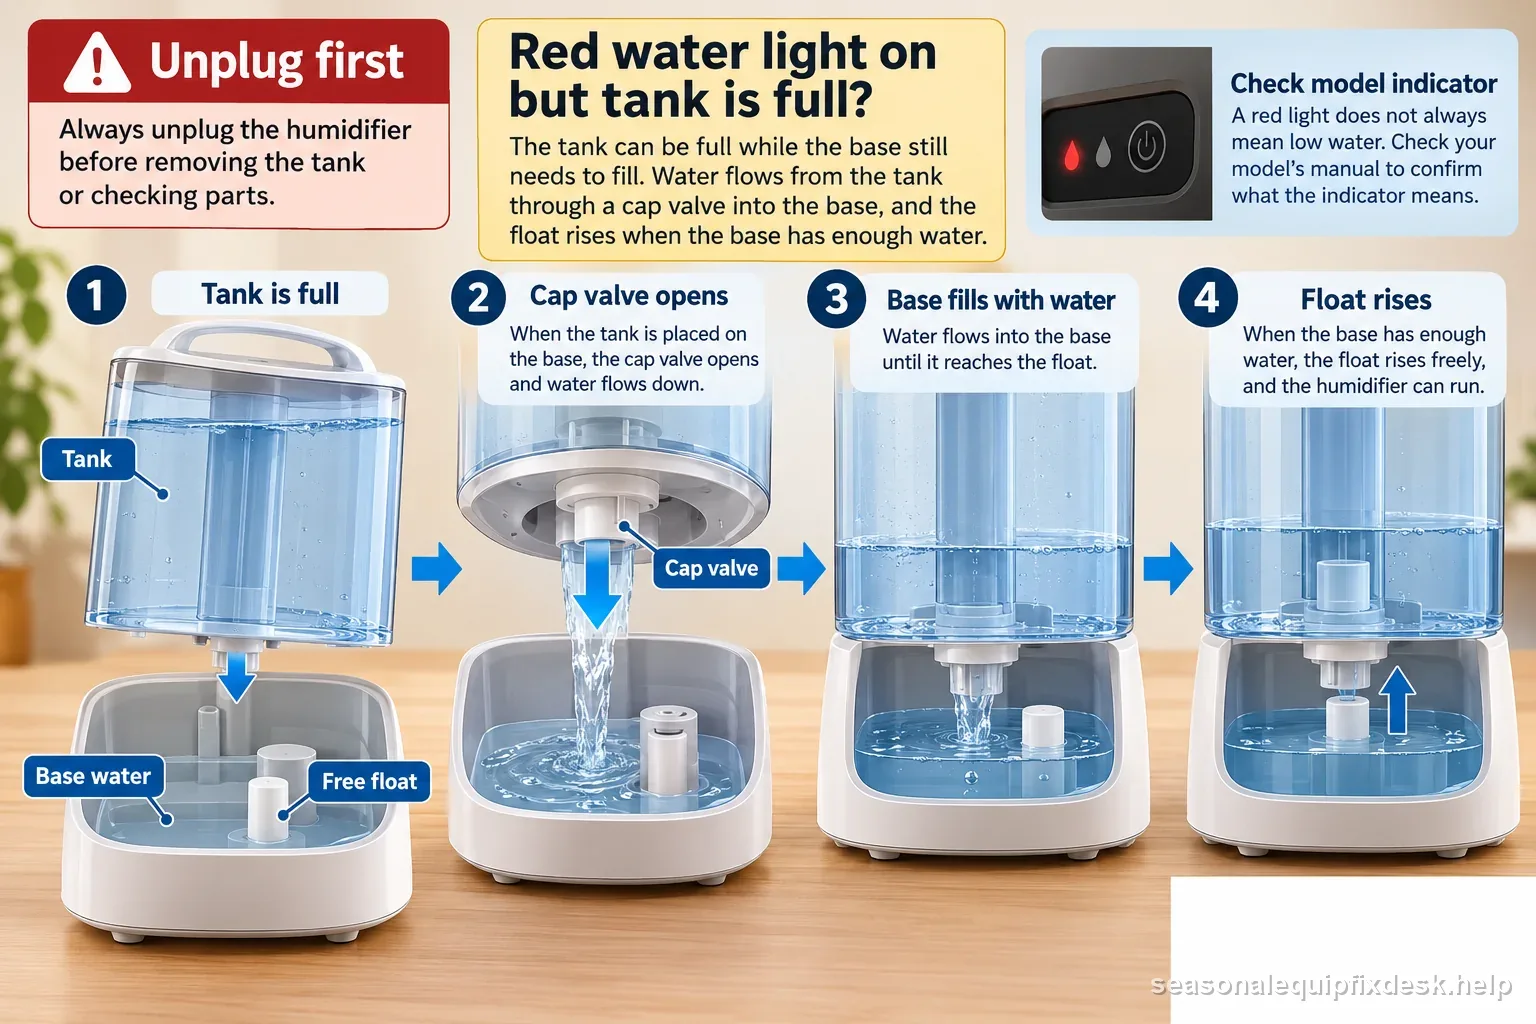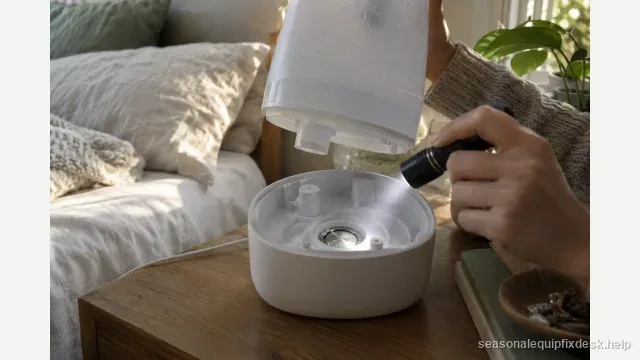
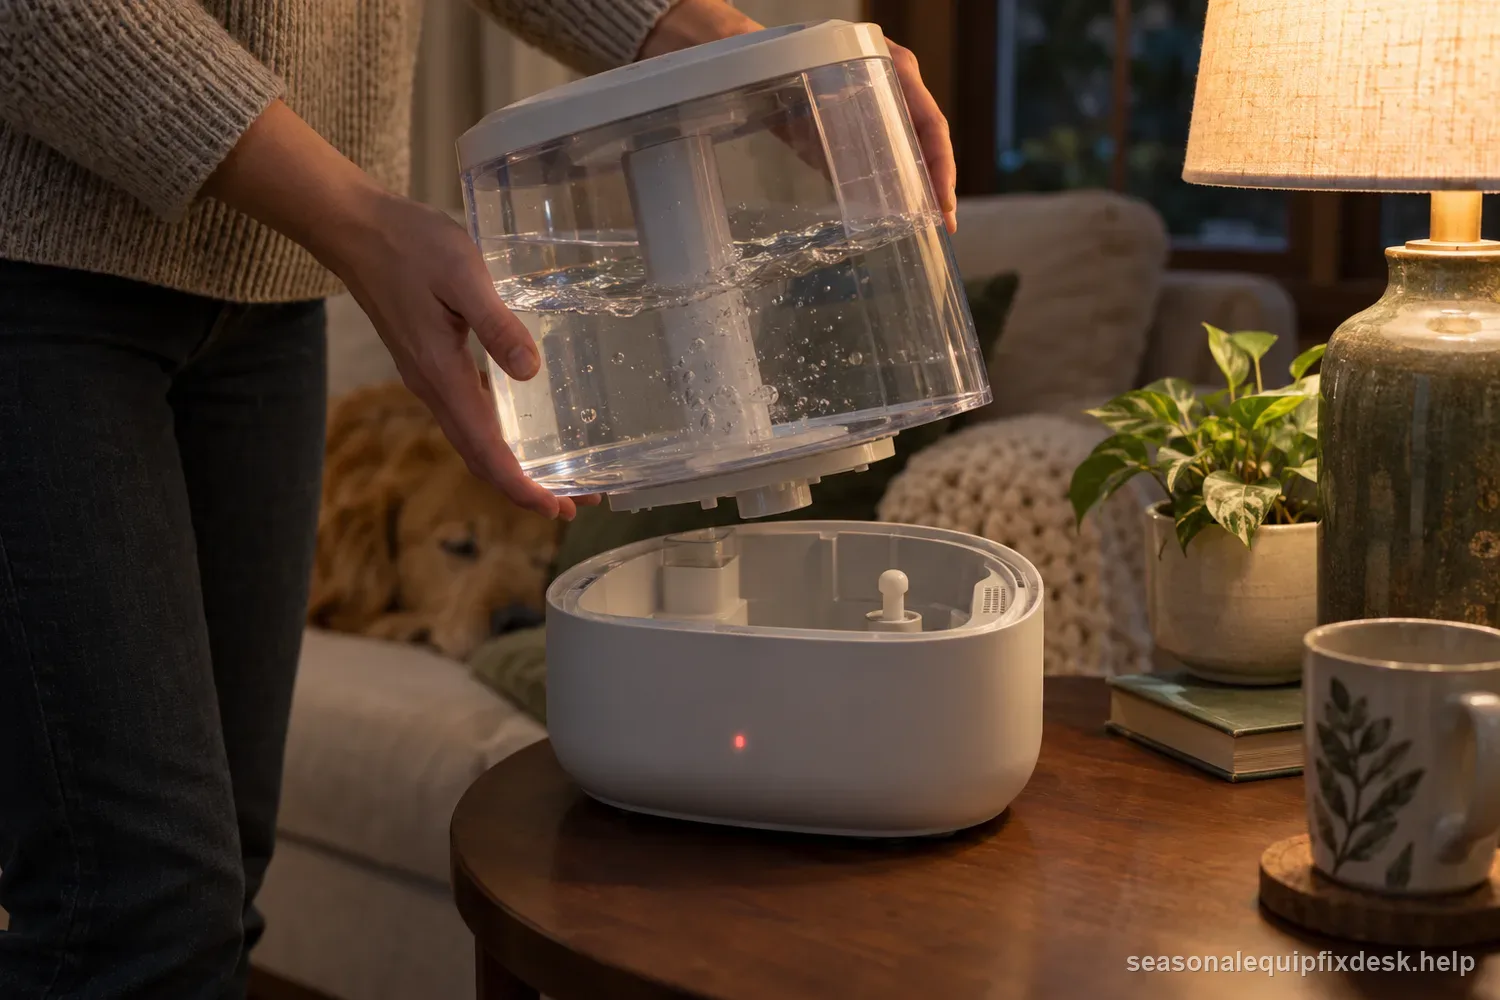
Quick answer: First confirm that the red light actually means low water on your model. If it does, a full removable tank does not prove that water reached the base reservoir or that its float moved. Unplug the humidifier, check the tank and cap, then inspect the base level and float before assuming an electronic sensor failed.
A full-tank light concerns water sensing; pale powder on furniture is a different symptom, often tied to minerals dispersed by ultrasonic or impeller models. See the humidifier white dust caused by water minerals guide for the matching checks.
Read the indicator by model before treating it as a universal code
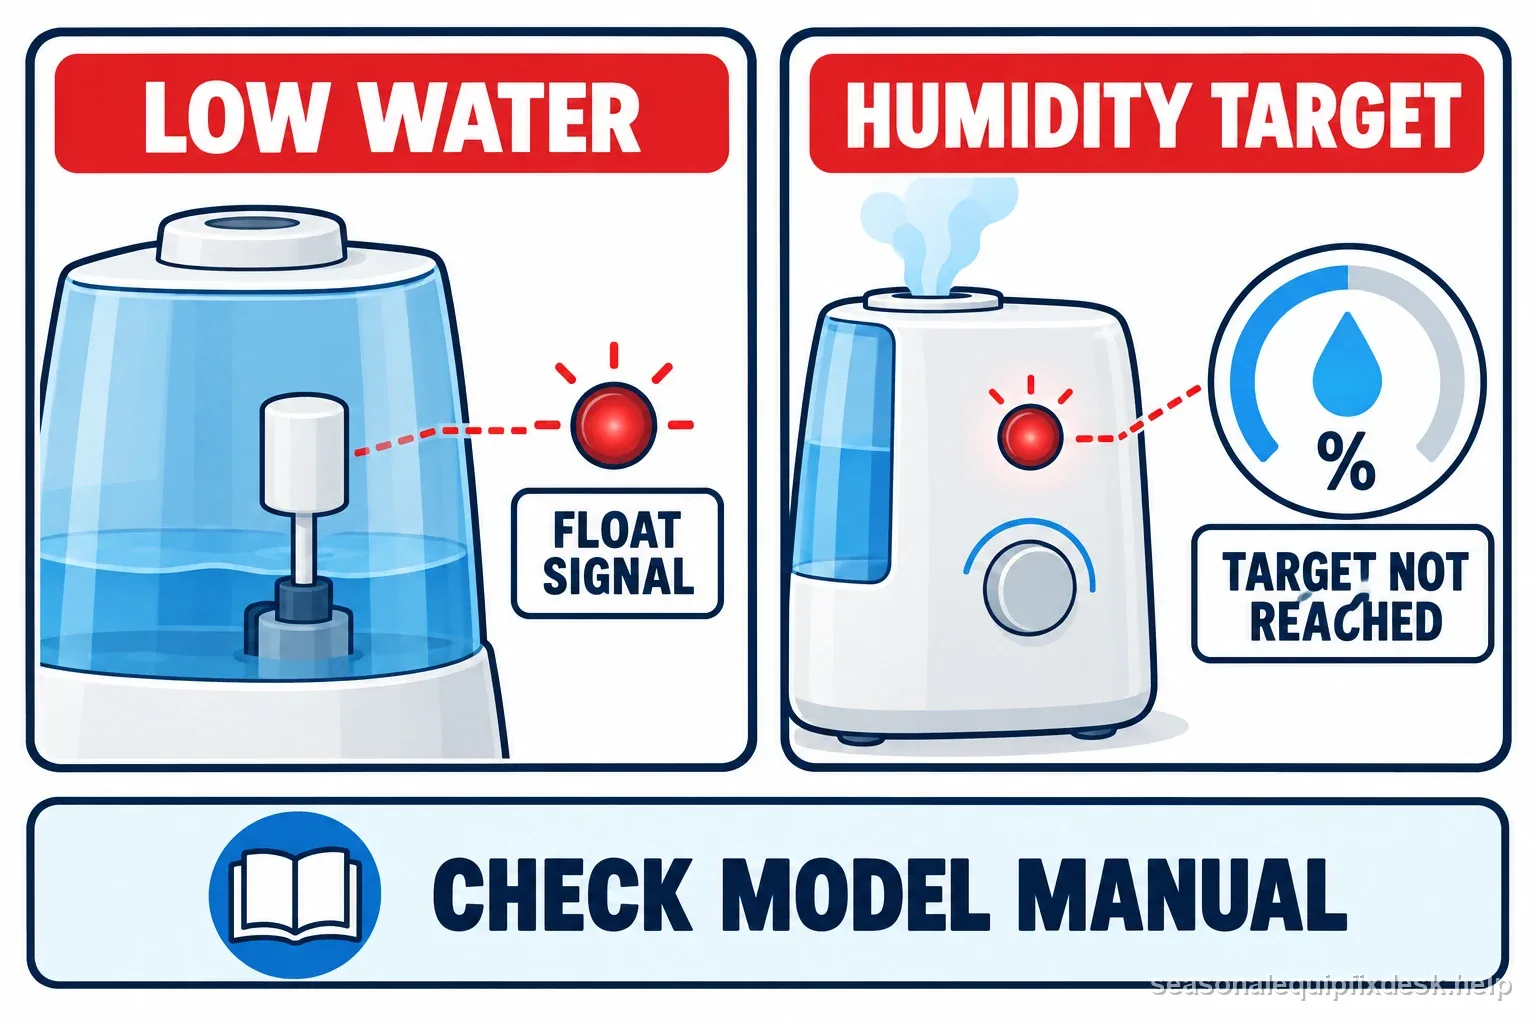
Indicator colors are model-specific. For example, Philips says the HU4804/41, HU4804/40, and HU4805/40 use a red humidity light when the target has not been reached, while a separate red low-water indicator responds to a float. Read the light label and exact manual before treating red as a low-water code. The checks below apply when the machine reports low water while the removable tank visibly contains water.
| Observed condition | Likely branch | Safe next check |
|---|---|---|
| Full tank; base dry | Water-feed path | Check tank seating, cap valve, gasket, and outlet with power disconnected. |
| Base level normal; float low | Stuck or misassembled float | Check free travel and the documented orientation. |
| Base and float normal; red light remains | Indicator meaning or sensing fault | Identify the exact indicator and use the model reset or support path. |
| Base overfills or leaks | Feed valve or seal fault | Unplug and stop until the leak or feed issue is corrected. |
A full tank can still be isolated from the base
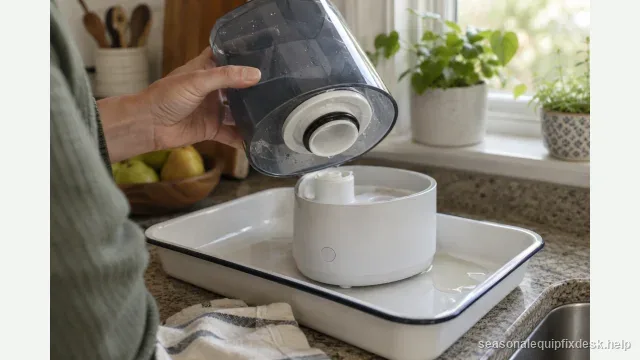
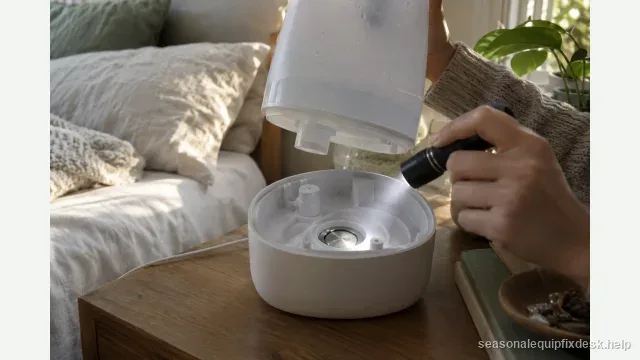
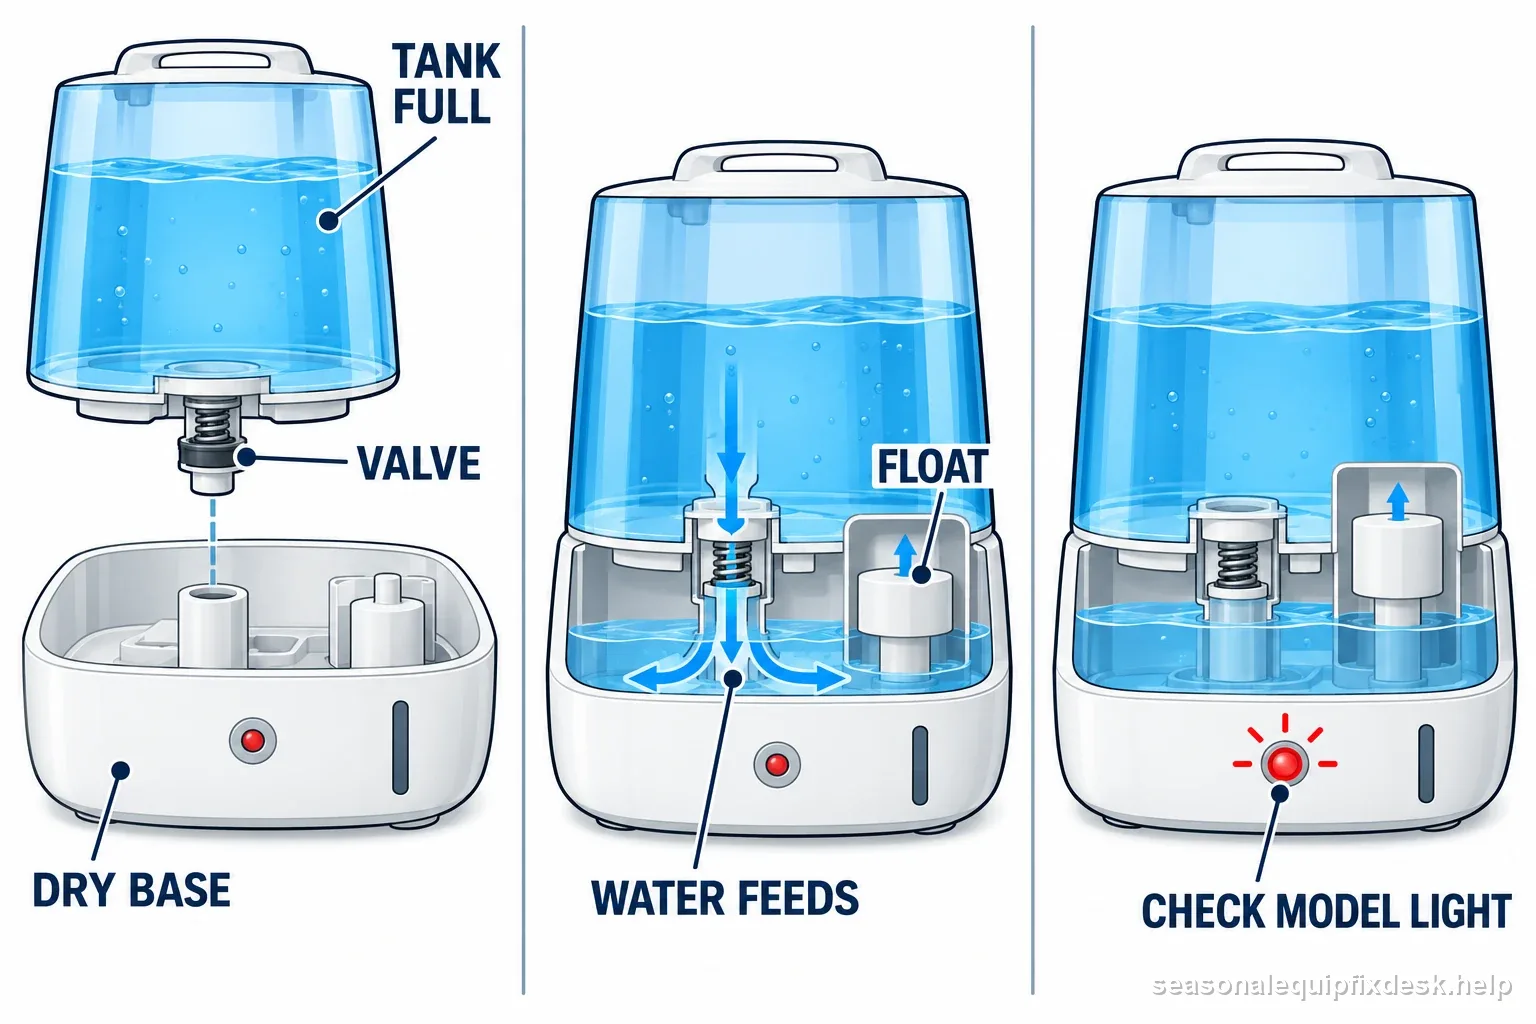
Remove the tank with the unit unplugged and inspect the base reservoir. If the base is dry or unusually low, the problem is upstream of the sensor. Look for a tank that is not sitting flat, a cap that is cross-threaded, a valve stem that does not move, a gasket installed out of position, or mineral scale around the outlet.
Do not hold a valve open with a tool and operate the unit. The valve and water-level controls are part of the designed feed system. Clean, reseat, and test them only through the method allowed by the owner manual.
The float can be clean-looking and still be mechanically stuck
Many designs use a float or magnetic level device in the base. A thin ring of scale can keep it from rising, and the float may be reinstalled backward after cleaning. With power disconnected, move the float gently through its normal travel. It should not grind, bind, or remain pinned at the bottom.
If the float is removable, note its original orientation before taking it out. Some assemblies contain a magnet that must face the sensor correctly. Cleaning the plastic while reinstalling the magnet or float in the wrong direction can create an immediate false low-water signal.
Separate “no water reaches the base” from “sensor does not see the water”
| What you see | Likely branch | Safe next check |
|---|---|---|
| Tank full; base dry | Water feed is not reaching the base | Reseat tank and inspect cap valve, gasket, and outlet as the manual allows. |
| Base low; float stays down | Float may bind or be misassembled | With power disconnected, check free movement and documented orientation. |
| Base level normal; red remains | Indicator meaning or sensing fault is unresolved | Confirm the exact light label and model reset; then use support if it persists. |
| Base overfills or leaks | Valve or seal may not be controlling feed | Unplug and stop the test until the leak or feed fault is corrected. |
Scale removal must not flood the electronics
EPA recommends regular cleaning and scale removal for portable humidifiers. When working around a level sensor, use the model’s cleaning method and keep liquid out of electrical compartments. More vinegar is not better: excess cleaner can travel through seams or remain in the mist path if the base is filled indiscriminately.
After cleaning, rinse the water-contact areas thoroughly and dry the exterior of the base. Reassemble the exact cap, float, tank, and any wick or cartridge before applying power.
Use a controlled refill test
- Place the unplugged base on a level counter protected from water.
- Install the cleaned float or level component in its documented orientation.
- Fill the tank to a normal level and secure its cap without overtightening.
- Set the tank on the base and observe whether water transfers to the expected level.
- Only after the water path stabilizes should you power the humidifier and see whether the indicator clears.
This sequence prevents a sensor complaint from being misdiagnosed when the base simply never received water. It also catches overfeeding: if the base rises above its normal level or leaks, stop and correct the valve, gasket, or tank problem before powering the appliance.
What not to do with a false low-water warning
Do not tape a float up, add a magnet to fool a reed sensor, bridge a microswitch, or keep cycling power while the base is dry. Dry-run protection exists to prevent abnormal operation. A bypass can damage the atomizer or create an electrical or overheating hazard.
Do not hold the valve open, tape up a float, add a magnet, or bridge a switch. If water level and float position are correct but the model-specific warning persists, stop at the service boundary.
When the remaining fault is electronic
If the base contains the proper water level, the float or mechanical input is clean and correctly positioned, and the exact model reset does not clear the light, the remaining possibilities include a failed level sensor, wiring connection, or control board. Those parts are usually not worth live probing on a portable humidifier. Use warranty support or replace the unit rather than improvising around mains voltage and water.
Check what changed immediately before the warning began
A false low-water light that appears right after descaling, filter replacement, moving the appliance, or reinstalling the tank often points to assembly rather than spontaneous board failure. Recheck every piece that was disturbed: tank cap, spring valve, float, magnet, wick frame, and any removable sensor cover. A part can look seated while remaining high enough to prevent the expected water level or sensor position.
If the warning appeared after a long storage period, dry mineral residue is a better first suspect than a hidden electronic defect. Clean the moving water-level parts, rinse them, and perform one controlled refill before considering replacement. Preserve the exact sequence in which the light appears—immediately at power-on, only after several seconds, or after water drops—because that timing helps model-specific support distinguish feed from sensing.
Use the light timing to separate a feed delay from a sensing fault
Observe the indicator only during the normal, closed-unit refill and startup sequence described for the exact model. If the light changes after a short pause while water moves from the tank into the base, that timing can point toward a feed path that needs time to equalize. If the base stays dry, recheck the cap valve, tank seating, and any gasket that was just removed. If the base reaches its normal level but the warning remains unchanged, note that difference for manufacturer support instead of repeating resets.
Record three facts before contacting support: the model number, whether water is present in the base, and whether the float moves freely through its normal range with the appliance unplugged. Also note whether the warning appears immediately or only after the tank empties. This small log helps distinguish a tank-feed issue from a model-specific indicator or sensor problem without opening the housing or defeating a safeguard.
For a separate symptom where the unit runs but moisture output seems low, compare visible-mist expectations by humidifier type in the humidifier no-mist guide. A water-level light and a no-output complaint can coexist, but they call for different checks.
For the matching drive or fuel symptom, see a humidifier tank or valve that may be leaking.